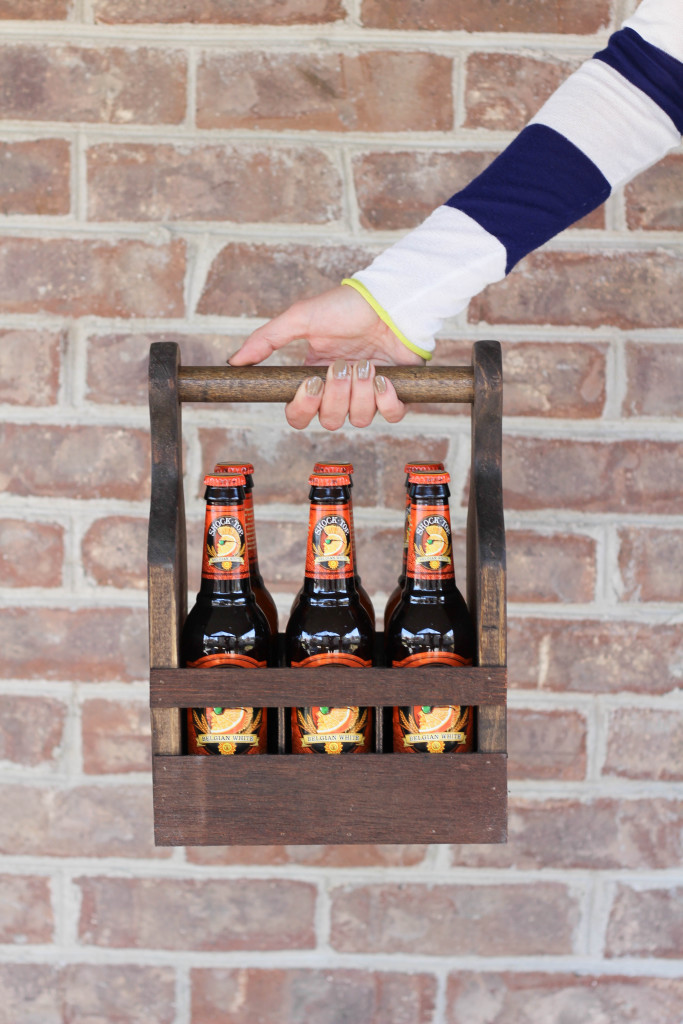
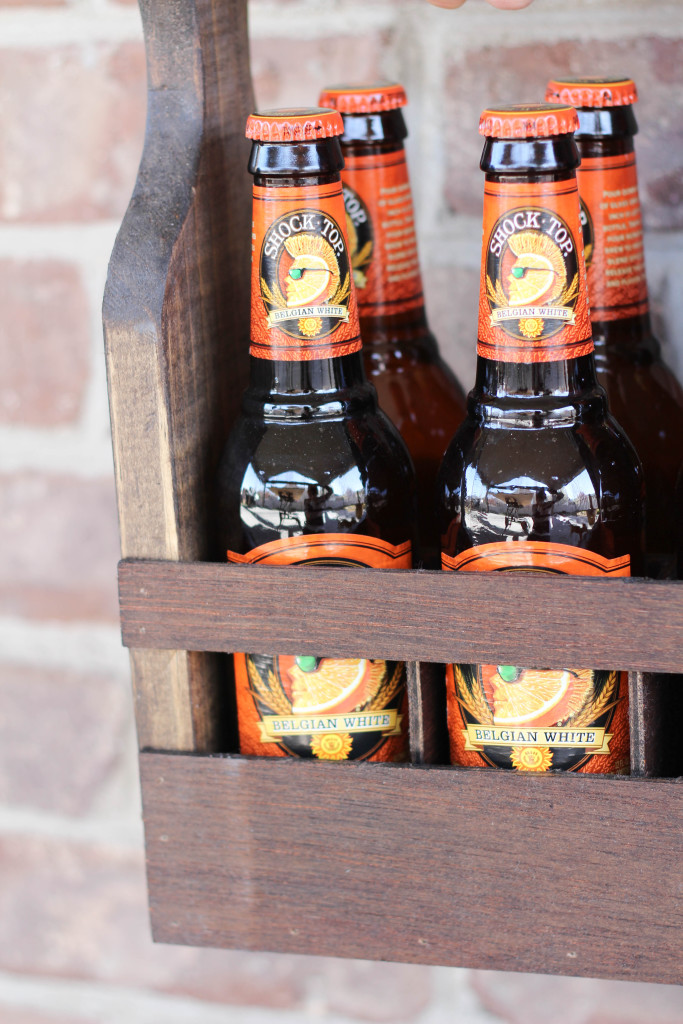
 Tomorrow is National Beer day and barbecue season is going to be here before we know it! Today’s DIY project is going to make sure you are prepped and ready for your next beer adventure and will make you the hit of your next party too. BYOB never looked this good before!
This DIY beer carrier is a great gift idea for the host or hostess that has everything. Stock it with their favorite beer and it would make a pretty killer gift for the guy in your life too, whether that’s a dad, brother, boyfriend, partner, friend or hubby.
You really can’t go wrong with a 6 pack, and this one is extra special!
If you feel comfortable with a few power tools, this project is a snap to make and can easily be done in an afternoon. If not, ask for some help from a friend or family member that knows their way around a few tools before starting!
Here’s what you’ll need to make your own…
Supplies Needed:
- Project Patterns – Download them here (Print on legal size (11 x 17) paper for correct sizing)
- Pine Wood Plank: 3/4″ thick (or any wood you prefer to use)
- Laminate Wood: 1/8″ thick
- 1″ diameter wooden dowel: 9 1/4″ long (not listed on printable template)
- Wood Stain
- Wood Glue
Tools Needed:
- Nail Gun or Hammer and Finishing Nails
- Jigsaw, Hand Saw, or Circular Saw
- Drill
- Metal File
- Sandpaper
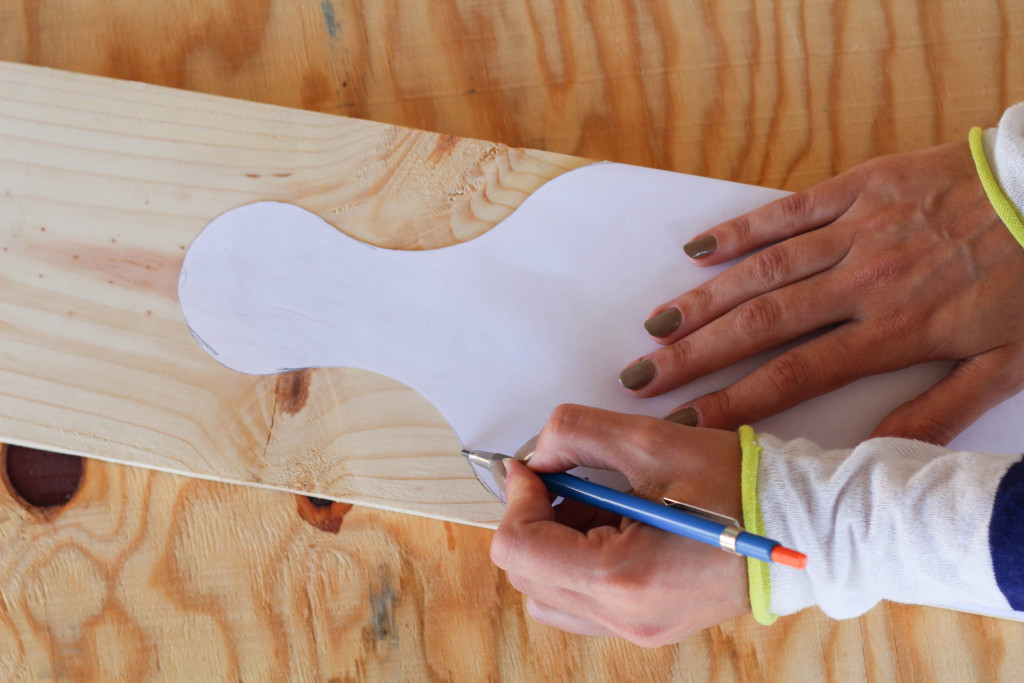 Trace the outline for each piece needed. Quantities are listed on the download, but you should have: 2 large side pieces, 1 bottom piece, 2 large side strip pieces, 2 small side strip pieces, 2 small middle pieces, 1 large middle piece, and 1 dowel.
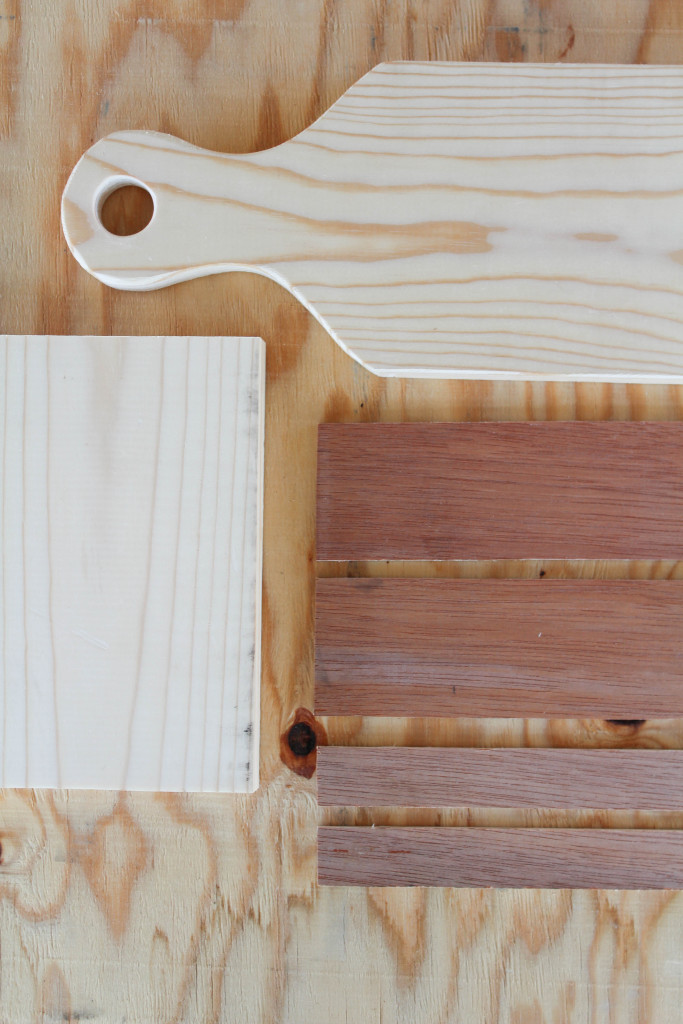
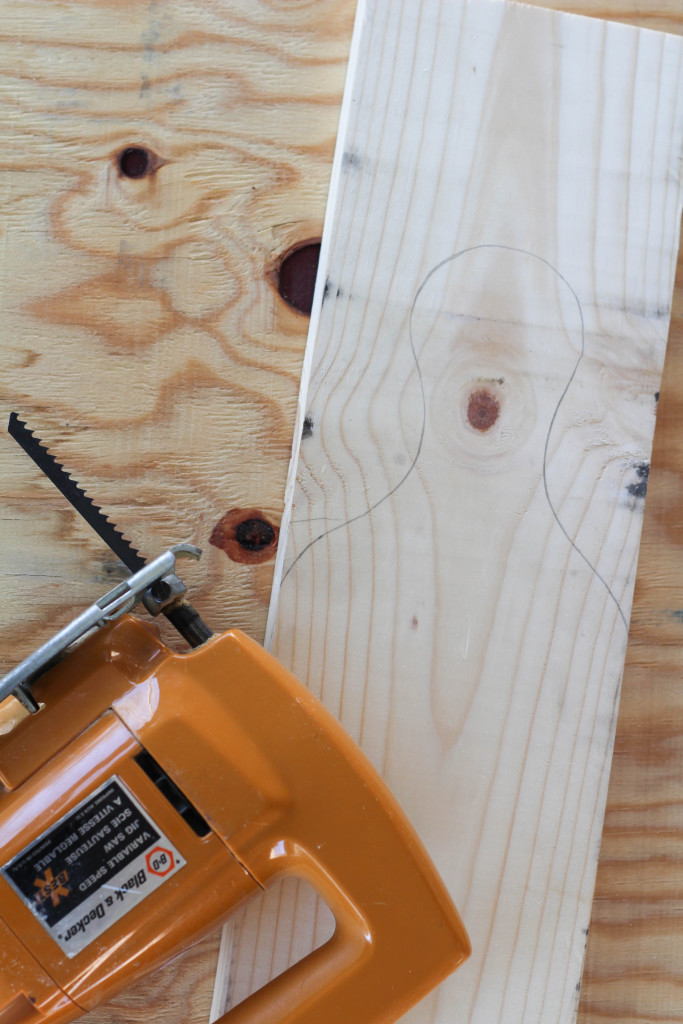 Using a jigsaw (can use a hand saw or a circular saw too), cut out each of your pieces.
 Drill a 1″ diameter hole into each of the two large side pieces. I “eye-balled” where the center of the top piece was and drilled my hole. After drilling the first hole, place the side piece (with the hole) on top of the other side piece (without a hole) and drill straight through to create the hole in the second piece. This will help to ensure that they are at the same spot on both pieces and make adding the handle later, that much easier!
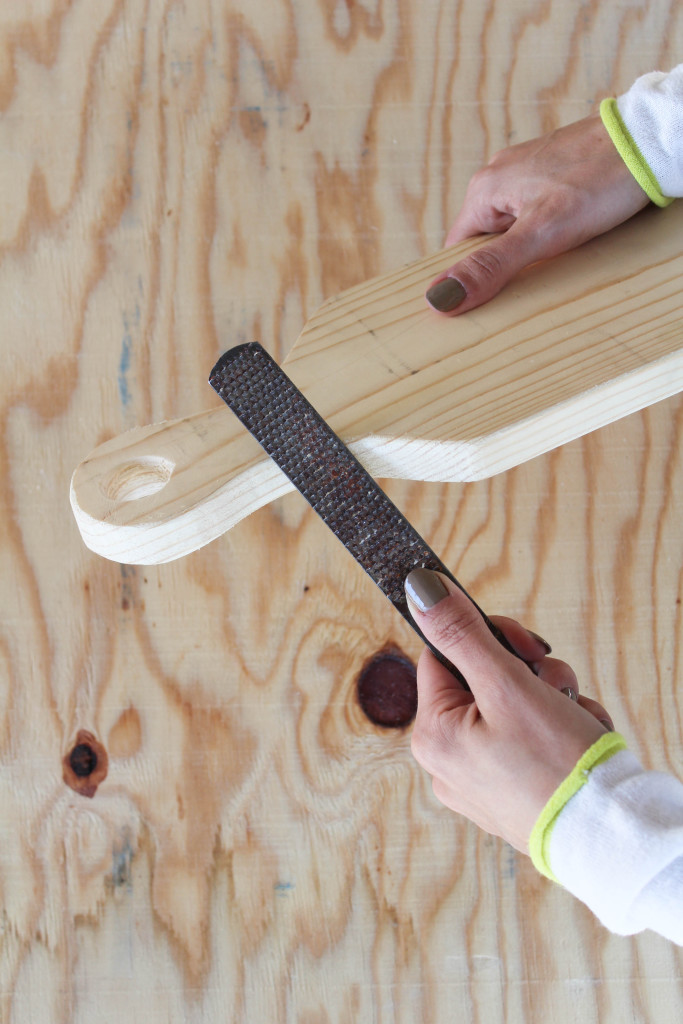 Using a metal file, smooth out the top and edges of each of the large pieces. Finish smoothing with sandpaper to get a clean edge.
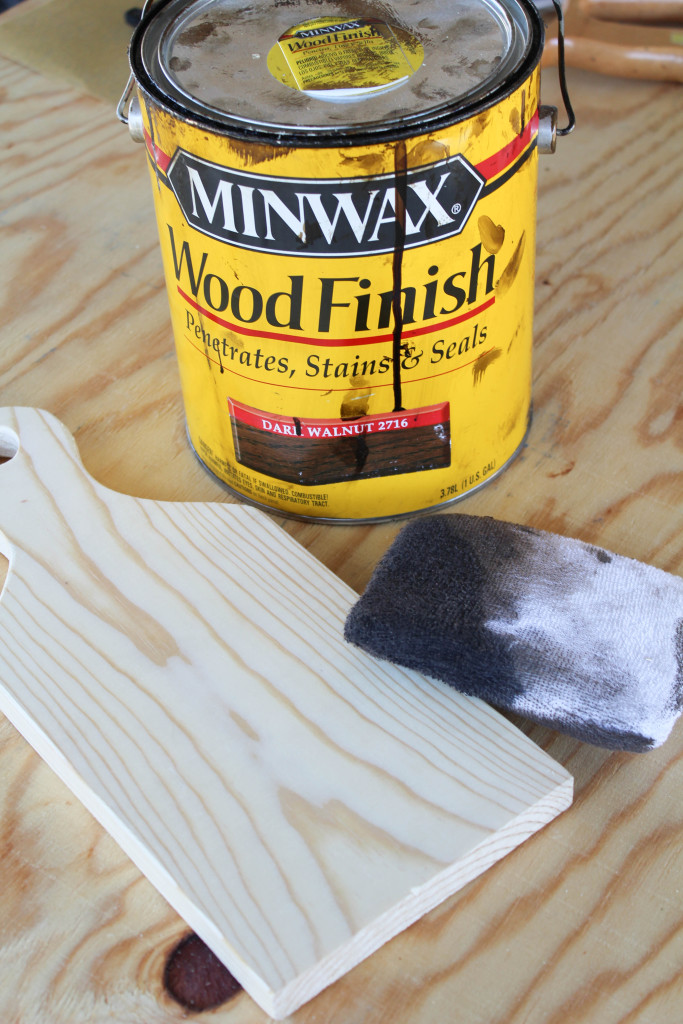 Stain all of the pieces and let them dry completely. (Can you tell how much use that can of wood stain has seen in it’s day…?! 🙂
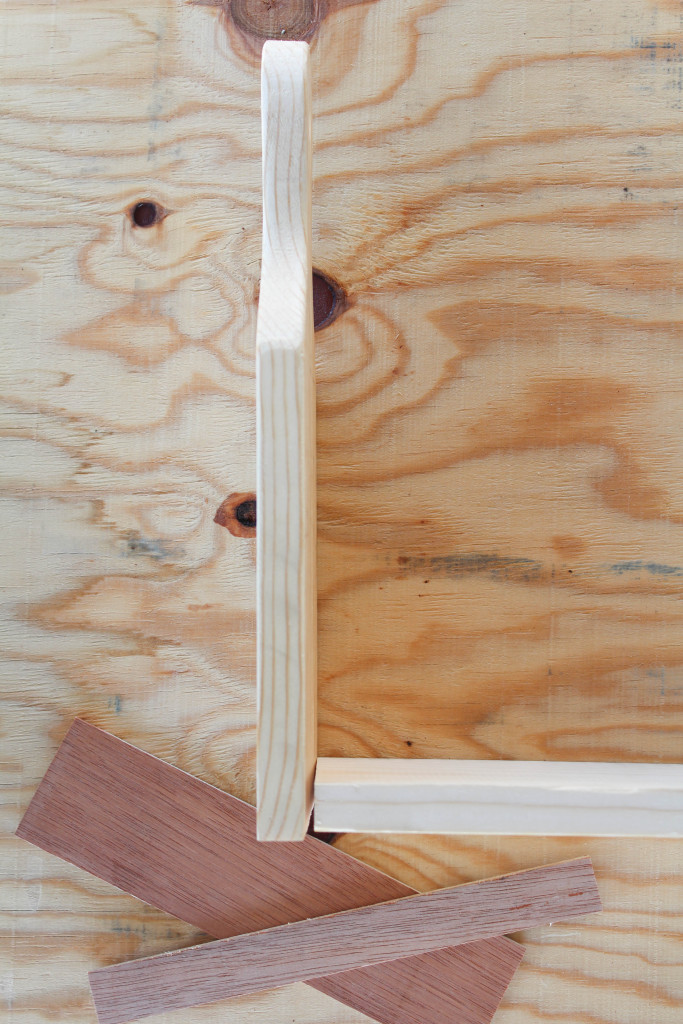 Place each of the large side pieces onto the outside of the bottom piece. Nail them together along the bottom, using a nail gun. You could easily use a hammer too. (My pieces were not stained while I was taking pics for the tutorial, but yours will be stained at this stage!)
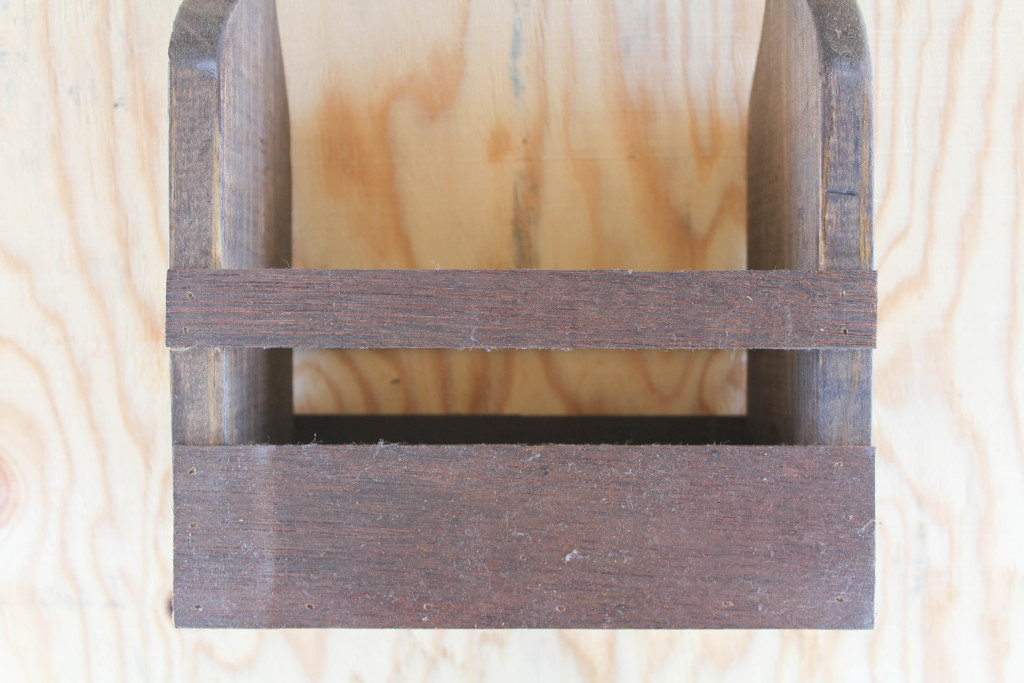
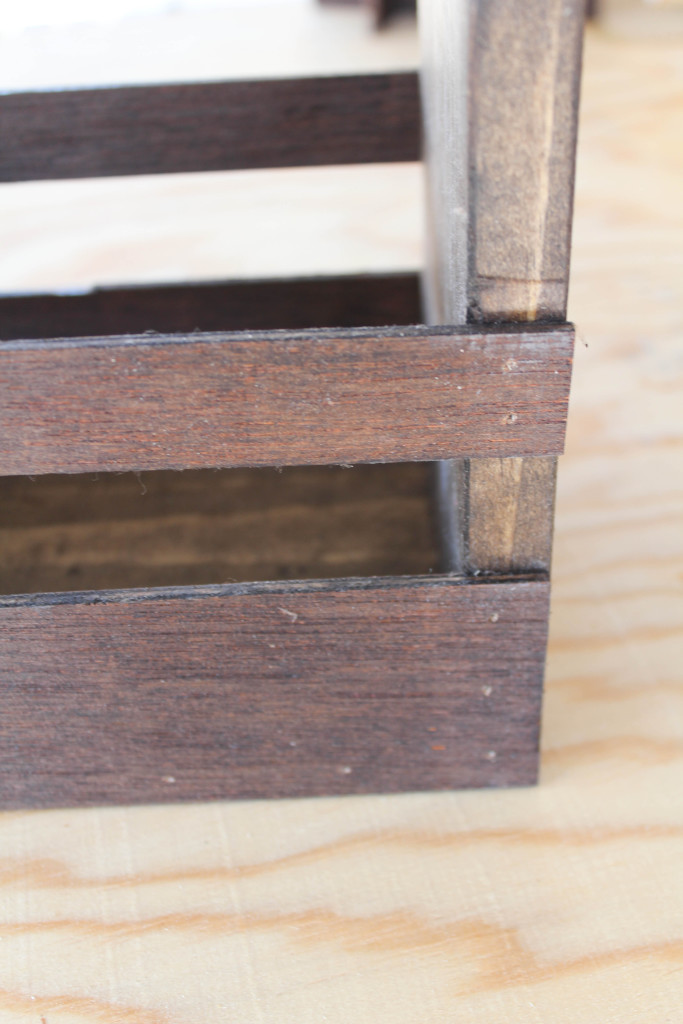 Nail each of the large side strips onto the edges of each of the large side pieces and along the bottom piece. The large side strip should be flush with the bottom piece and the large side piece.
Next, nail each of the small side strips onto the edges of each of the large side pieces. The small side strips were placed 5″ from the bottom of the carrier. (They can be adjusted to whatever height you prefer the look of).
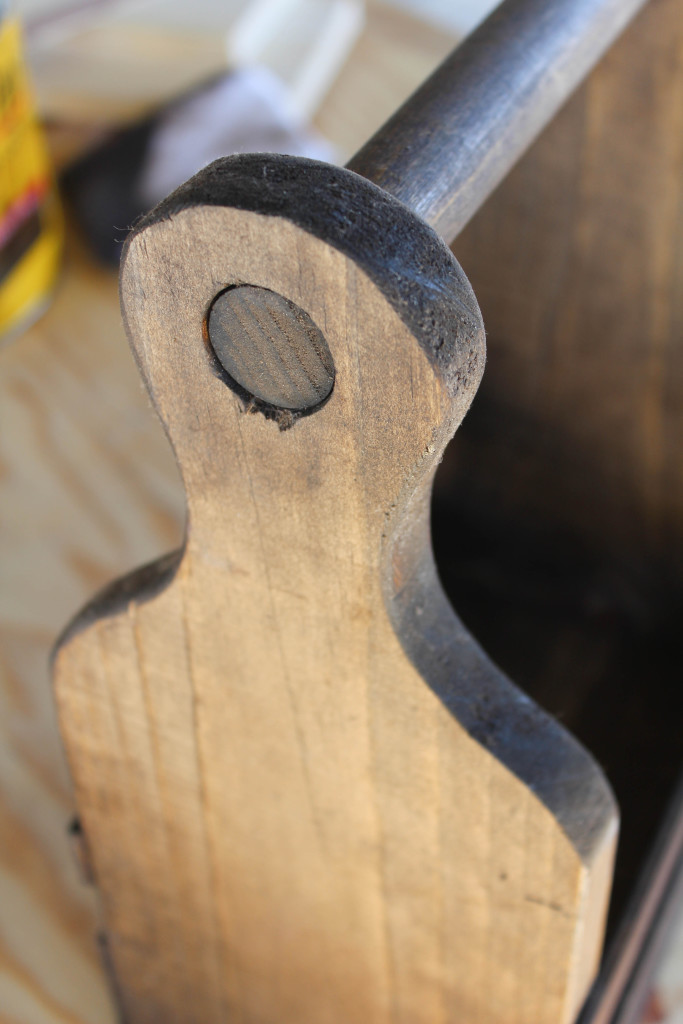 Place a small amount of wood glue around each end of the wooden dowel and slide into place. Clean any glue that seeps out, after moving into place. Let dry.
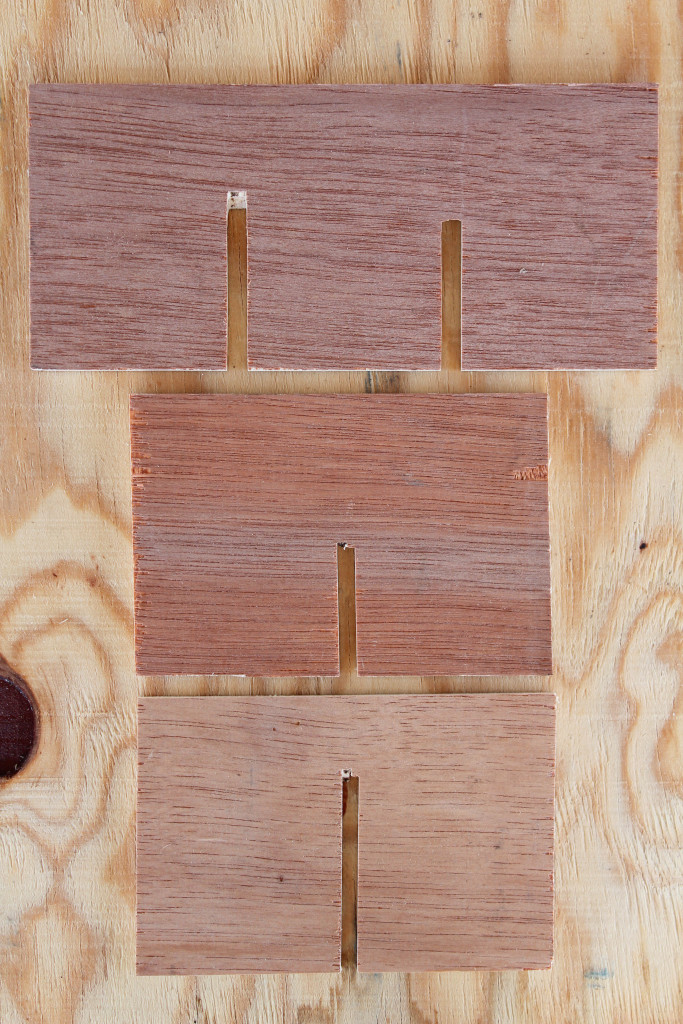
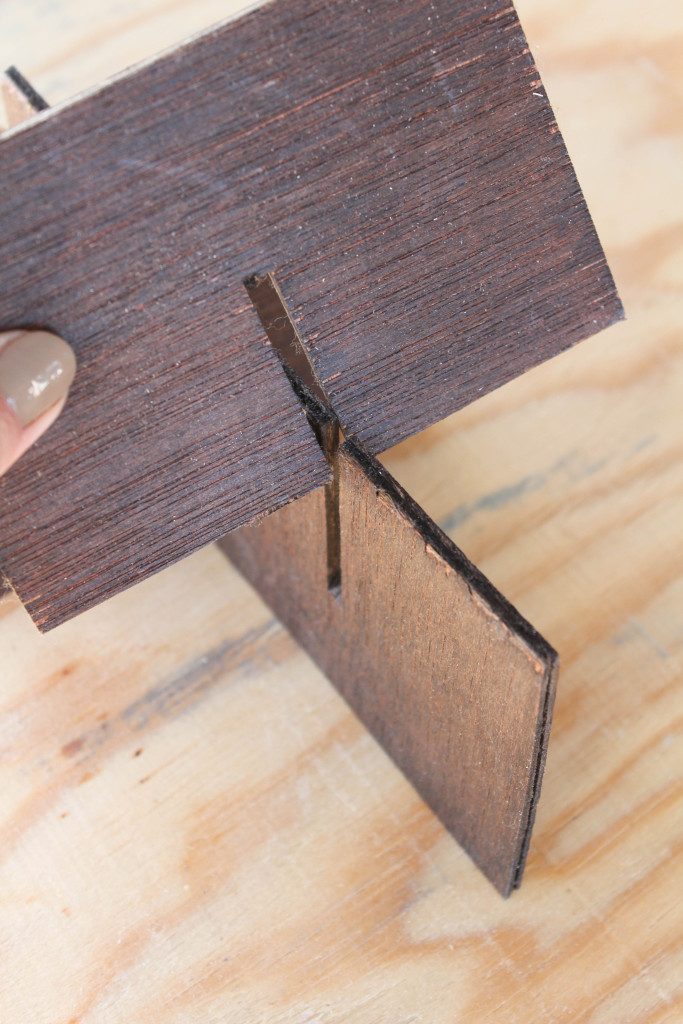 Place each of the small middles pieces into the large middle piece, using the grooves as a guide. The center section isn’t necessary, but I found that it helps to keep the bottles from knocking together. I prefer to leave the center section loose, so that you can take it out as needed for larger or smaller bottles!

Add a simple bow and this baby is ready to go!
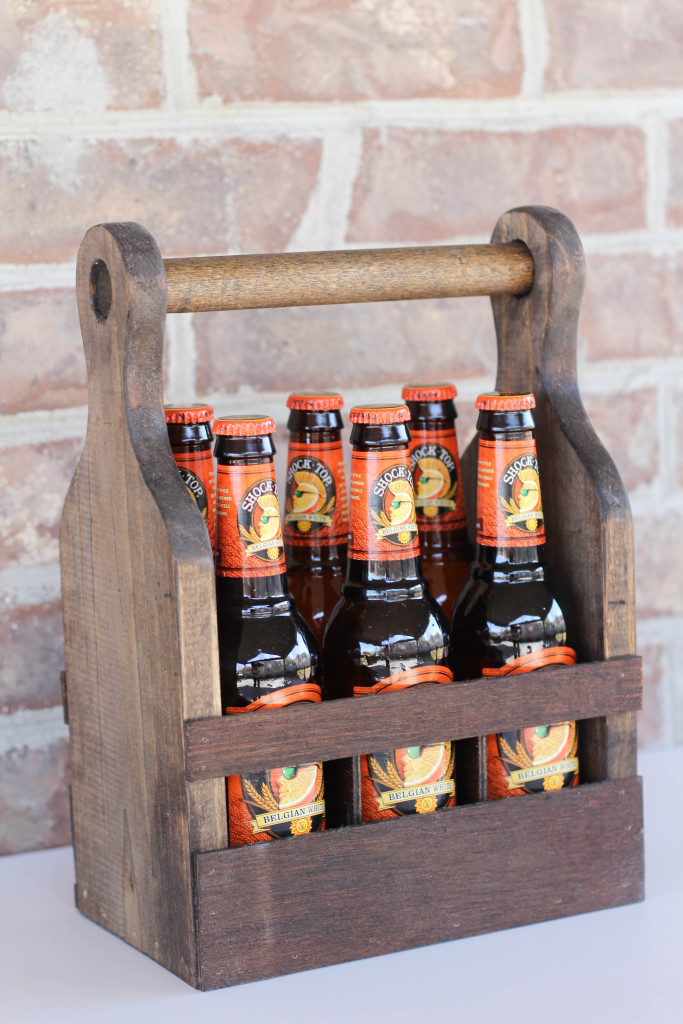
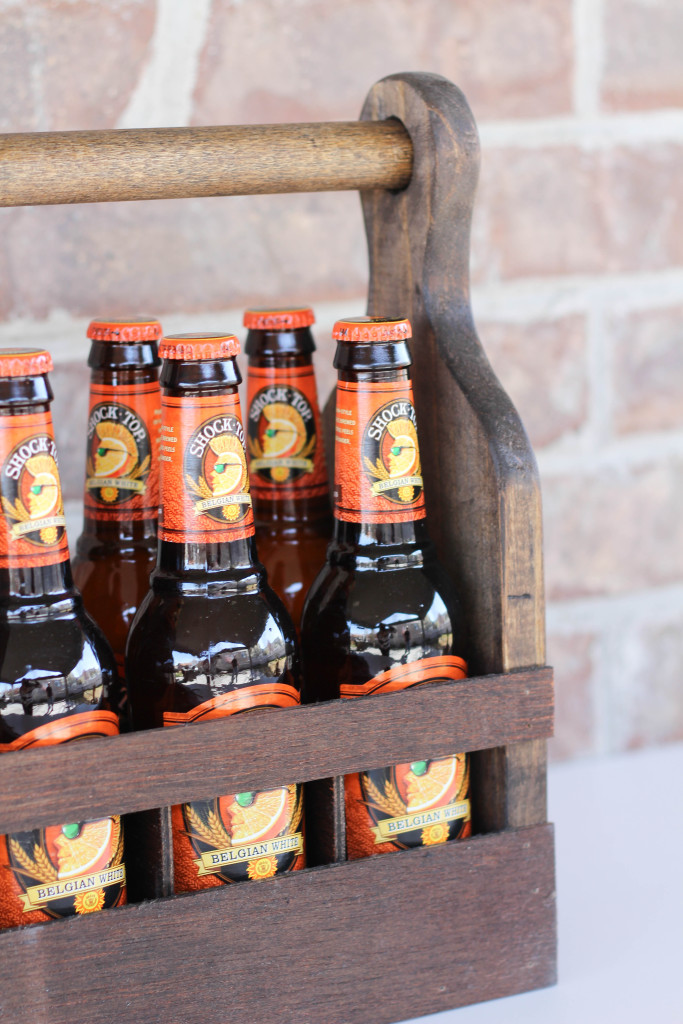
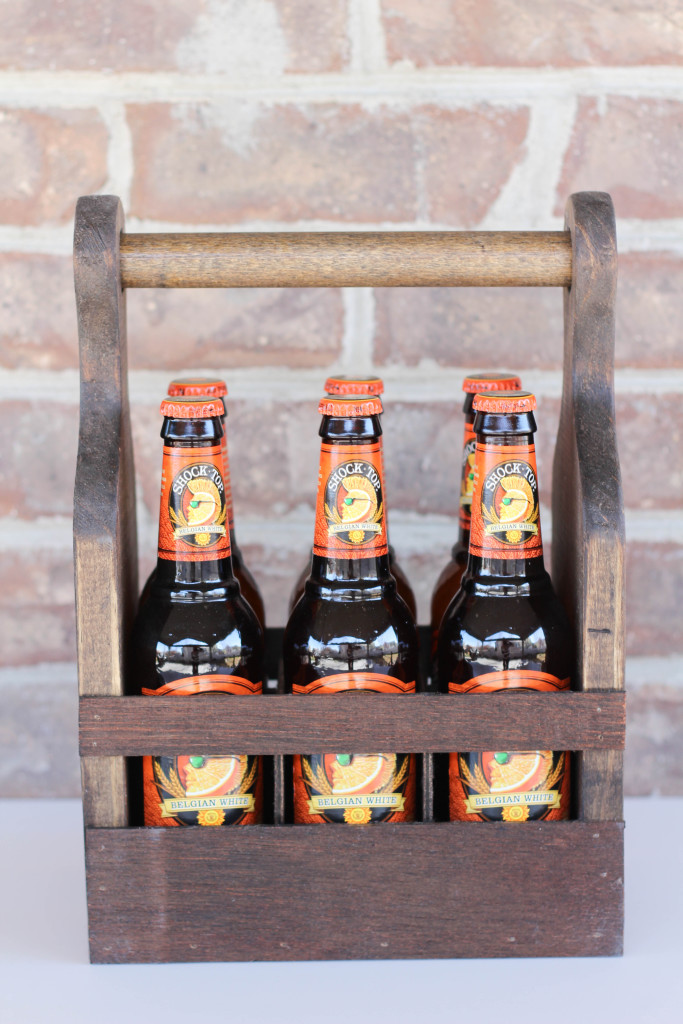
It looks complicated, but is pretty easy to put together and takes hardly any time to create such a fun and custom gift!
Let me know if you decide to try this project and how your DIY beer carriers turn out!


Nice article, shows all the steps clearly!