 We’re back to another Monday morning, but it was a really fun weekend for me. Did you guys have any fun plans?
I didn’t do much, but football officially started this week and I couldn’t be more thrilled. (Go Ravens!)
I really got into the game a few years ago, and just love the time of year it reminds me of. No, not the snow. But Fall!
Chilly days cooped up inside with lots of snacks, comfy clothes, and really, what’s better than lounging around all day on Sunday?! Not much.
With football kicking off, it’s crazy to think that the Superbowl (and 2016) are right around the corner! This year has seriously been flying.
Today’s DIY would be PERFECT for game day, but can really work for anything!
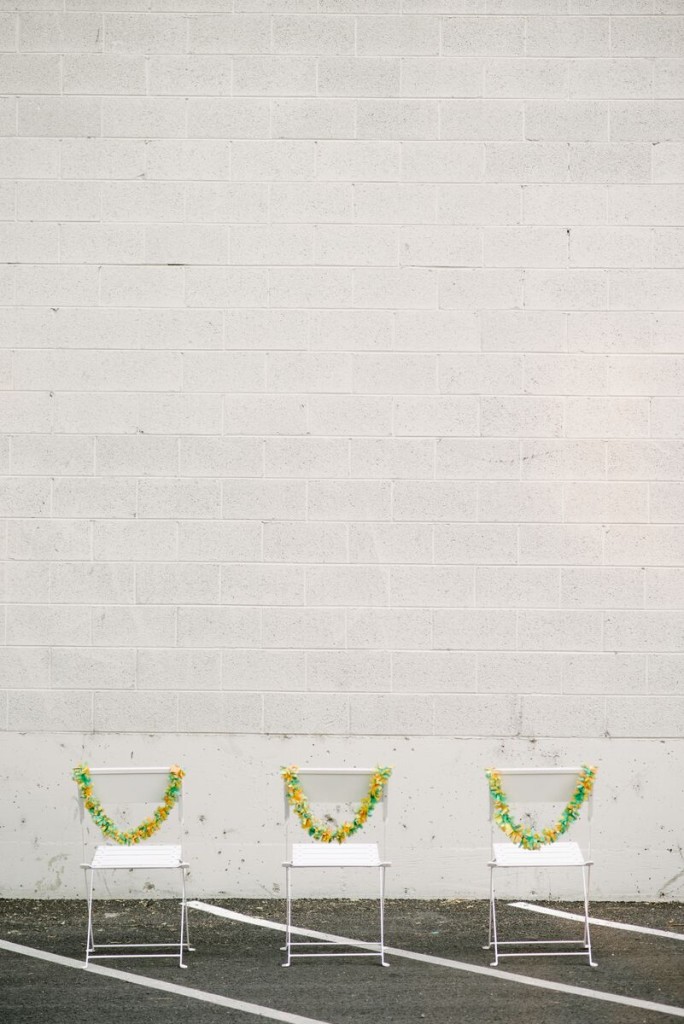
I’m sharing the how-to for these super easy DIY chair swags to amp up the tablescape at your next event or get together.
You can pull these DIY chair swags together in about 15 minutes, they are really easy to make, and you can completely customize the colors to match whatever party you are throwing too! Plus, they are really cute and festive, which is exactly what you want out of your party decor.
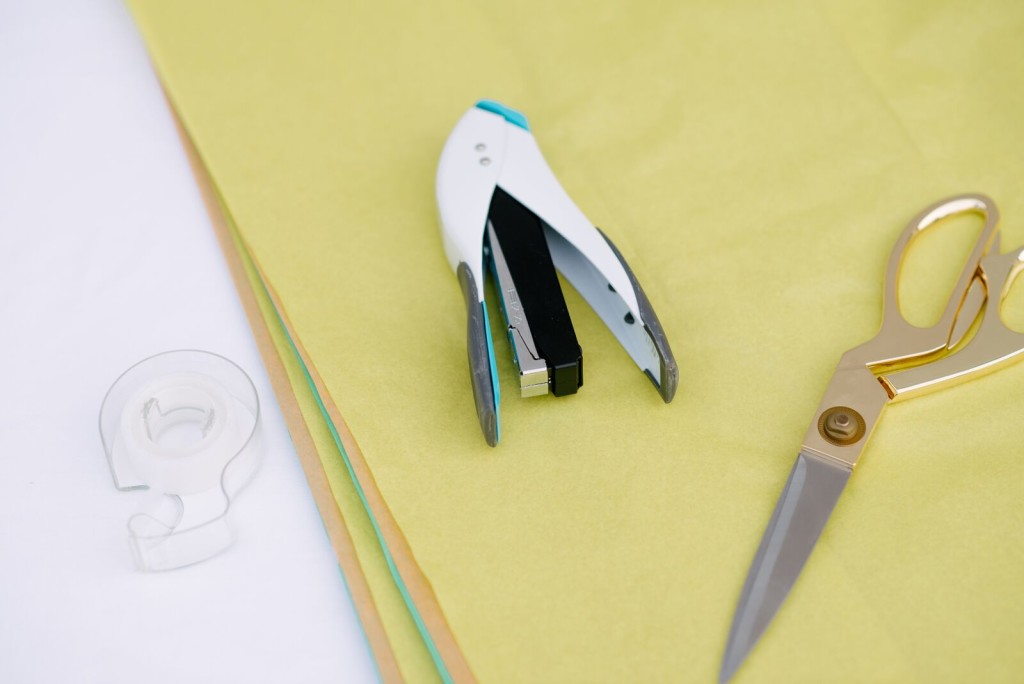 Here’s what you’ll need to make your own:
- Tissue Paper – Any Colors
- Stapler
- Scissors
- Tape or String
Start out by layering sheets of tissue paper on top of each other. I used 6 sheets and alternated between three different colors.
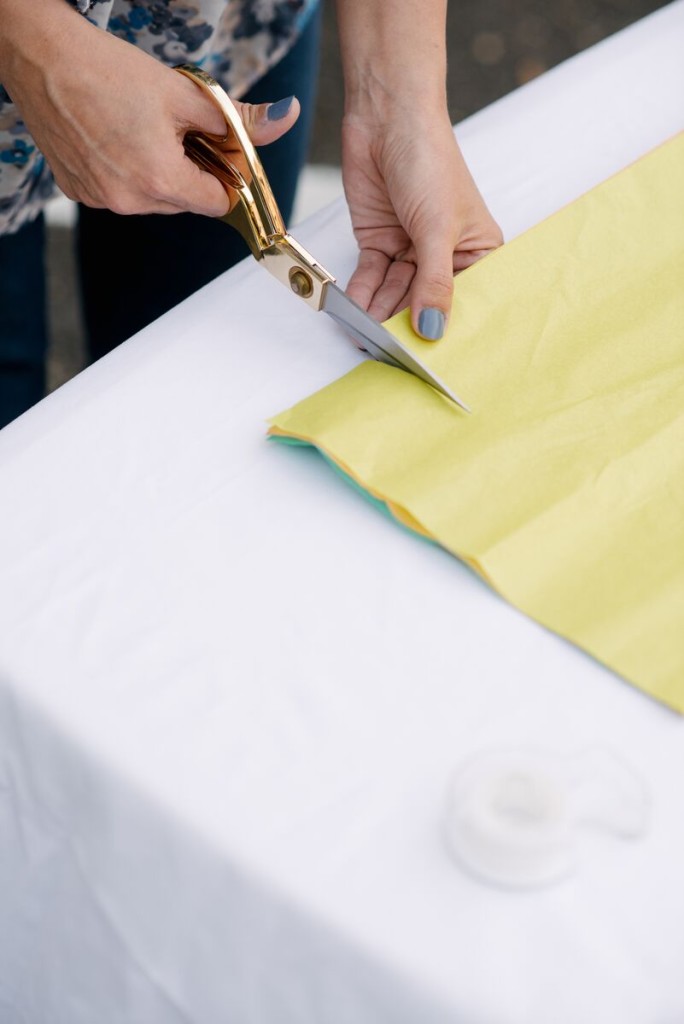 Cut your layered tissue paper into strips that are about 3-4 inches wide and 7-8 inches long.
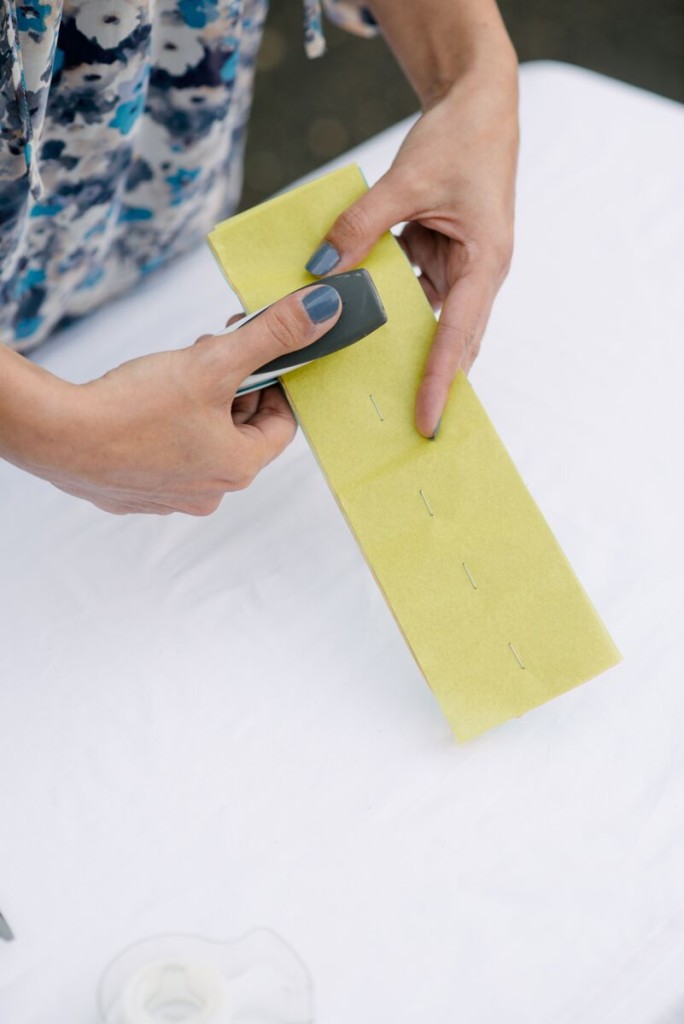 Once you have your stip cut out, staple it down the center.
 Next, begin cutting into the side of your strip, making sure not to go all the way through the center. Continue cutting all the way down the side of the strip.
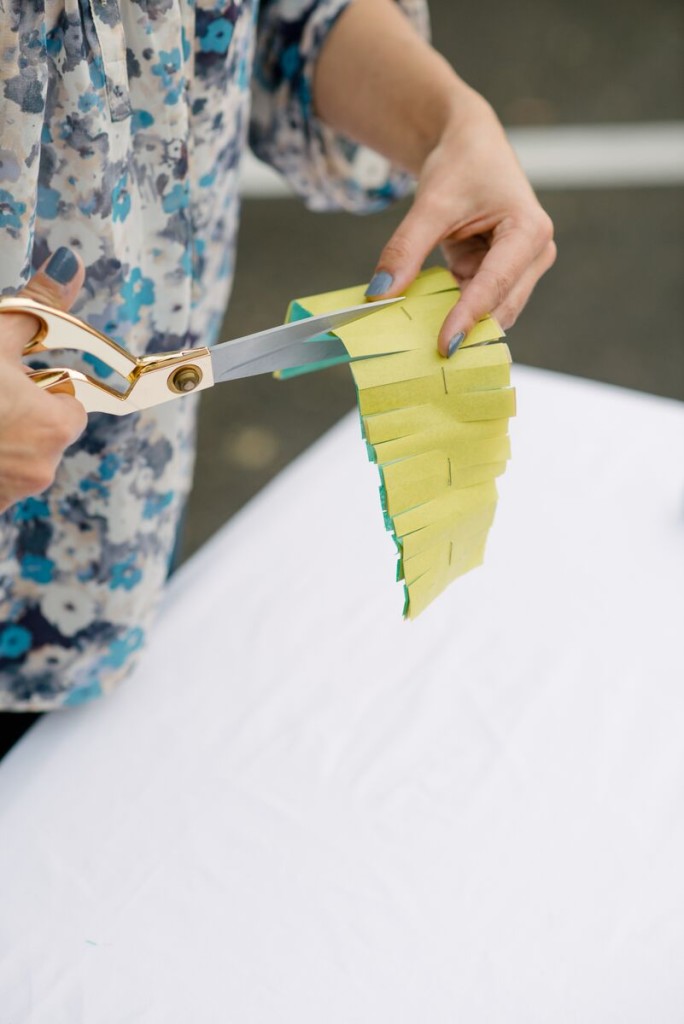 Repeat the same thing on the other side of your strip, making sure to leave room in the center, without going all the way through.
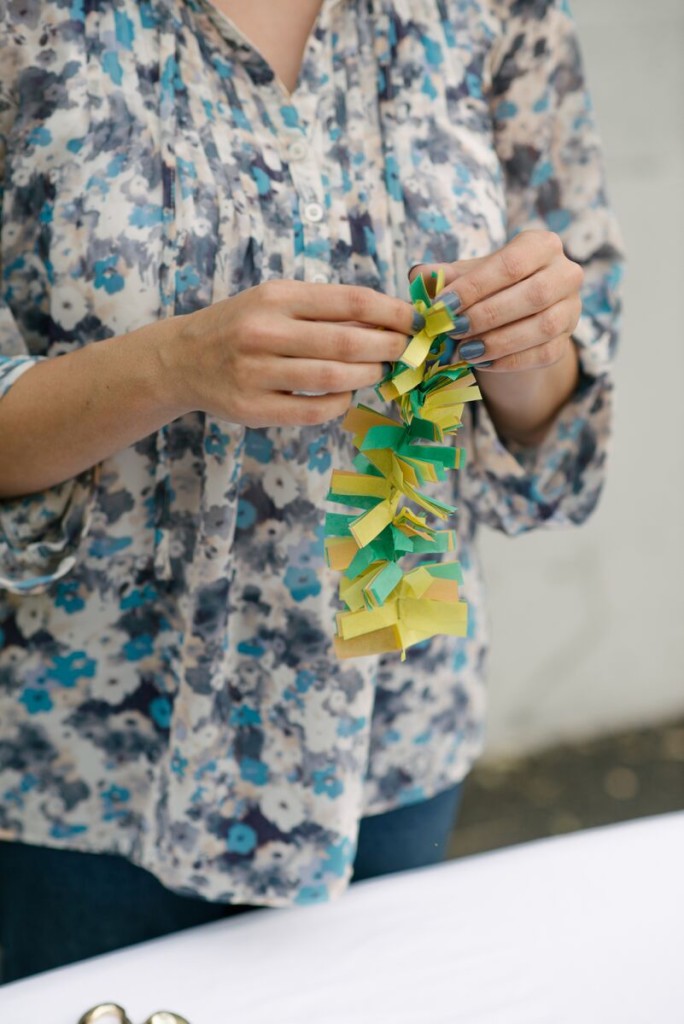 Once you have both sides cut, begin twisting the center of your strip tightly. Be careful when twisting it around the stapled areas.
Fluff out the tissue paper “fringe” after your finished twisting it. It helped to scrunch it up a bit too, to really give it a lot of volume.
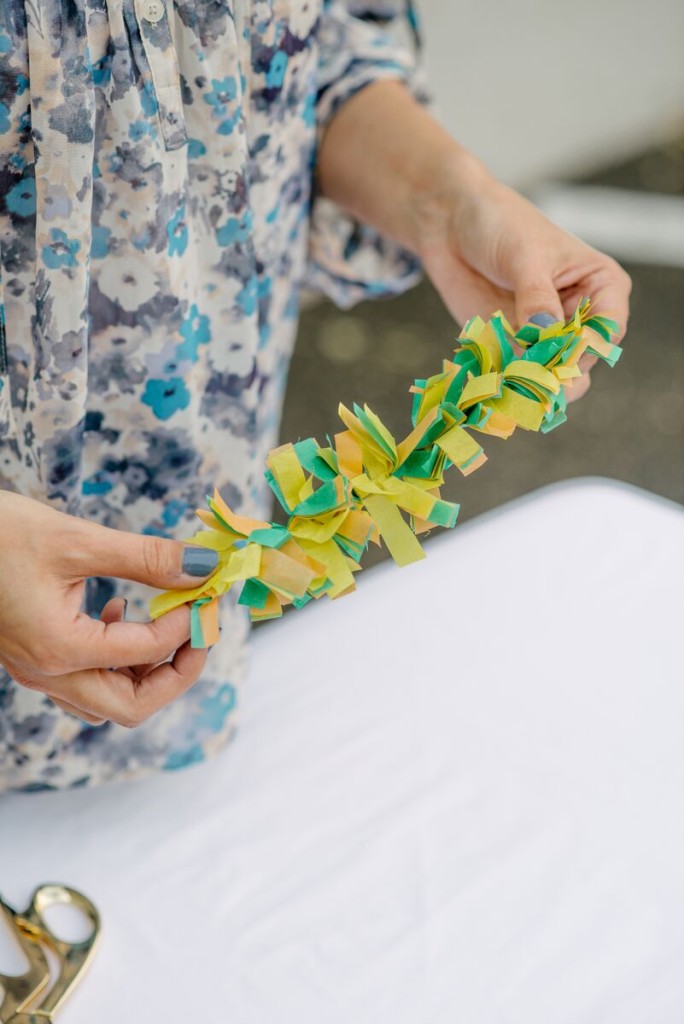 Repeat the process to make enough pieces needed to create the length of the chair swags that you want.
We they are all complete, staple the ends together to create the finished length.
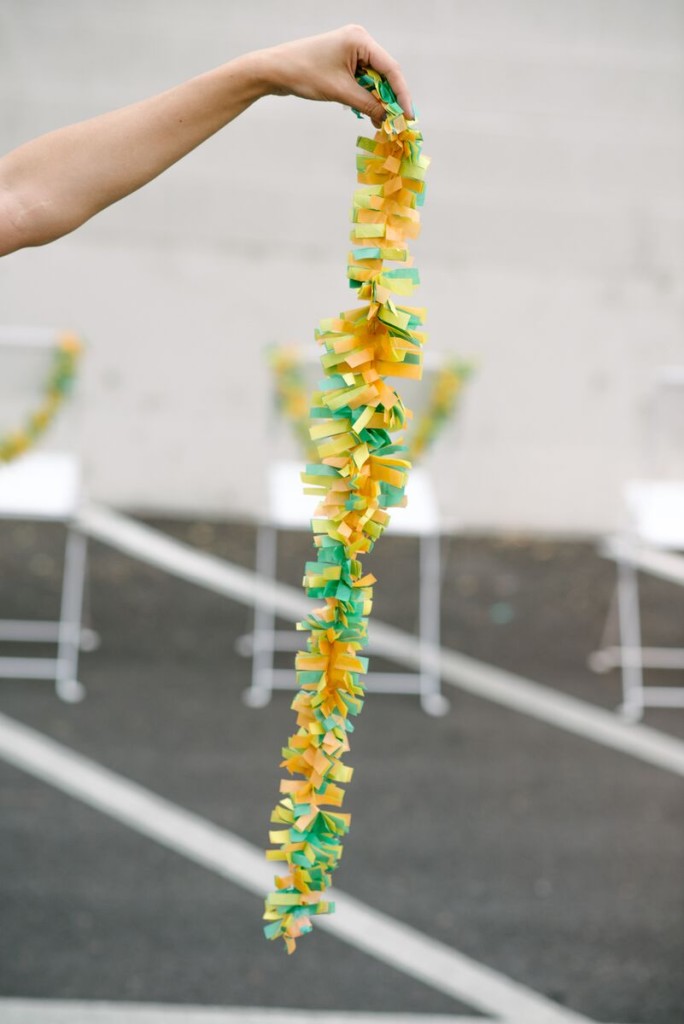 Using string or tape, attach to the ends of each of your chairs and drape along the backs.
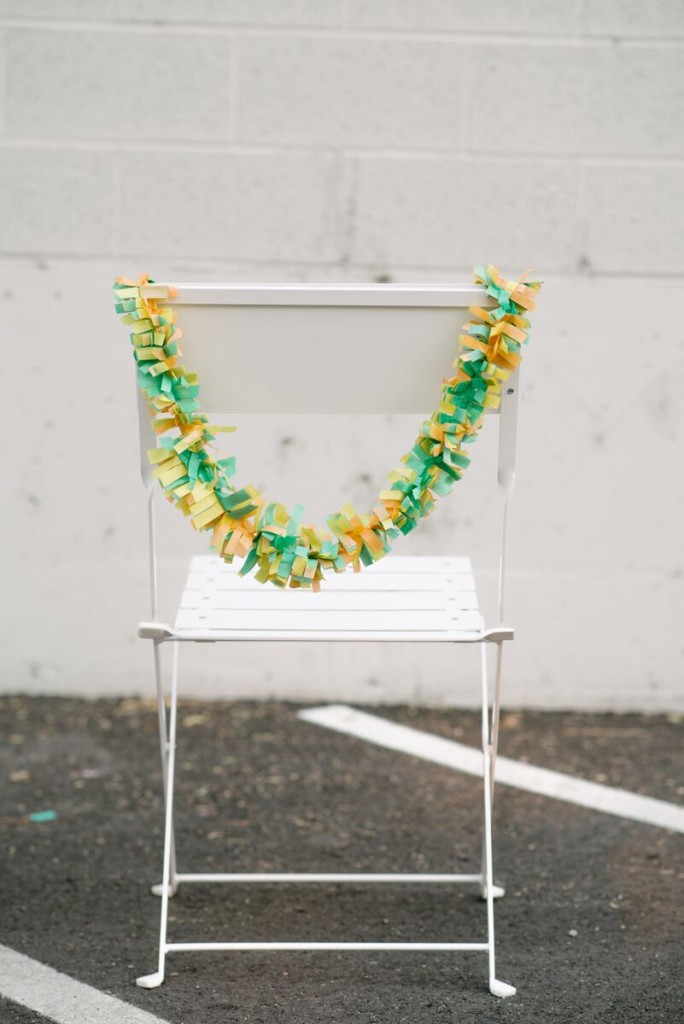
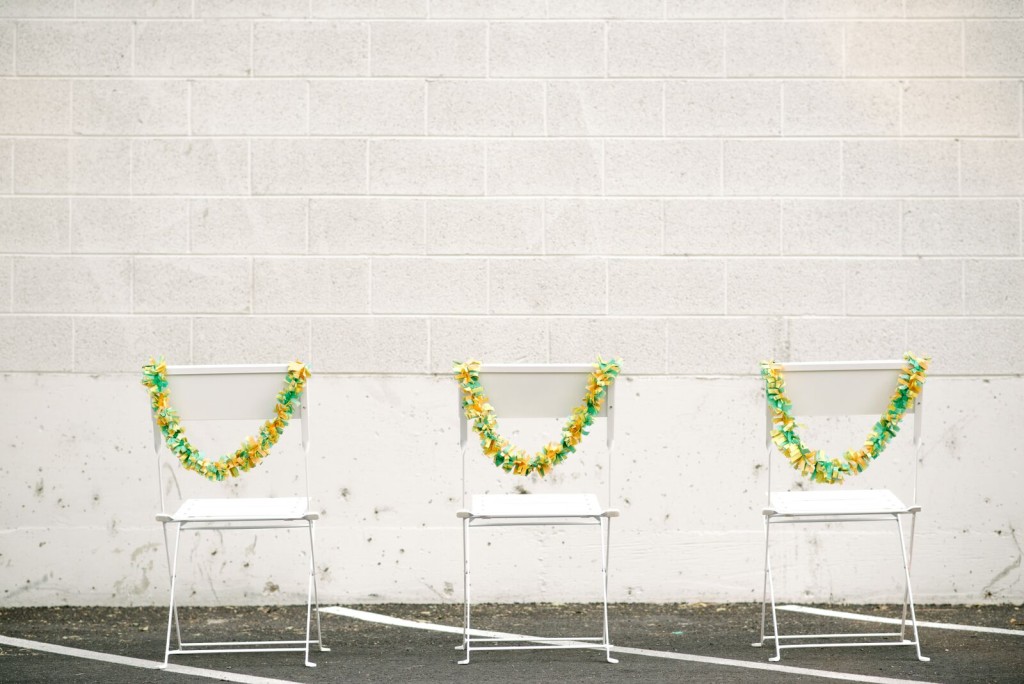 I could definitely see these in purple and black for the Raven’s at an upcoming Superbowl party 😉
These DIY chair swags are so fun and festive and so easy to make too! Oh, and did I mention cheap?!
No excuses why you can’t use them to decorate the chairs at your next party!
Photography by Haley Nord Photography

