 One of my very favorite things is cake. Homemade or store bought, I’m not picky.
I might have even been known to take a trip to the local grocery store to buy myself my very own cake. For no reason. This may have happened on multiple occasions too. (No, I don’t eat the whole cake. And come on, no judgement).
Another one of my favorite things is giving a normally boring store bought cake a pretty little makeover.
We’re now combining cake and a makeover. What is better than that?!
If you need to make a cake for a party, birthday, or get together, I am all for a homemade cake, but sometimes it’s easier and such a time saver to order from your local bakery or grocery store instead. Plus, you have some insurance for if those cake skills of yours end up lacking on the day of the party. 😉
And did you know that you can order a plain white cake (or any color) from the bakery? You don’t have to order one from those party books!
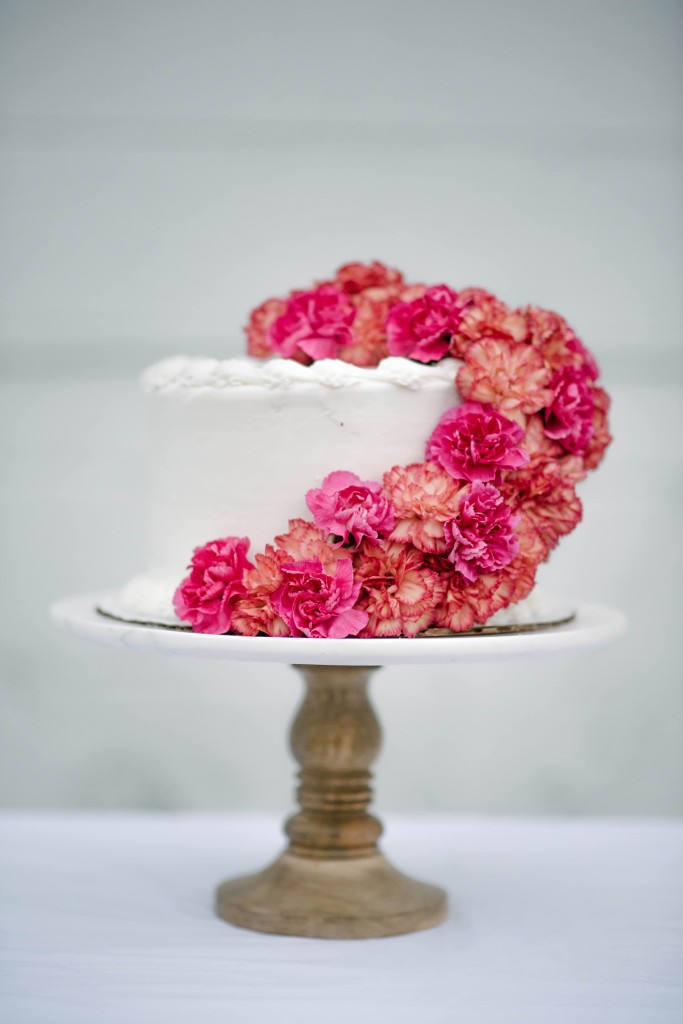
You can dress up a plain cake with a fun topper (like this one I shared here), but it’s just as easy to create a really memorable and gorgeous topper with fresh flowers, like the pros!
Today, I’m going to show you how to create a DIY fresh floral cake topper using only $10 worth of pretty blooms!
Flowers always have such a great impact for decor but they can definitely add up quickly and take over a budget. This cascading floral cake topper DIY is cheap, easy, and gorgeous!
Here’s what you’ll need to make your own:
- Cake
- Fresh Flowers
- Scissors
When selecting your flowers, pick a variety of blooms that will hold up well for a bit without water. I used carnations. Carnations usually get a bad rap because you can find them easily and they are fairly cheap to purchase, but they are also so hardy and do well under a lot of normal stress that most flowers can’t handle. And they are cheap so you can get a lot of flowers for a small amount of money compared to other varieties. I picked up this bunch from Costco for $9.99! Total score.
First, use your scissors or shears to cut the heads of the flowers off of the stems. Leave about an inch of the stem on the bloom to ensure you’ll have enough to stick into your cake and that they won’t fall out.
 For this floral cake topper, I stuck to one color palette and then used a few bright pink carnations to add some dimension and a pop of color to the overall design. You can use any colors you want and any pattern you want too. (An ombre floral topper would be STUNNING!)
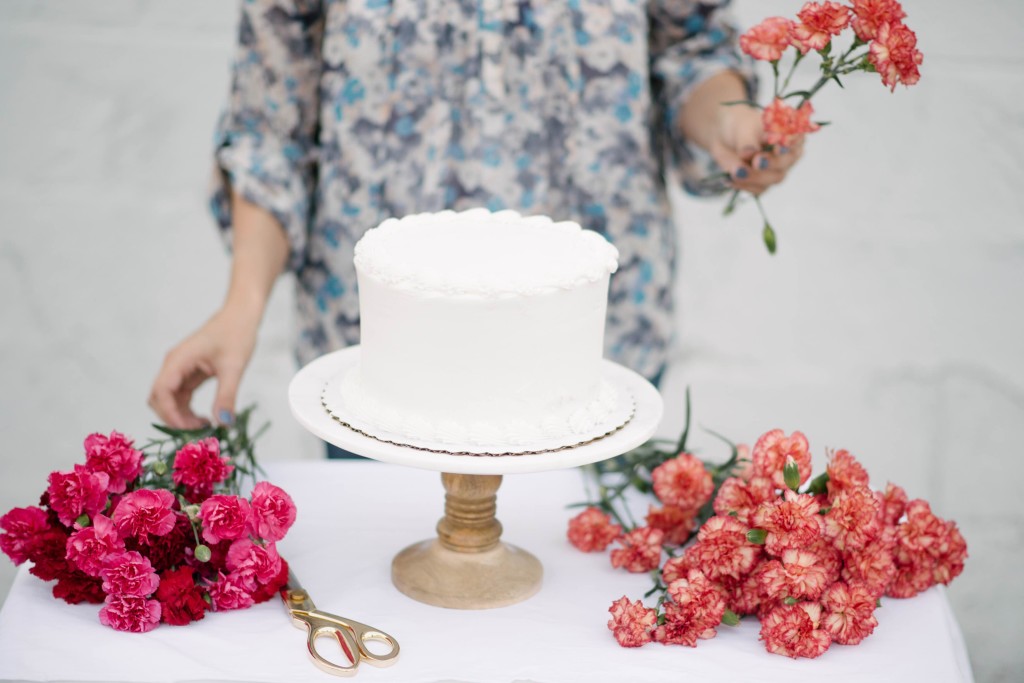 If you are doing the same, start off using your base color of flowers first. Begin adding a few blooms into the top and center of your cake. Push the stem in, just until the bottom of your flower head hits the cake.
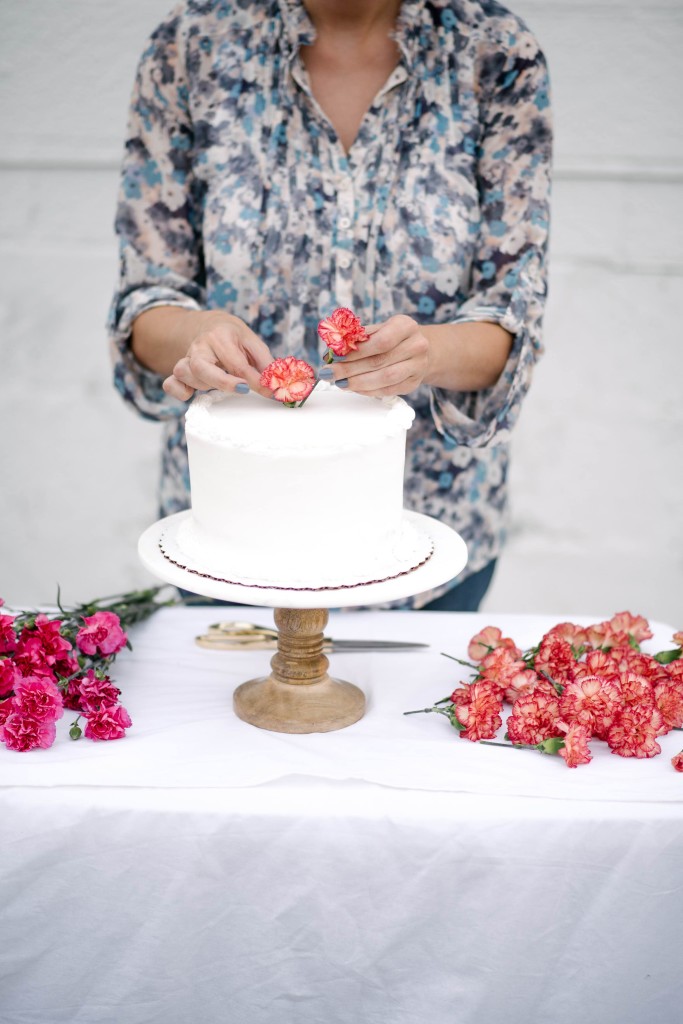 Create a small circle of blooms on the top of your cake and then start placing your blooms towards one of your edges. Don’t worry if you have small gaps at this point. You can fill them in as your continue to build up your design.
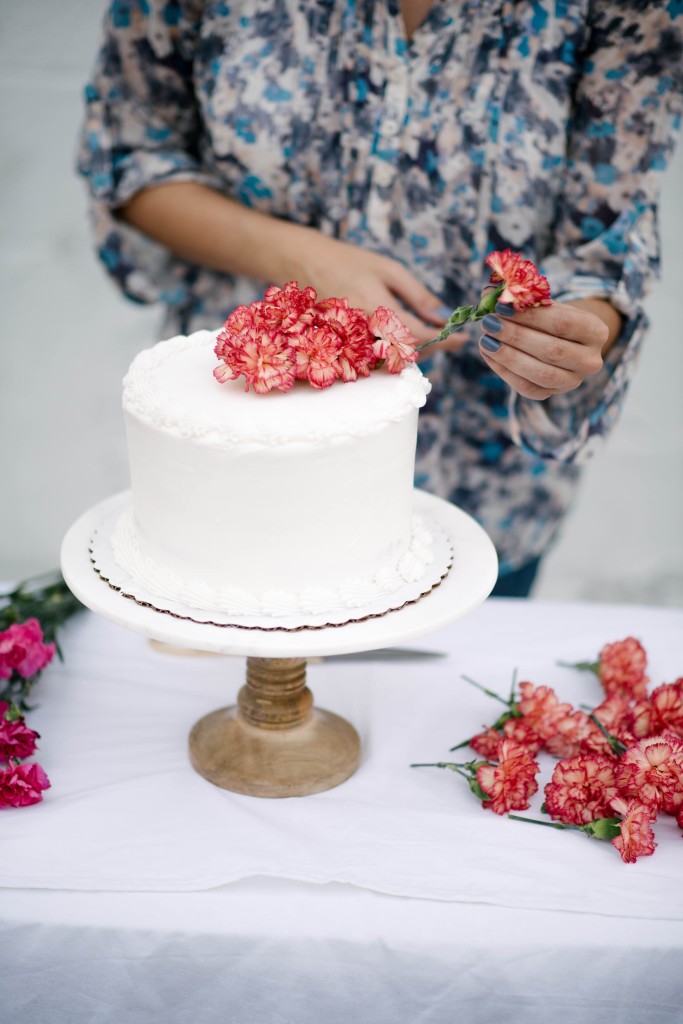 Using the same technique, begin placing your blooms down the side of your cake, making sure to create a “swooping” effect so that the blooms begin to circle around towards the front of the cake.
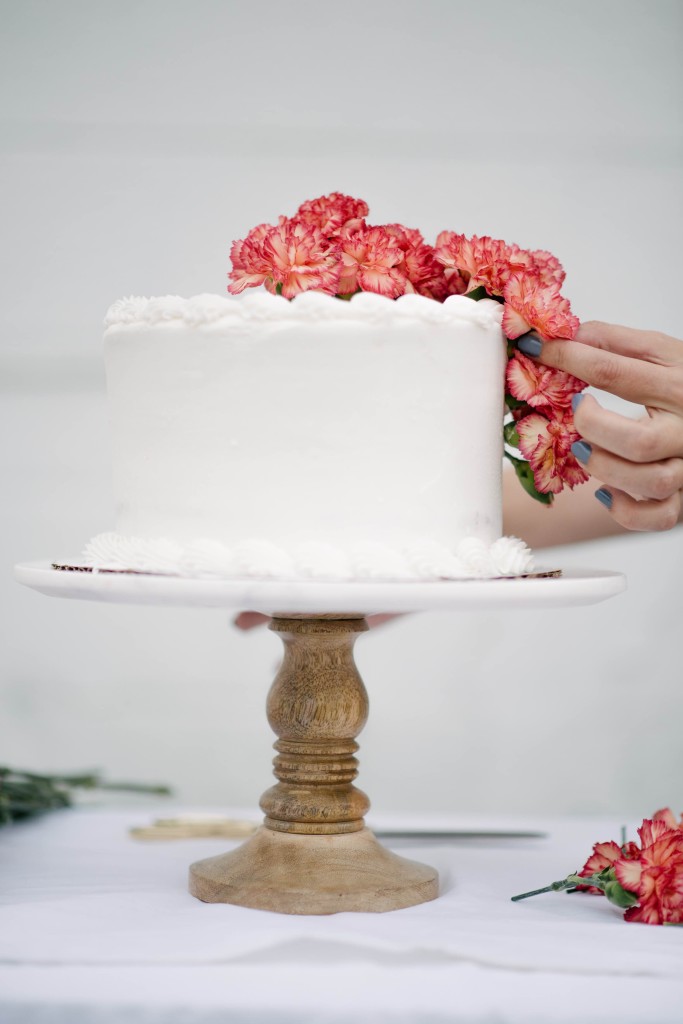 Keep adding blooms until you’ve reached the front and bottom of your cake.
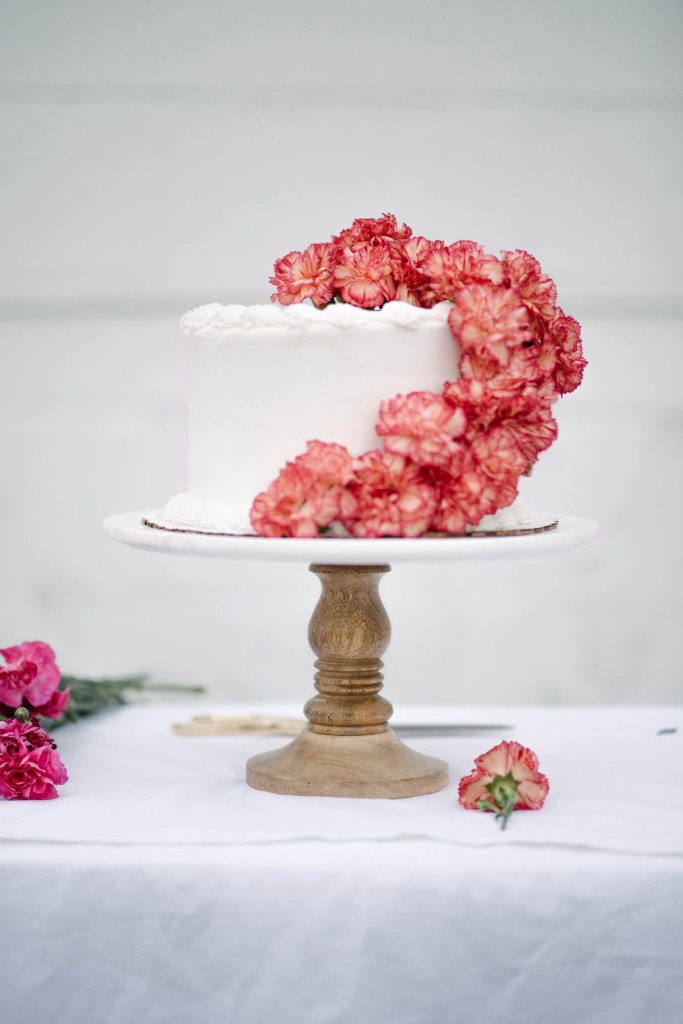 Once your basic “swoop” has been created, begin filling in any gaps that you have with your brighter flowers to add a pop of color and more dimension to your design. If you’ve not sure where to add more flowers or where a gap might be, take a step away from the cake and look at it front different angles.
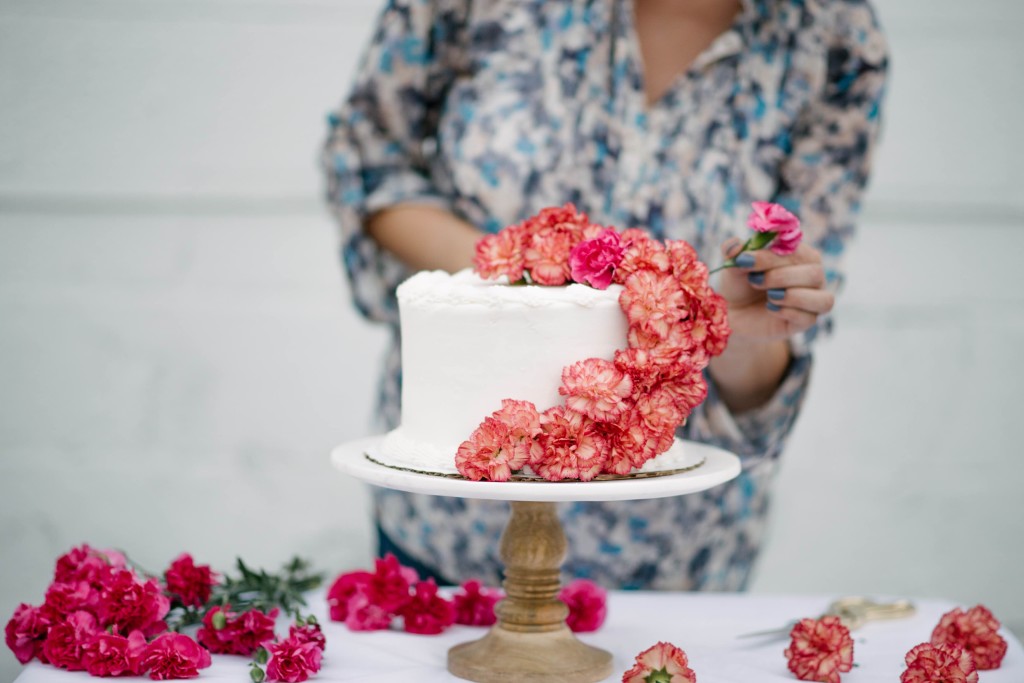
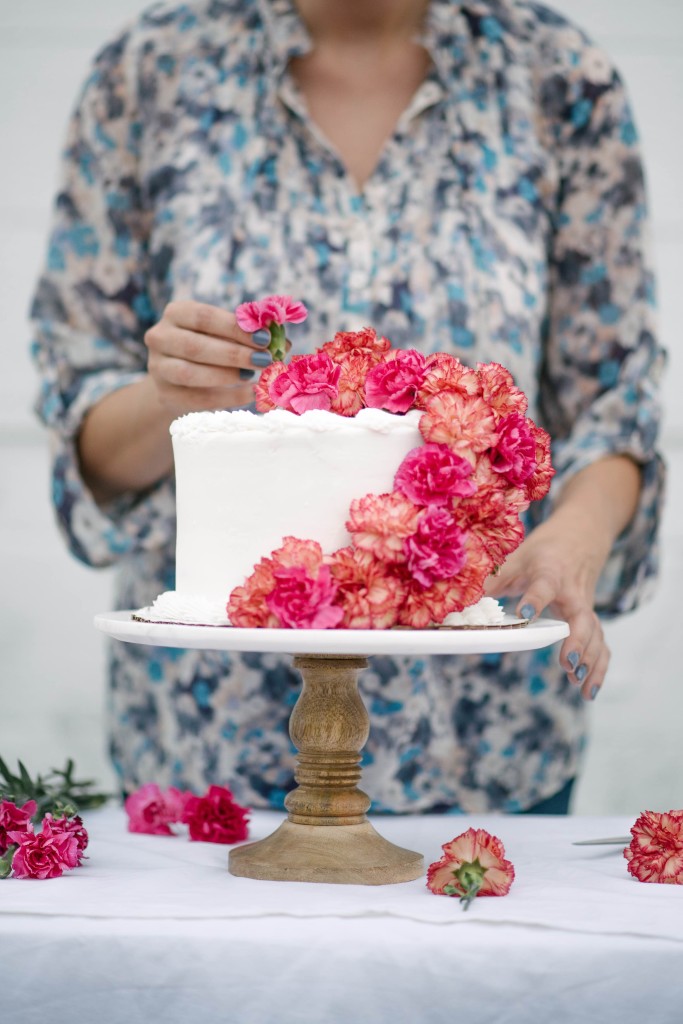 I like to end the “tail” of the design a little bit past where the original on the top started, to give it more of a natural feel, but you can completely customize it to your tastes and opinion too.
When the design looks full, you’re done!
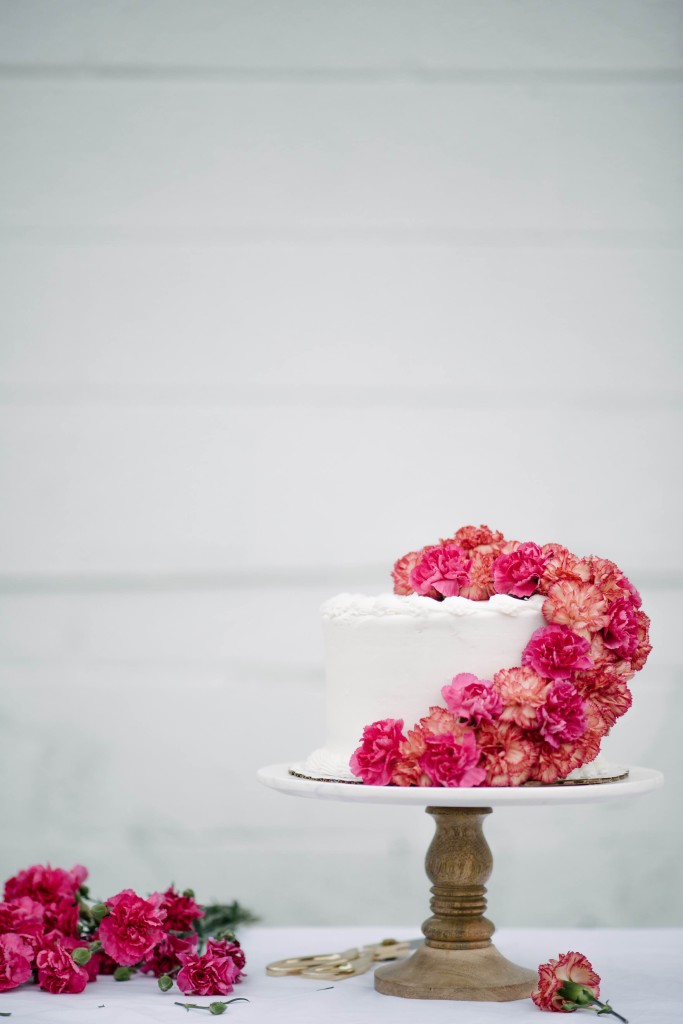 This DIY fresh floral cake topper is such an easy way to upgrade a basic grocery store cake and really make a statement! And for $9.99, you really can’t go wrong at all.
Don’t mind me, while I sit and have a piece with my coffee this morning. 😉
Photography by Haley Nord Photography


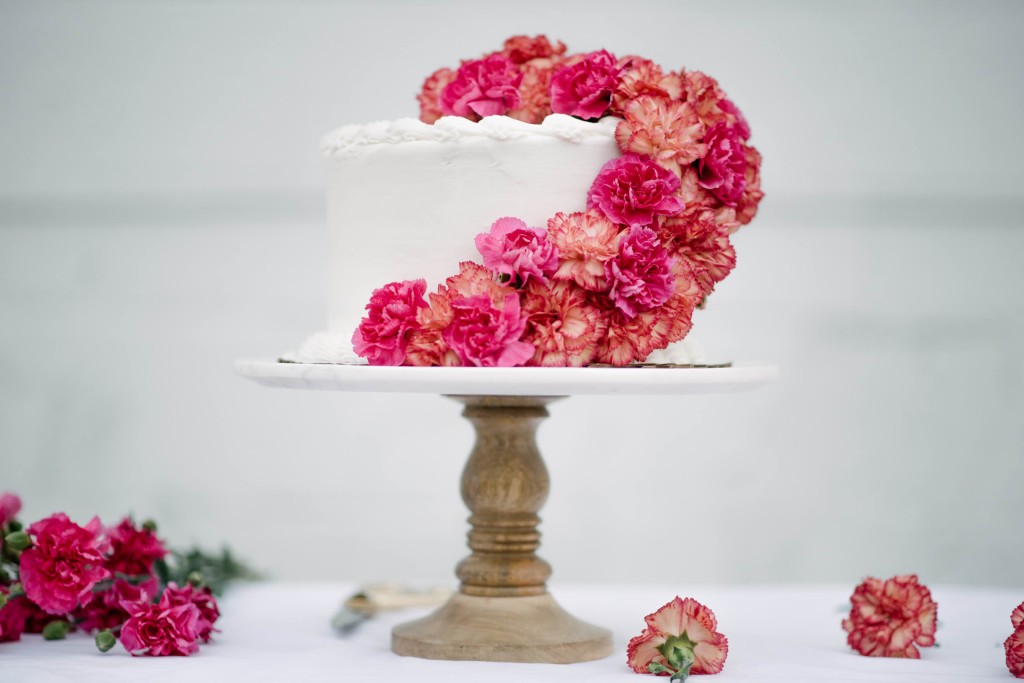

This is an awesome idea for a diy! I would’ve never thought of this & the cake is beautiful once you’re done. The pink really pops on the white frosting!
Great DIY! Will be following you on Pinterest also!
Love!! Gorgeous makeover and great idea!! Gonna try it!
Now I just want to bake a cake and dress it up! Thanks for sharing. Great tips for home or even the growing wedding photographer who can’t afford to pay someone for their services yet in regards to styled shoots. <3
I absolutely love this floral cake topper! Such an easy DIY to do for upcoming birthdays! Love!
This is so stunning, love the colors! Also, off-topic, but beautiful manicure too – gray is so great.
I’m totally going to try this!!!
Okay, and now I am obsessed with that cake stand! It’s darling. Love this idea too of course : )