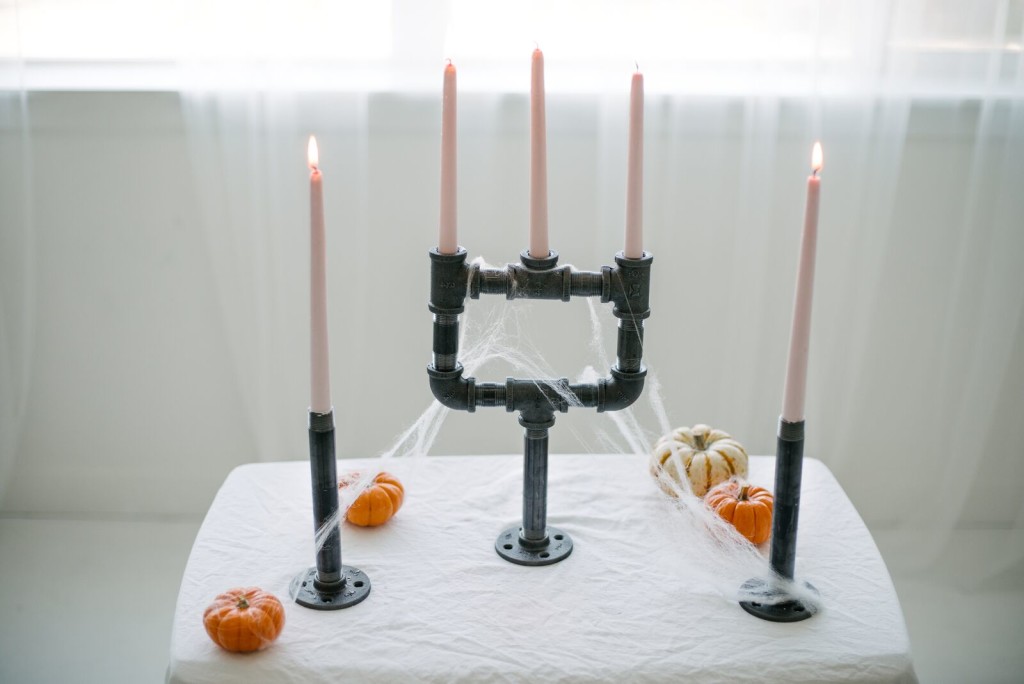
 There is definitely a place for blood, guts, and the usual Halloween garb and decor, but sometimes going the simpler route with minimal decor can be just as effective for the creep factor.
Basic elements, in neutral palettes, add to a sterile feeling in all the right uncomfortable Halloween ways. I think it reminds me of Dexter and his iconic pristine crime scenes, or a hospital setting. (Did you guys watch Dexter? Soooo good).
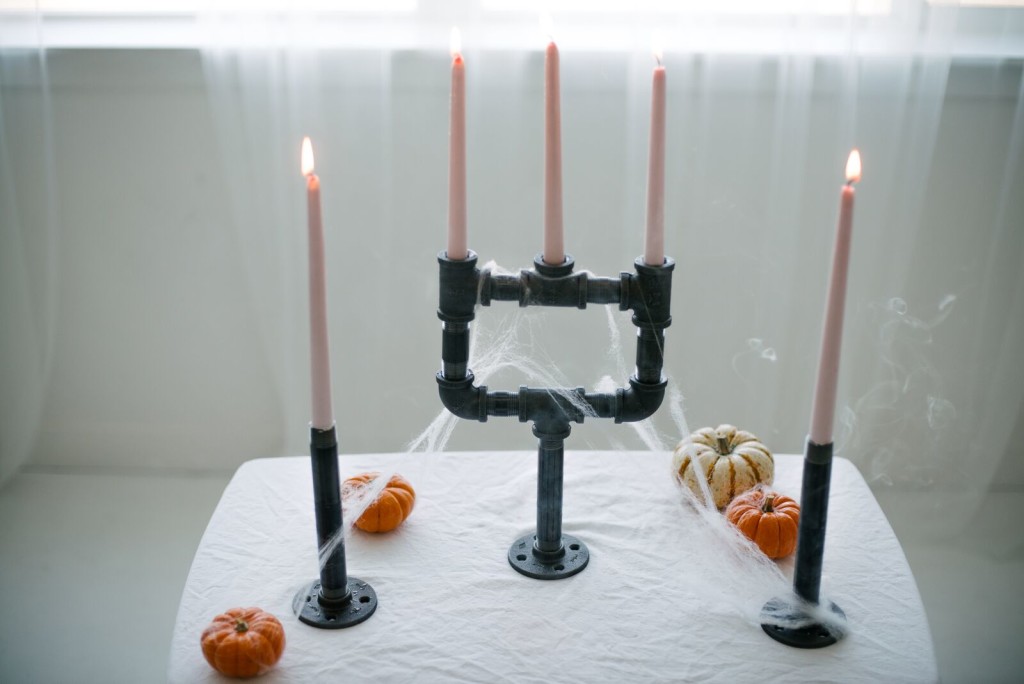
An all white dinner party with cobwebs, bloody taper candles, and industrial elements also scream “Halloween” to me in an elegant way. If that’s even possible with Halloween!
 Today’s DIY is just that, and also the perfect addition for your Halloween dinner party tablescape. Plus, it’s super easy to put together, which is always good!
This industrial DIY pipe candelabra was made using materials found in the plumbing section of my local home improvement store, which can actually be an AWESOME place to find a lot of great DIY materials, in case you haven’t ventured into your local store lately 😉
Keep in mind that with this DIY project, that you will get a bit grimey in the process. Plan on having some dirty hands after, because all of the metal pieces are full of grease, so make sure you are able to wash you hands well once you’re done!
Here’s what you’ll need to make your own:
- 4 – 3/4″ tee pieces
- 3 – 3/4″ floor flange pieces
- 2 – 3/4″ 90 degree elbow pieces
- 4 – 3/4″ x 2″ nipple pieces
- 2 – 3/4″ x 3″ nipple pieces
- 2 – 3/4″ x 8″ nipple pieces
- 1 – 3/4″ x 6″ nipple pieces
- 5 taper candles
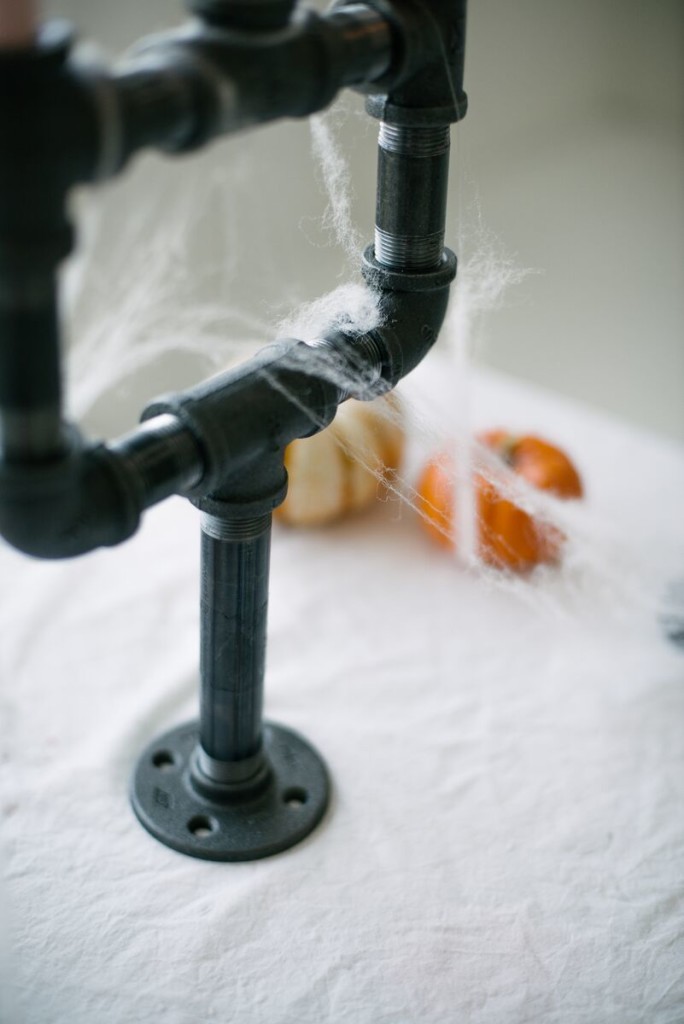
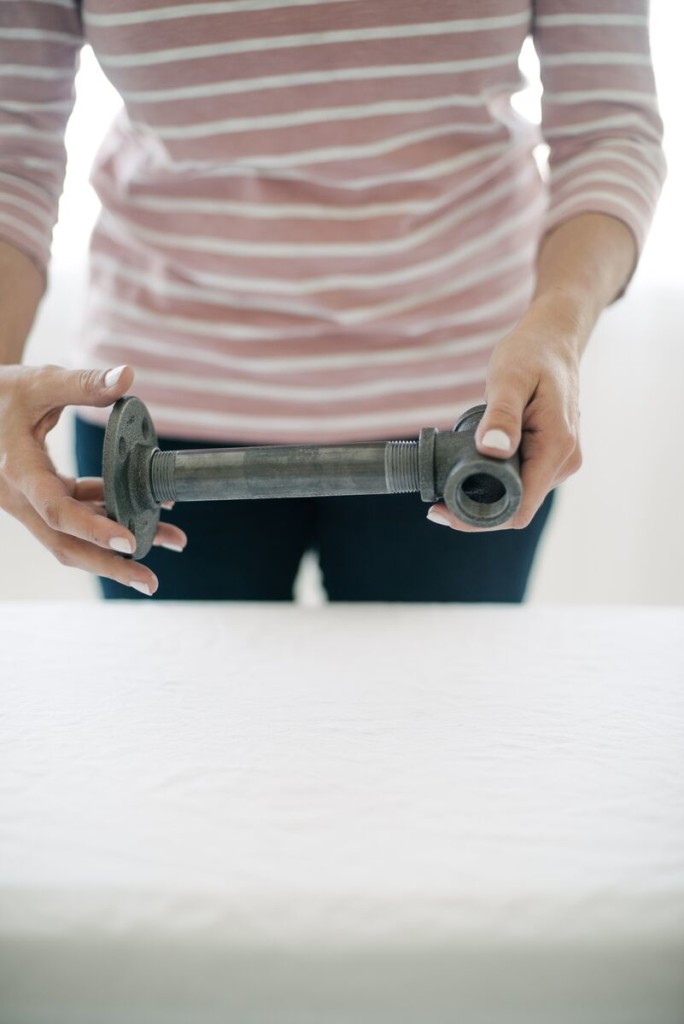 First, screw the 6″ nipple pipe piece into one of the floor flange pieces. Then screw one of the tee pieces onto the top of the nipple pipe.
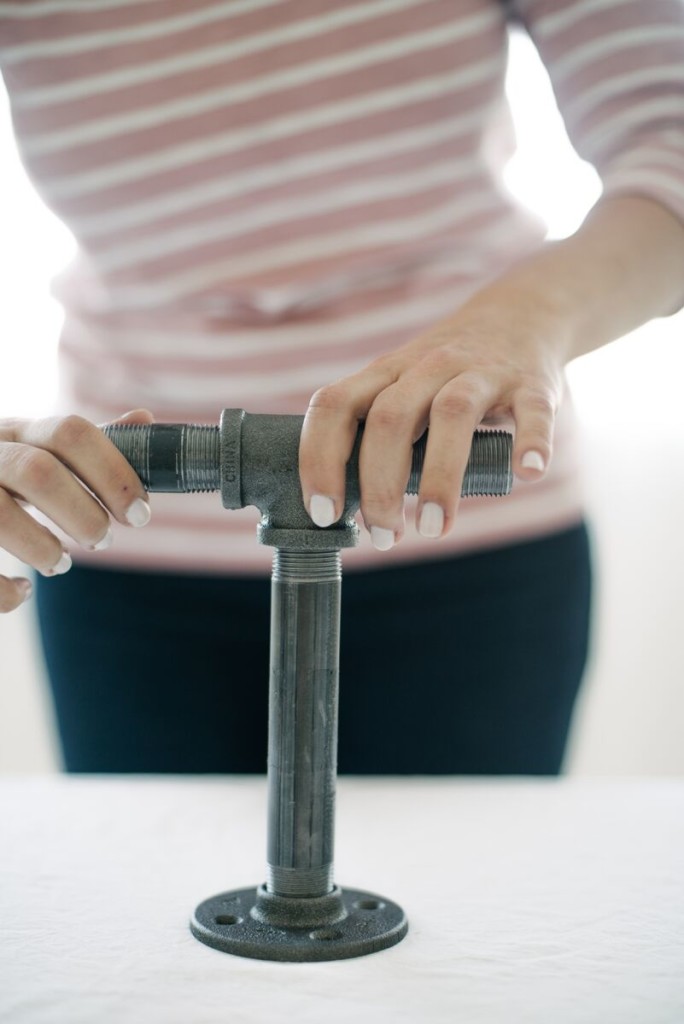 Screw two of the 2″ nipple pieces onto both ends of the tee piece.
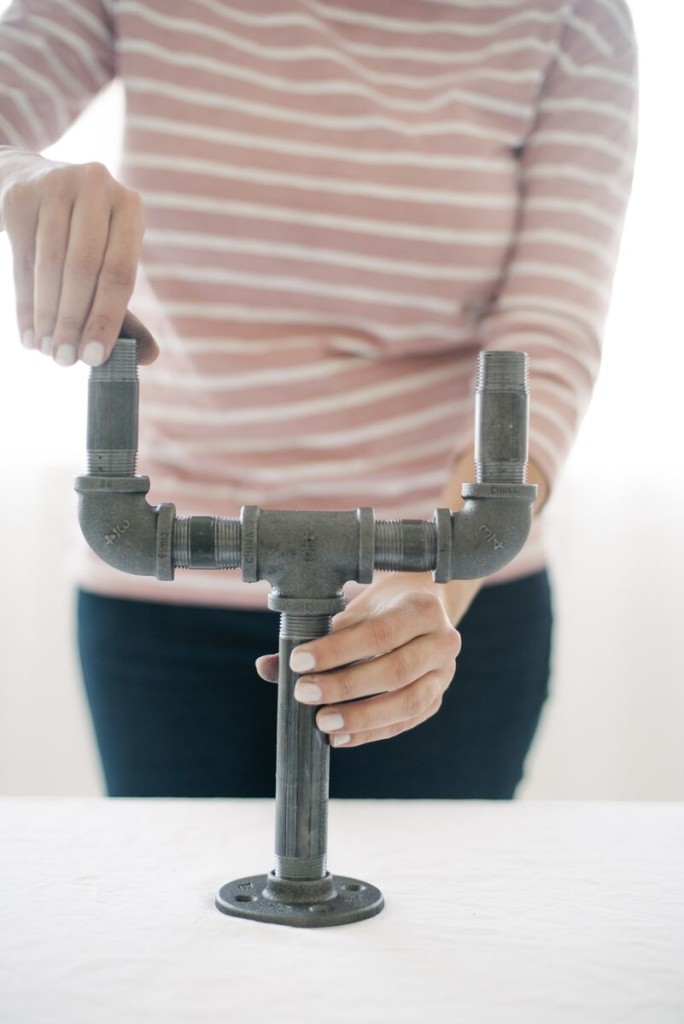 Onto the ends of each of the 2″ nipple pieces, attach a 90 degree elbow piece. Top each of the elbow’s with the 3″ nipple pieces.
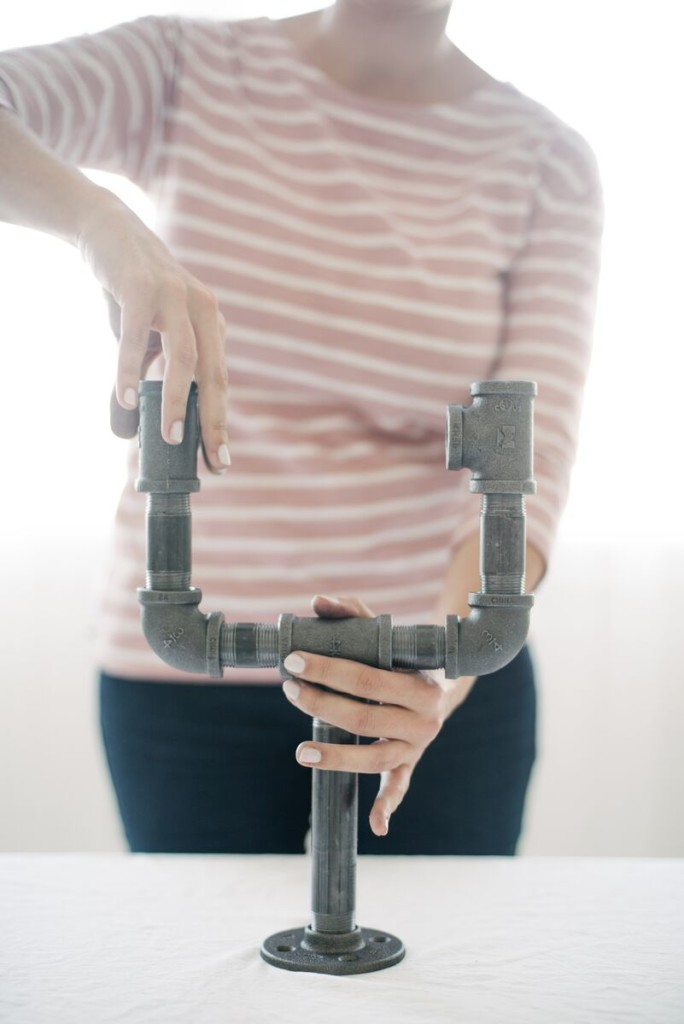 Attach two more of the 3/4″ tee pieces onto the tops of the 3″ nipple pieces that you just attached, ensuring the center of the tee’s are facing into the center of the candelabra.
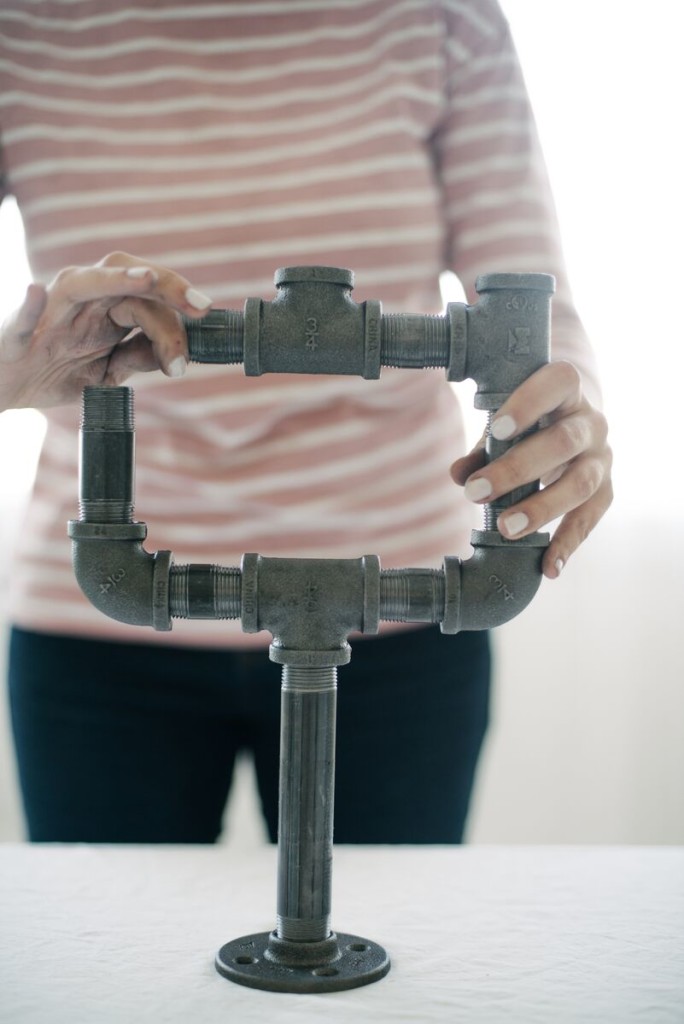 Next, attach the last two 2″ nipple pieces to the center’s of the side tee pieces, and then secure the last 3/4″ tee in the middle of the candelabra, with the top opening facing up (for your candle).
It can definitely get a little tricky on this last step and might require a bit of loosing and adjustments on other pieces to get everything to fit together. Be patient though, it is possible, it just takes a little bit of modifications and patience to get it to fit completely together.
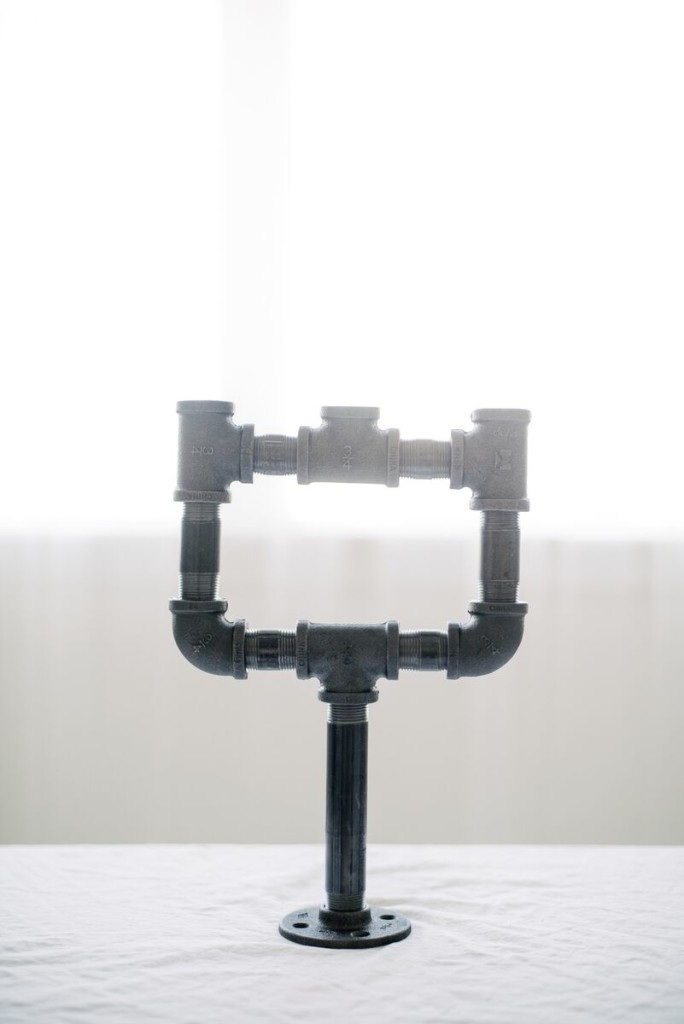 To create the two smaller candle stick holders to flank the candelabra, just screw the two remaining 8″ nipple pipes into the two remaining floor flange pieces. Those little guys are simple to create!
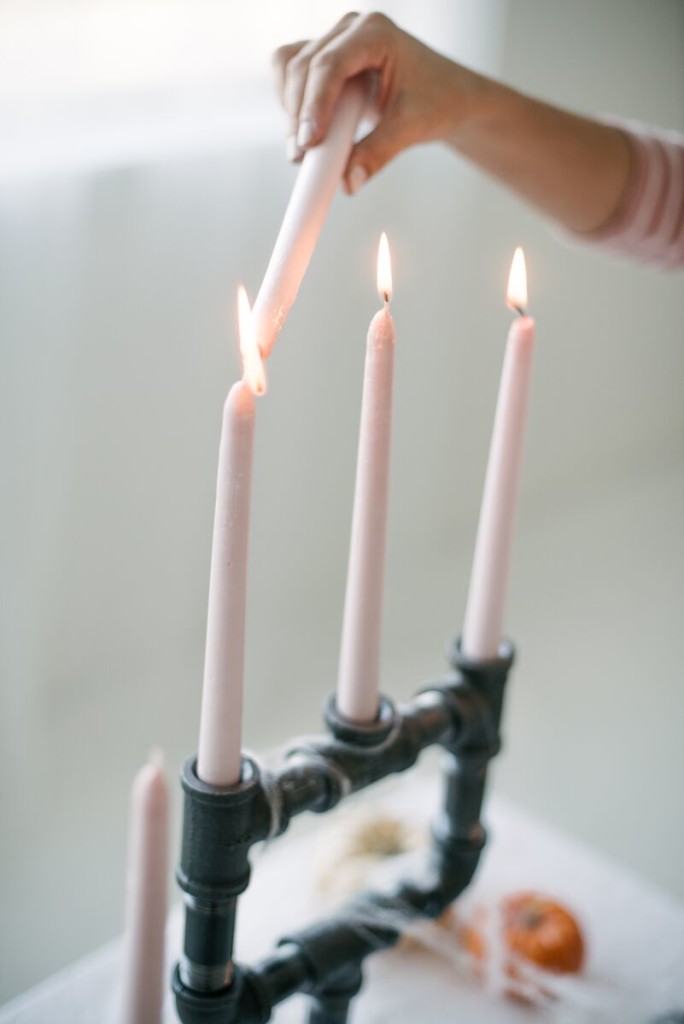
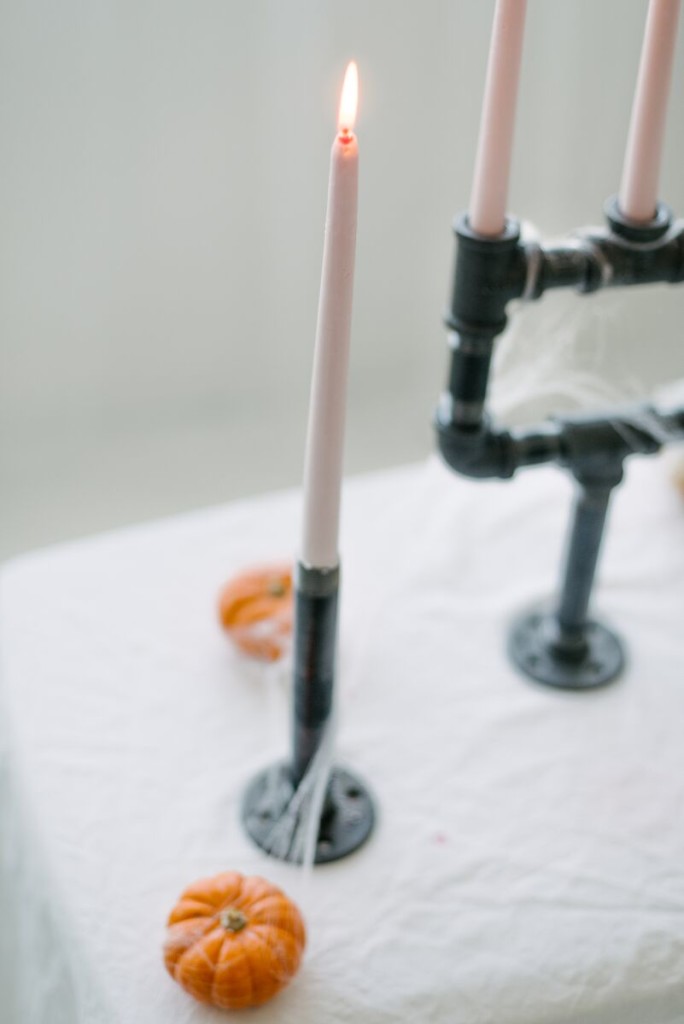 Finish by adding your taper candles to the openings in each of the pipes. You can melt a little bit of the candle wax into each opening and then secure your candles into the melted wax to prevent them from moving around, or you can use Stickum. You can also heat the base of your taper candles, before placing them into the holders, to soften them up a bit to fit easier, especially in the two single holders.
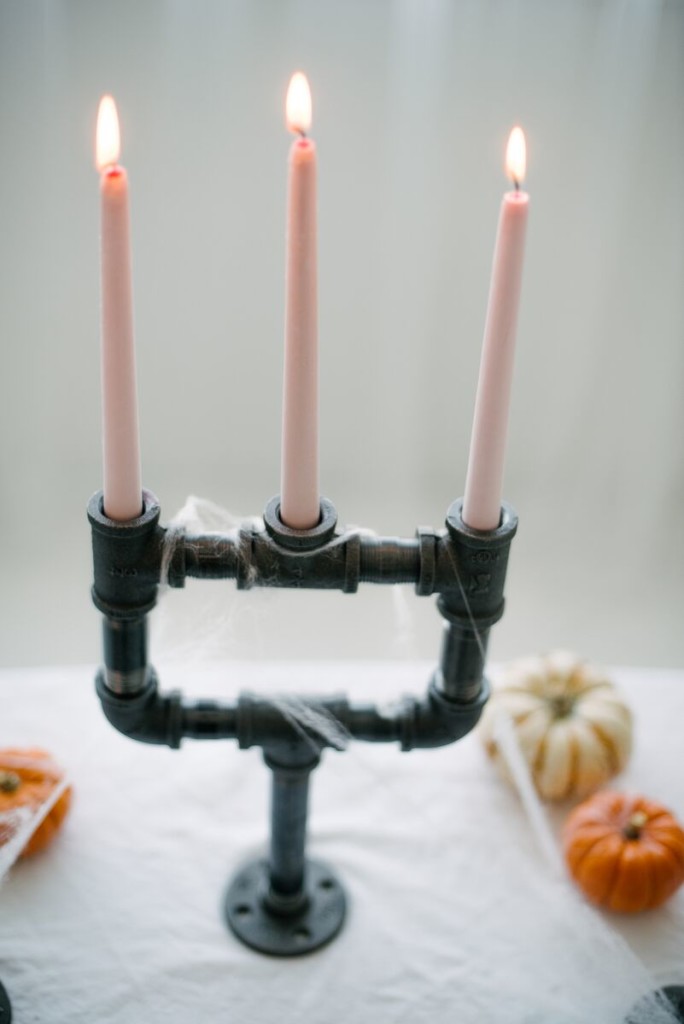 Add some spiderwebs, a few fake spiders, and bloody taper candles and you’ll have the perfect centerpiece for your halloween table that adds just the right amount of industrial creep factor. It’s also an awesome addition for a steampunk theme too!
Metal pipe can be a little bit pricey (I spent about $35 on all of these pieces), but you could also create the same result with PVC piping and then just spray paint it silver or black for the same effect. (I would recommend using a bit more weight for the base, if you use PVC though, to prevent it from falling over).
Perfectly simple and perfectly Halloween!
Photography by Haley Nord Photography


This is awesome! Gonna make this for my wife’s birthday. Thanks!!!