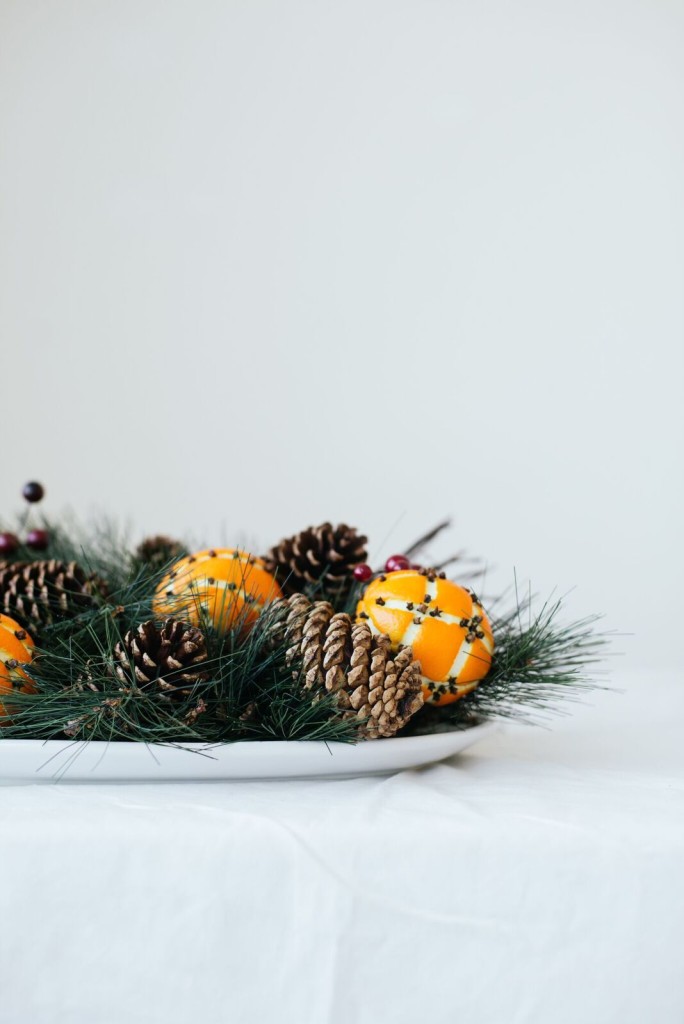
 I’m such a sucker for holidays and the traditions that go along with them. I definitely drive my family crazy with the jam packed calendars that I try to fill with everything I can to get the most out of the season. Yep, I definitely annoy them, but oh, well, they will thank me later, right? 😉 I’m also always on the hunt for new traditions that I can add to my list. Crazy, yes. Festive, absolutely.
One of those things that I’ve recently discovered is orange clove pomanders. They are so pretty and I never really realized how easy they were to make, until this year!
 I’m always looking for simple ways to dress up my home for the holidays and I wanted to create a fun focal point and centerpiece for my table that is going to last for the whole season. Don’t get me wrong, I love fresh flowers, but after a week or so, they usually loose their luster and I wanted something to last until New Years!
Once I found out how fast and easy the pomanders were to make, today’s post was born.
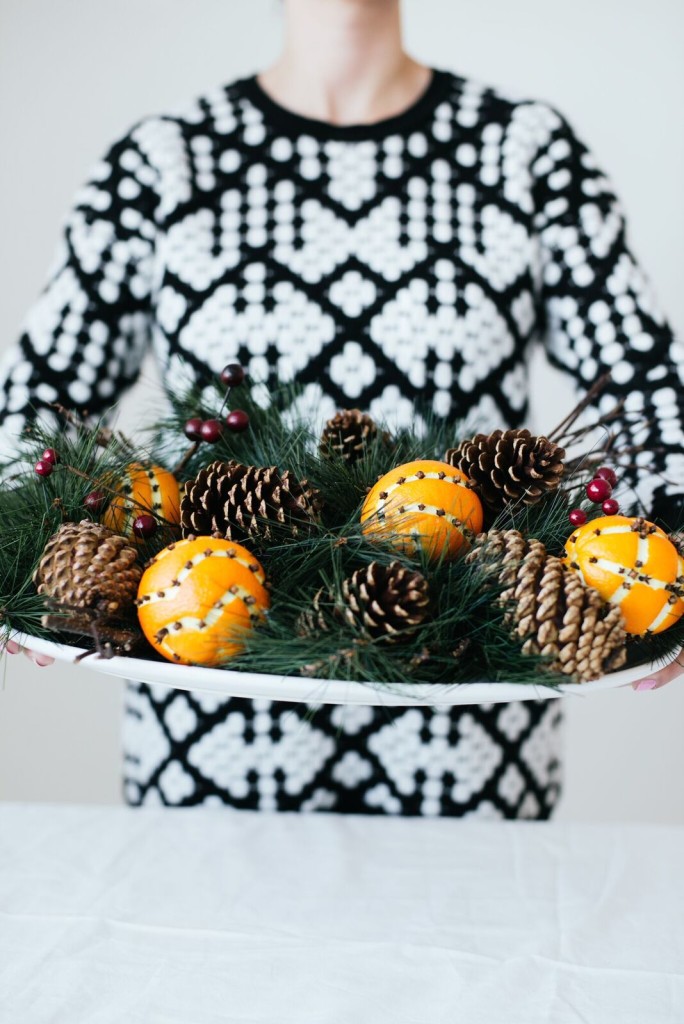
I paired some fake greenery, oranges, and a few pine cones together and created an orange clove pomander centerpiece that is the perfect holiday treat for my table, and I did it for about $12. Not too shabby and it’s pretty gorgeous if you ask me.
And not to mention, this centerpiece is SIMPLE to make and even easy enough for the kids to help with too. That’s my kind of project!
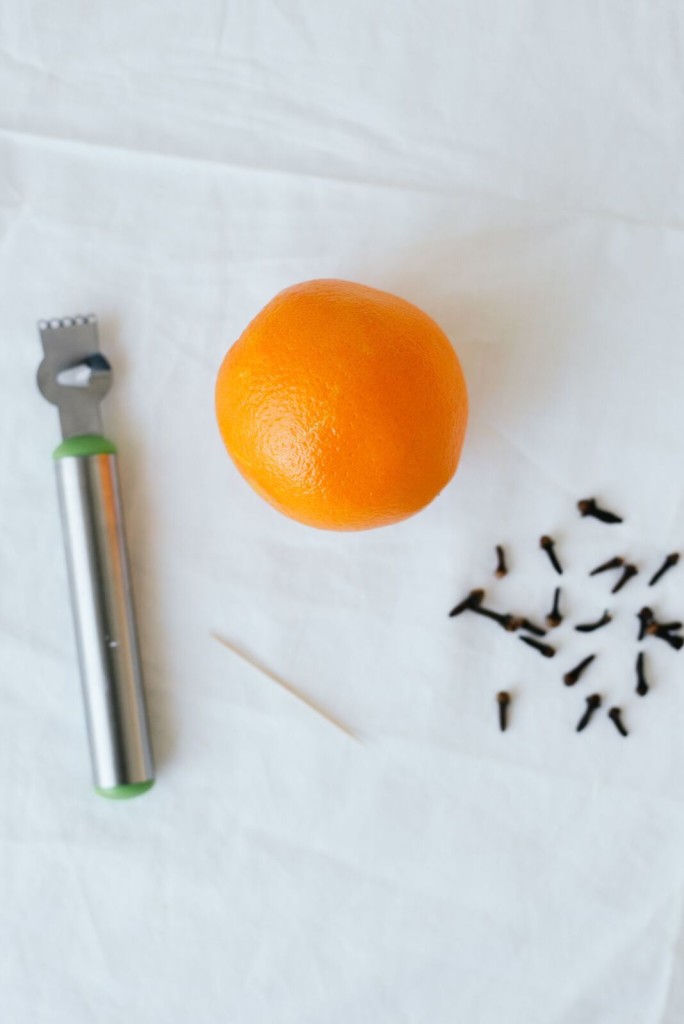
 Here’s what you’ll need to make your own:
- Oranges
- Whole Cloves
- Greenery (Real or Fake Works)
- Pine cones
- Sticks, Natural Wood Pieces, Fake Berries (Optional)
- Toothpick
- Serving Platter
First, we’re going to create our orange clove pomanders.
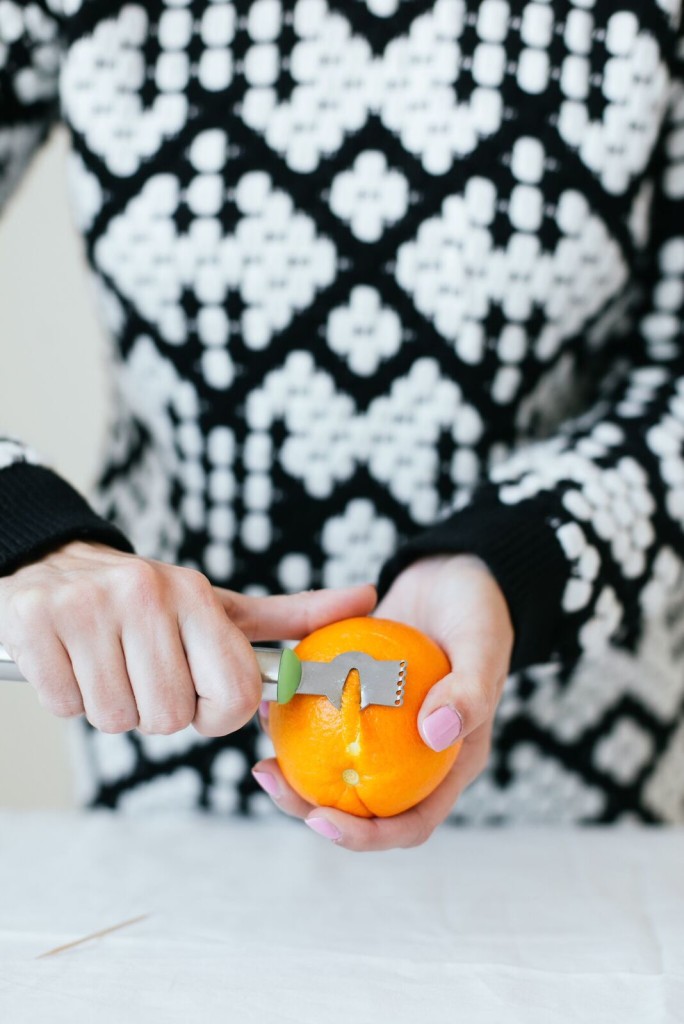
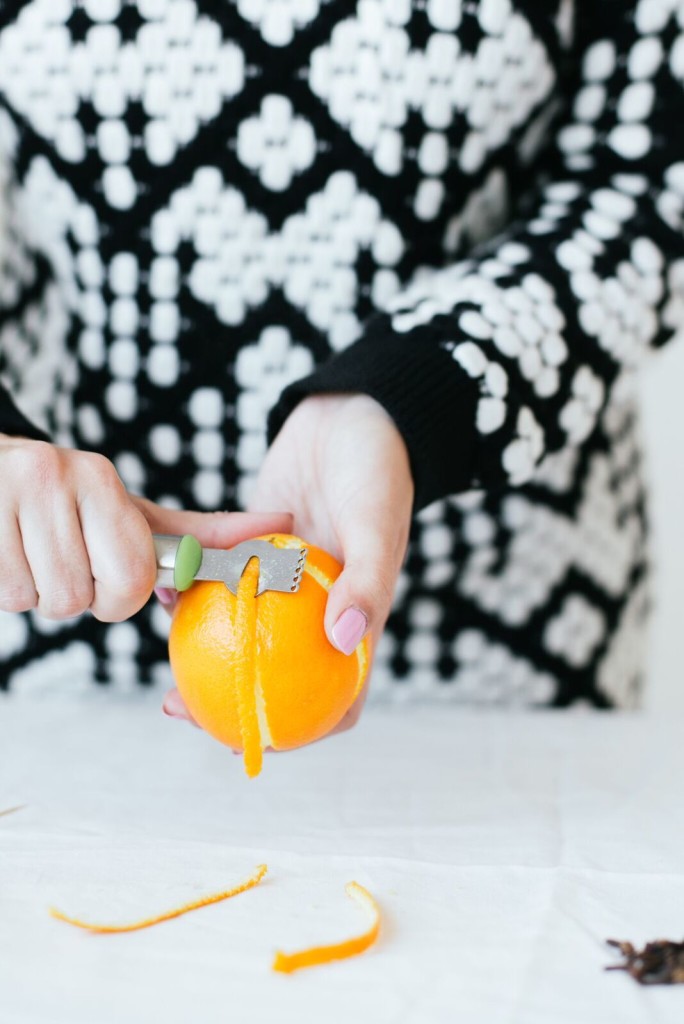 Using a citrus zester, begin peeling just the outer layer of orange skin in any pattern you want. (Part of the fun is coming up with new designs to do!) Make sure you’re not peeling too far down that the orange is showing. You still want a little bit of the white left under the peel.
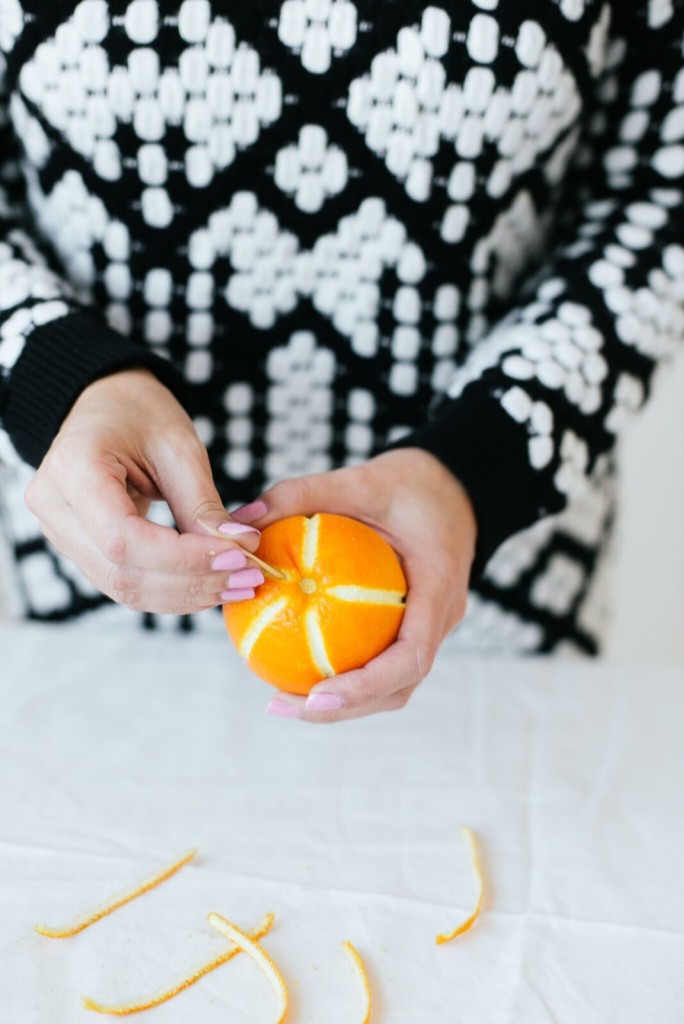 Once you have all of your orange sections peeled, use a toothpick to poke small holes into the peeled areas where you want your cloves to fit. The toothpick isn’t necessary, but I find that it makes sticking the cloves in easier and they are less prone to break.
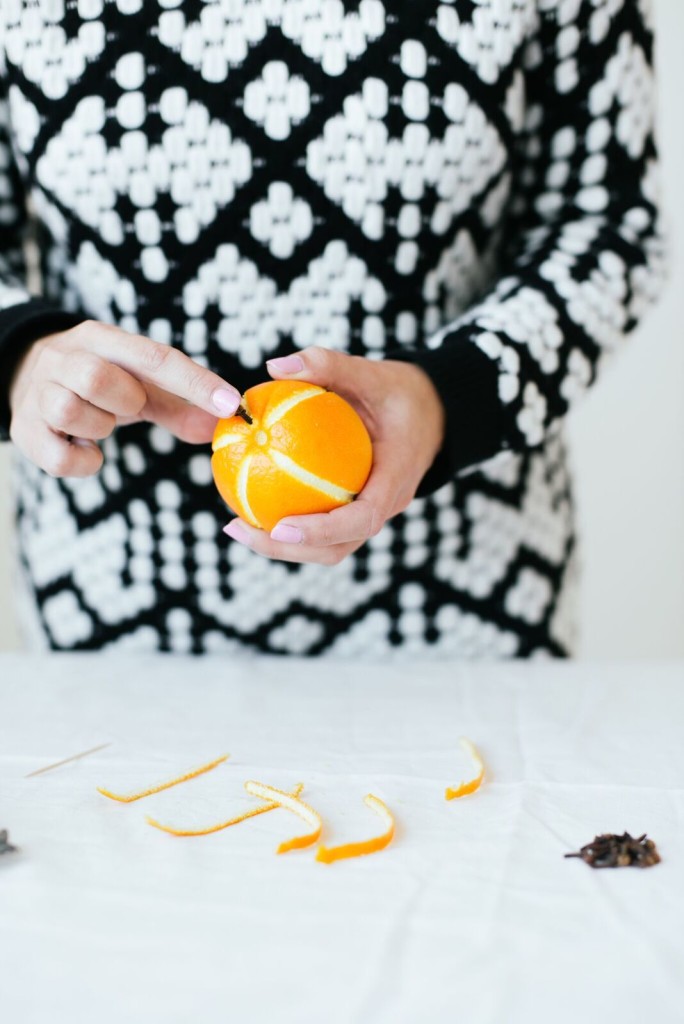 Next, insert the whole cloves into each of the holes created with your toothpick. You can fill in the entire peeled area with cloves, or insert them randomly in your own pattern. There are no rules.
Once done, repeat the process until you have enough oranges done to add to your centerpiece. I chose to make five of them, but you can do as many or as little as desired.
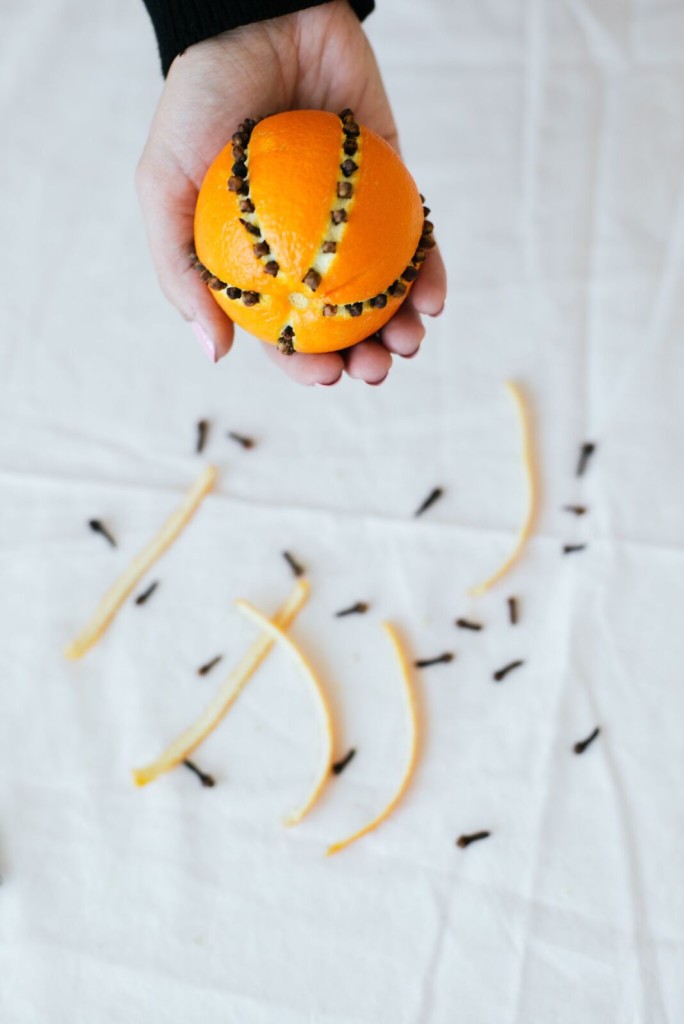 Once your oranges are done, we’re going to start arranging the centerpiece.
Using your platter as a guide, begin cutting your greenery in sections to fit the size of your serving tray. And trust me when I say that real or fake are equally as great. True, that with real greenery branches you’ll add a pine scent to the arrangement, but you can just as easily achieve that smell with the fun pine scented sticks you can find in your local stores in the holiday section. (Love those things for fake Christmas trees too! Have you seen them around?) I also like using fake branches for the arrangement too because you don’t have to worry about needles falling off and finding them around your house for the next month! Plus, you can re-use the branches every year!
 Begin arranging your greenery on your platter to fill in the empty space. You want to create a full cluster that fills the plate well. If you are using fake branches, you can bend the pieces to fit the platter you are using until you have achieved the full look you want. If you are using real branches, cut them until you have your desired shape. It might be a bit more tricky if you use real branches, since you’ll be working with the natural bend and shape of the greenery.
 Once your greenery if arranged, begin inserting your pine cones and oranges into the arrangement. I nested some farther into the greenery and others right on the top of the arrangement. You can play with the look and feel of the placement as you go and step away from it and take a look at it from all angles as you go to avoid missing gaps that you might not see when you’re standing over it and working on it.
 Once your pine cones and oranges are placed, fill in any small holes with your fake berries and/or wooden sticks to complete the arrangement.
The oranges will dry out over the next week or so and will shrink in size, but will still continue to smell wonderful as this happens and will last for the entire holiday season.

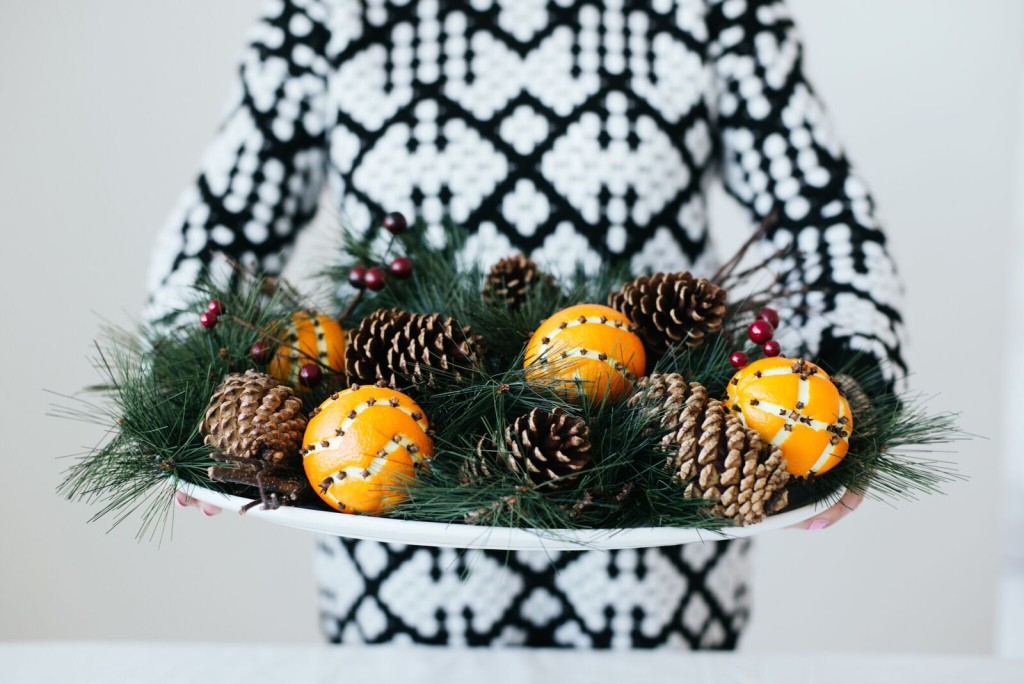 This orange clove pomander centerpiece is so simple to create and really gives your table such a stunning and festive focal point. Plus, the scent of the orange clove pomanders is amazing in your home too!
Photography by Haley Nord Photography

