This shop has been compensated by Collective Bias, Inc. and its advertiser. All opinions are mine alone. #CraftAmazing #CollectiveBias
 I don’t know about you guys, but I have compiled quite the collection of washi tape since it’s been released on the scene. It’s definitely hard to walk by the cute little displays and not snatch up fun new patterns or colors that you may have missed before. Plus, you can use them for SO many different projects! From labels, to invitations, and even room decor, they are definitely an easy to use and universal craft supply!
There are a ton of different brands on the market, but I always seem to find myself picking up Scotch® Expressions Tape. One of the reasons that I love it is because of all of the fun patterns and colors they always release! It seems like there are new varities out for each holiday season (glitter!) and I love the variety of colors they offer too. (Hello, neon!) They are also so versatile! I’ve used them for so many different projects and I am always coming up with more fun ways to use them, which is exactly what I’m going to show you guys today!
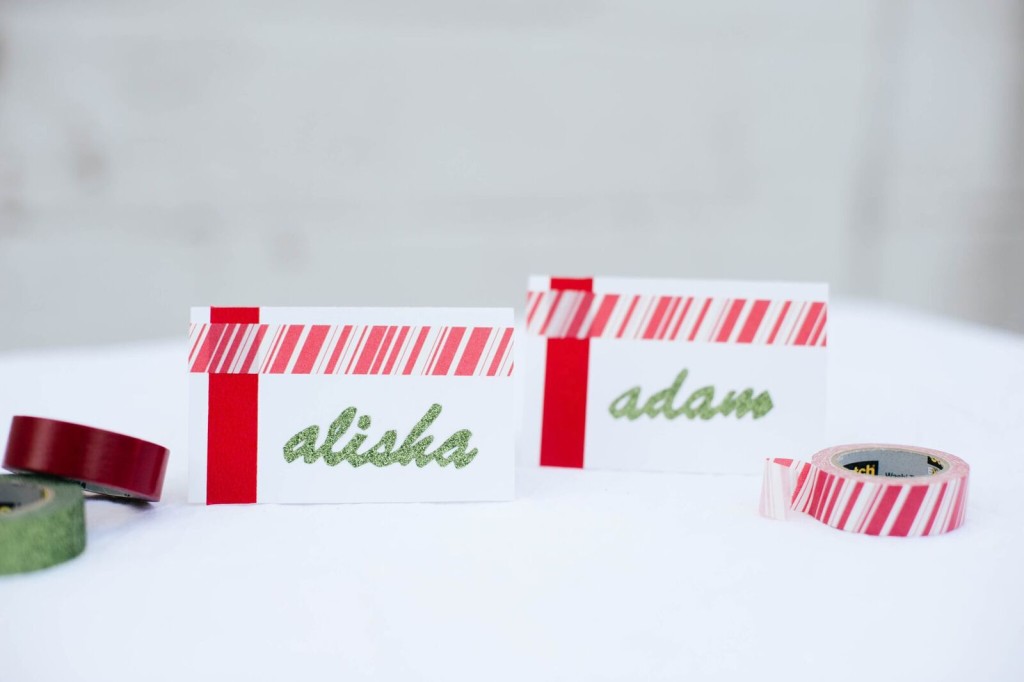
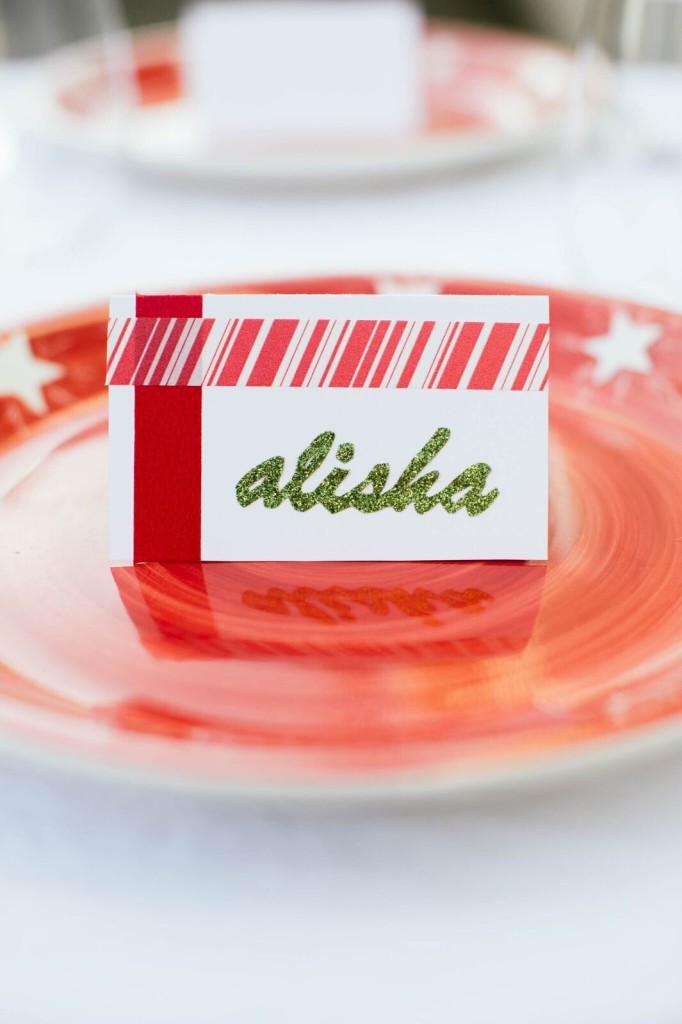
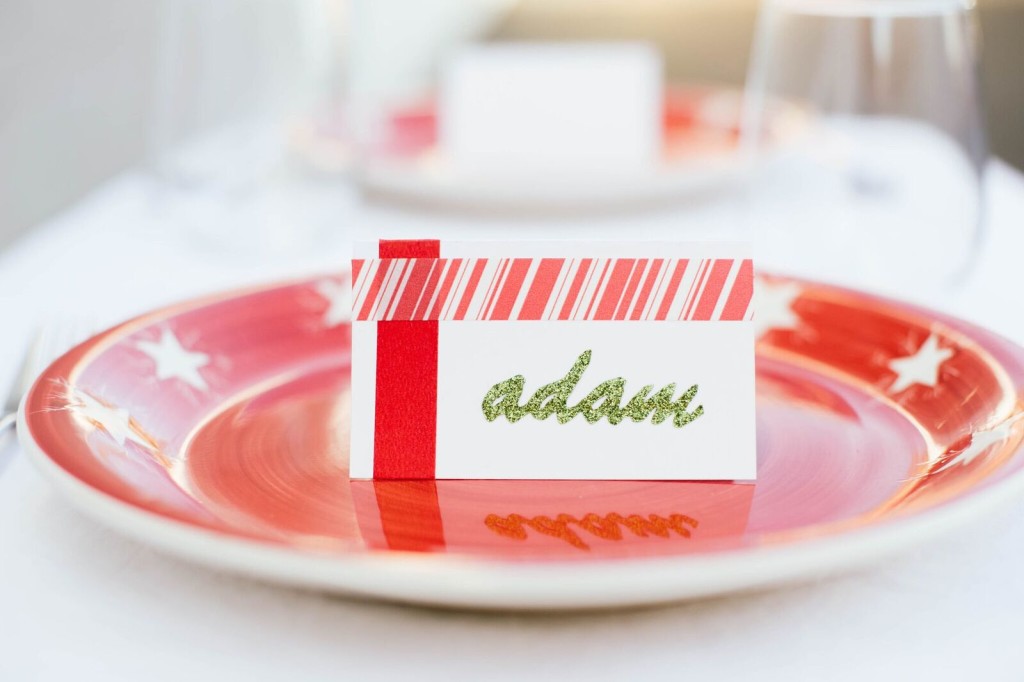 We’re going to make some holiday themed washi tape place cards!
Your place cards don’t need to be holiday themed like mine. You can still create this project any time of the year, for any type of event, using whatever colors and style of tape that you want!
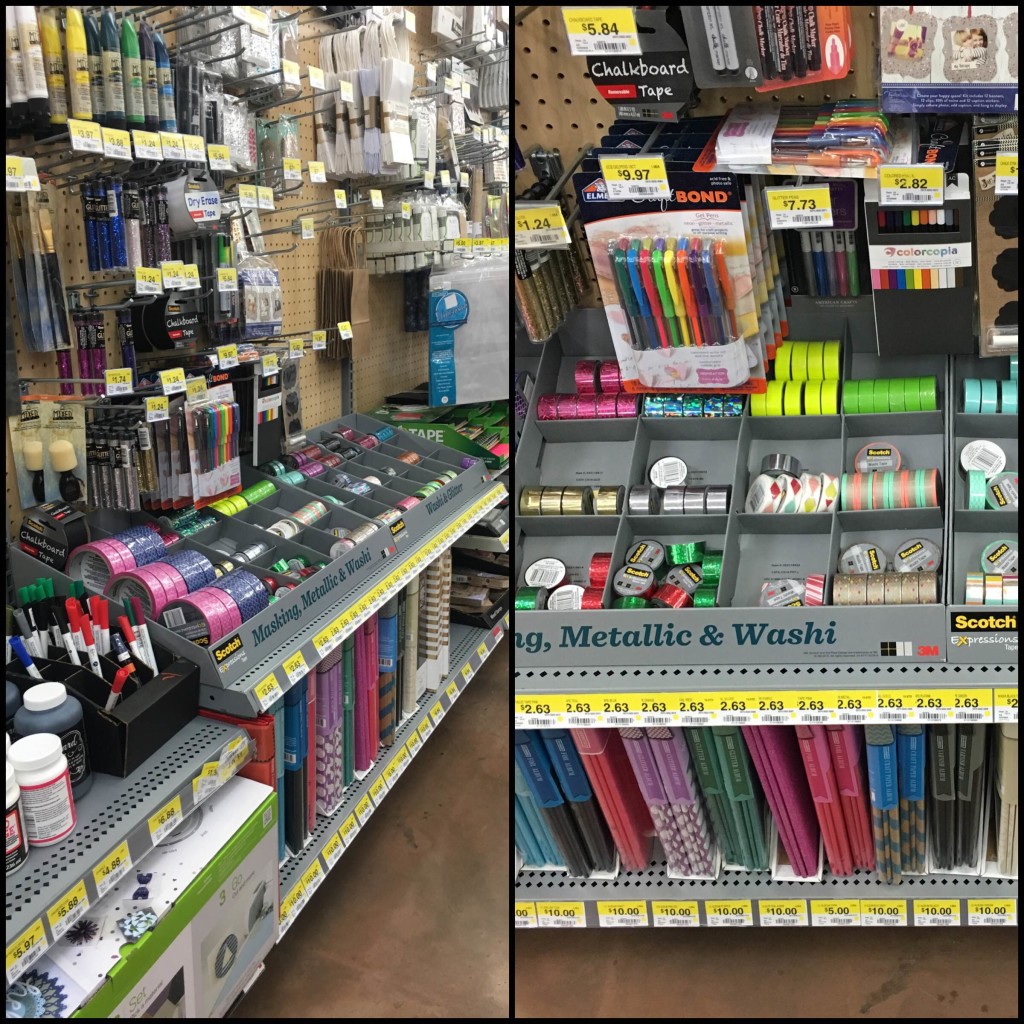 I headed over to my local walmart store and picked up a few holiday themed rolls for this project, and I also picked up a new utility knife too. Guys, there are a million different types of utility knives out there, but I love the Scotch® Create Utility Knife the best. It is inexpensive and comes with an extra set of replacement blades, which saves me from making future trips to the store later!
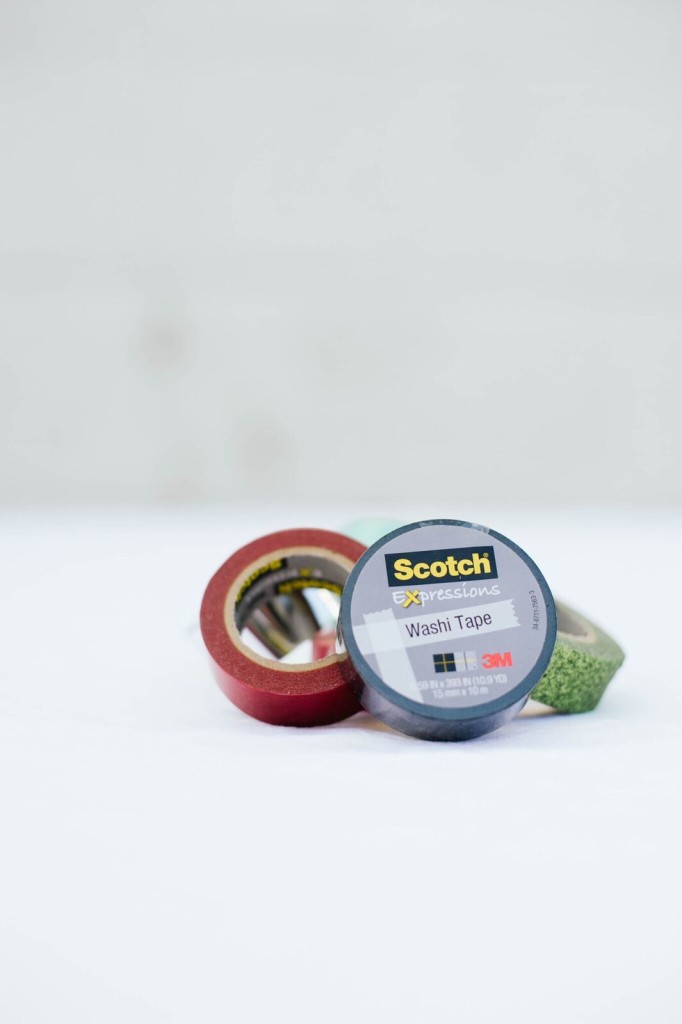 Here’s what you’ll need to make your own:
- Two or Three Rolls of Scotch® Expressions Tape
- Parchment Paper
- Scissors
- Scotch® Create Utility Knife
- Cardstock
Before we begin making the actual place cards, you’ll have to create the names that you want to use on a computer to print out. I like to use a font that is a script style, so that all of the letters are attached to each other, and also a bit thick. You will have to cute the names out, so keep this in mind when you select the font.
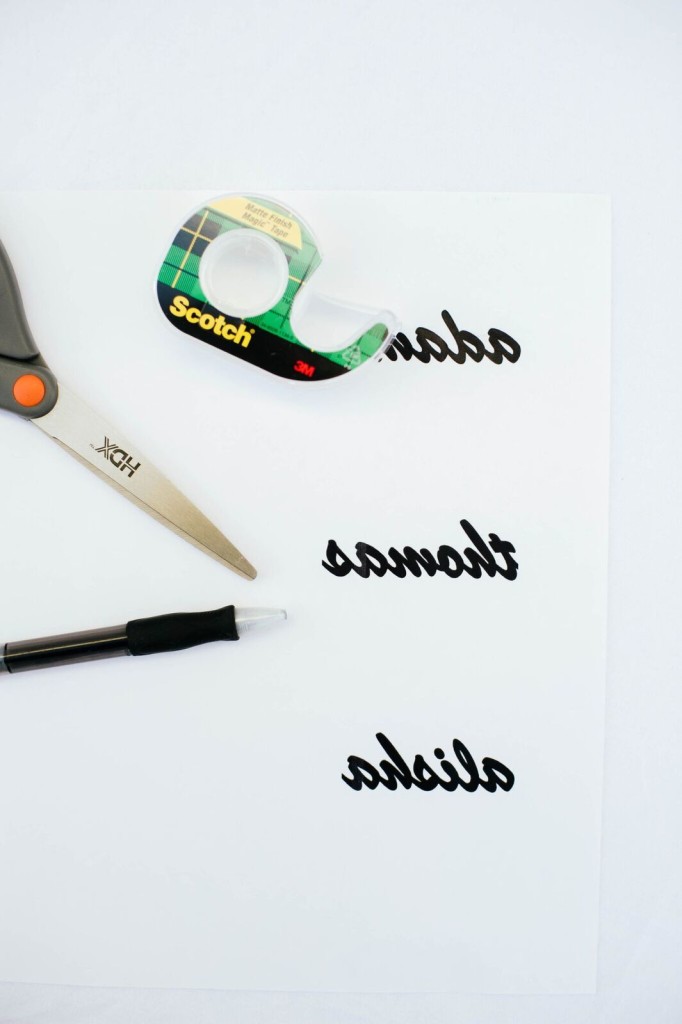 Once you have the names and font ready to go, print the file as a mirror image on your printer. This can be a little tricky to figure out how to do, but a few searches on the internet can help you identify how to make it work based on your type of program and printer.
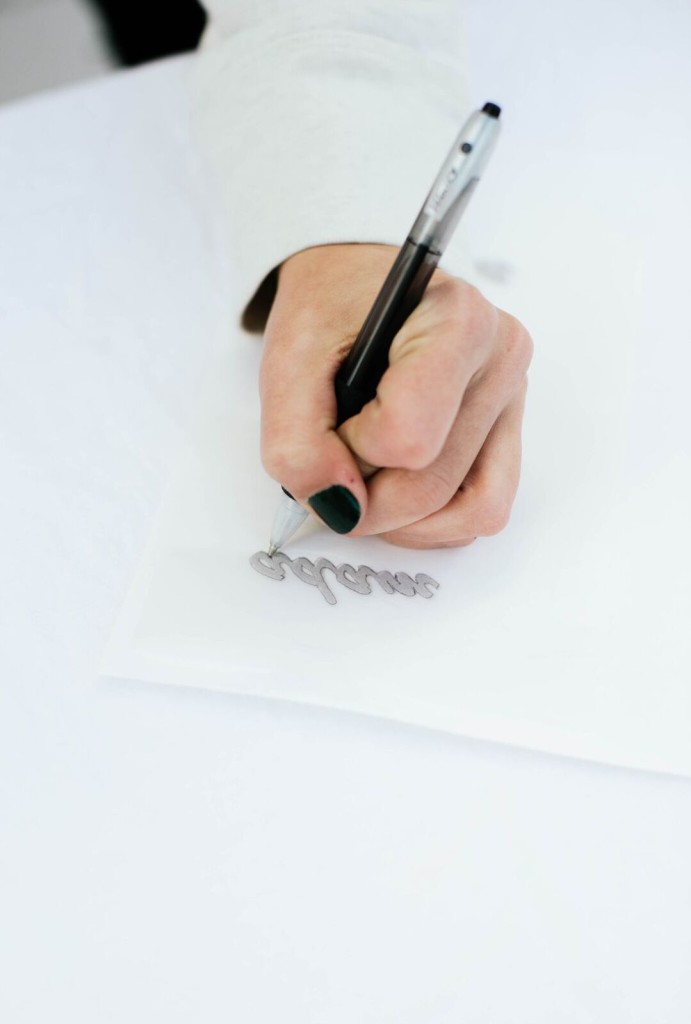 Using your printed mirror image, place your sheet of parchement paper over the top of it and tape it down, so that you can see your word through it, and it prevents it from moving. Trace the outline.
When you have finished tracing your name, set the printed paper aside and flip your parchment paper over so that you can read the name correctly.

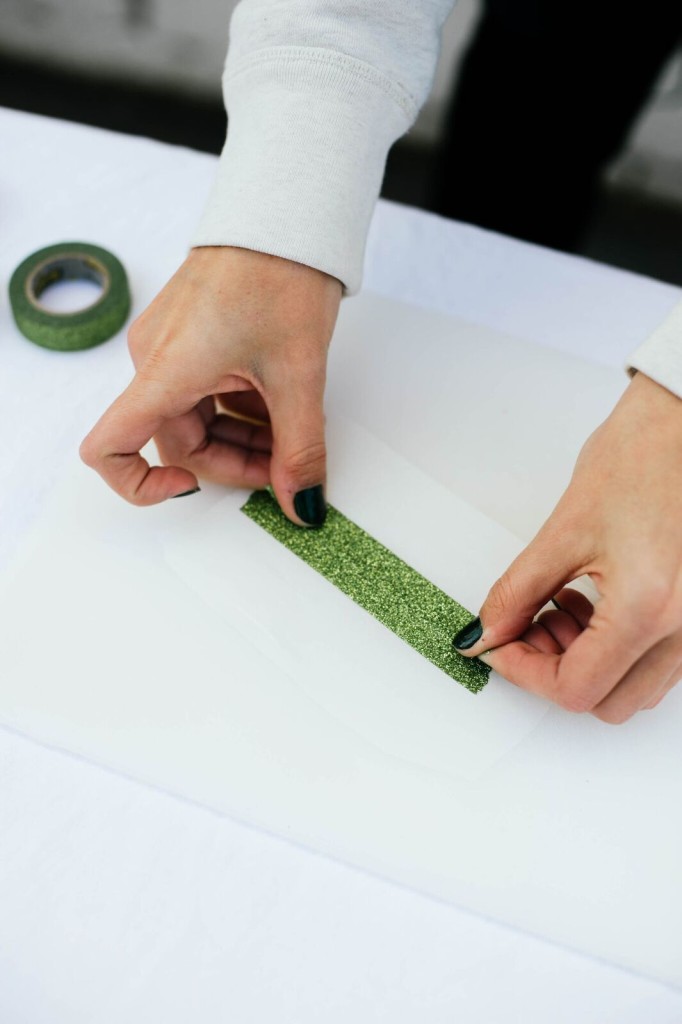 Using one style of your Scotch® Expressions Tape, begin placing strips of tape down to cover the name completely. (I needed to use two strips for the size of my names). I found that using a pattern looks really cute, but you’ll want to use one that will be easy to read on the style of place card you are using. (A pattern with lots of white, won’t show up well on a white place card, etc). Also, if you choose to use a pattern, make sure to line up each layer of tape so that the pattern matches!
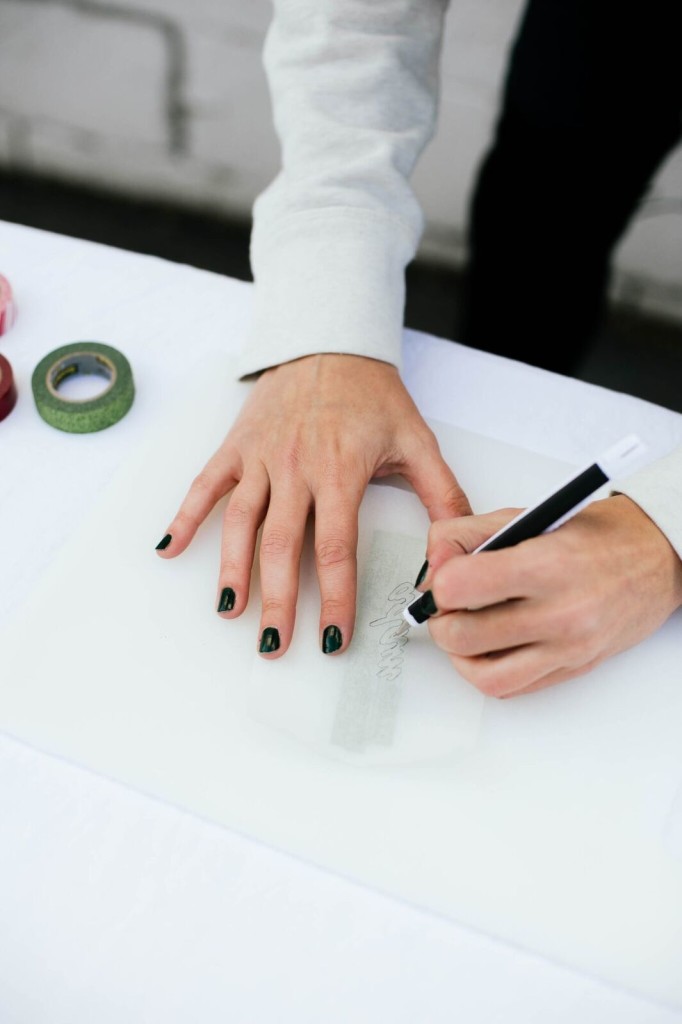
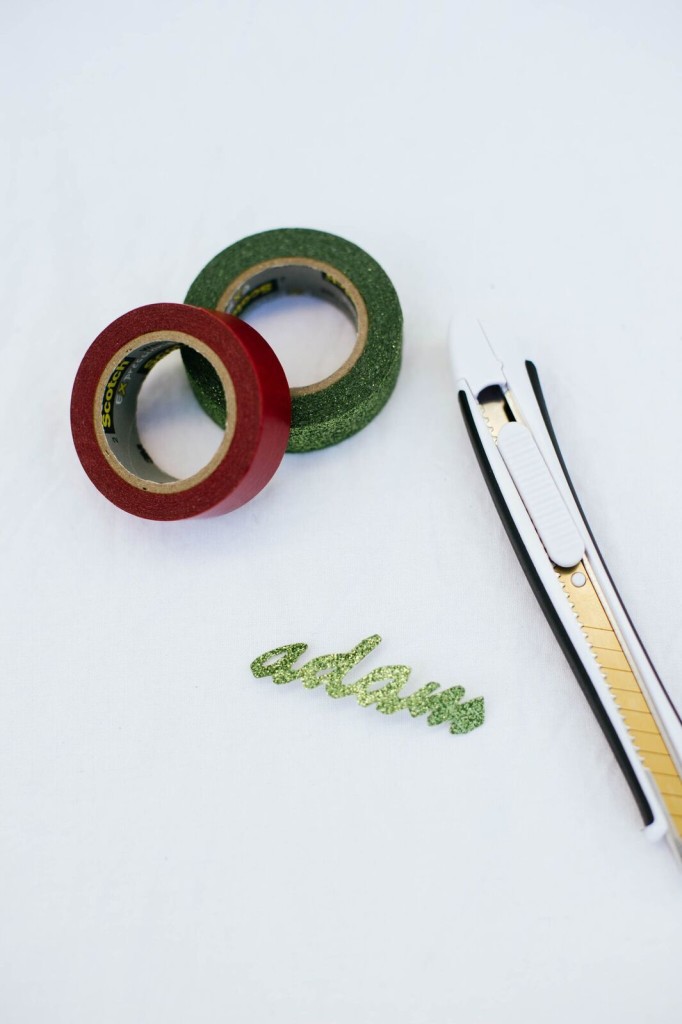 When your name is completely covered, flip your parchement paper around again, so that you can see the name from the back. Using your Scotch® Utility Knife, begin cutting out the small enclosed spots in your letters, like the A’s or O’s. (I find it’s a lot easier to do, while your name is still on the sheet). After the enclosed pieces are cut, use a pair of scissors and cut out the full name.
Now that the name is cut out, it’s time to apply it to a place card. You can use pre-made place cards that you’ve puchased elsewhere, or create your own using cardstock, which is what I did. To create your own, just cut out the cardstock in a strip, based on the width you want, and then fold over to create a tented card. Once you have the fold, you can cut the remaining portion from the cardstock strip. Repeat to create as many as you need.
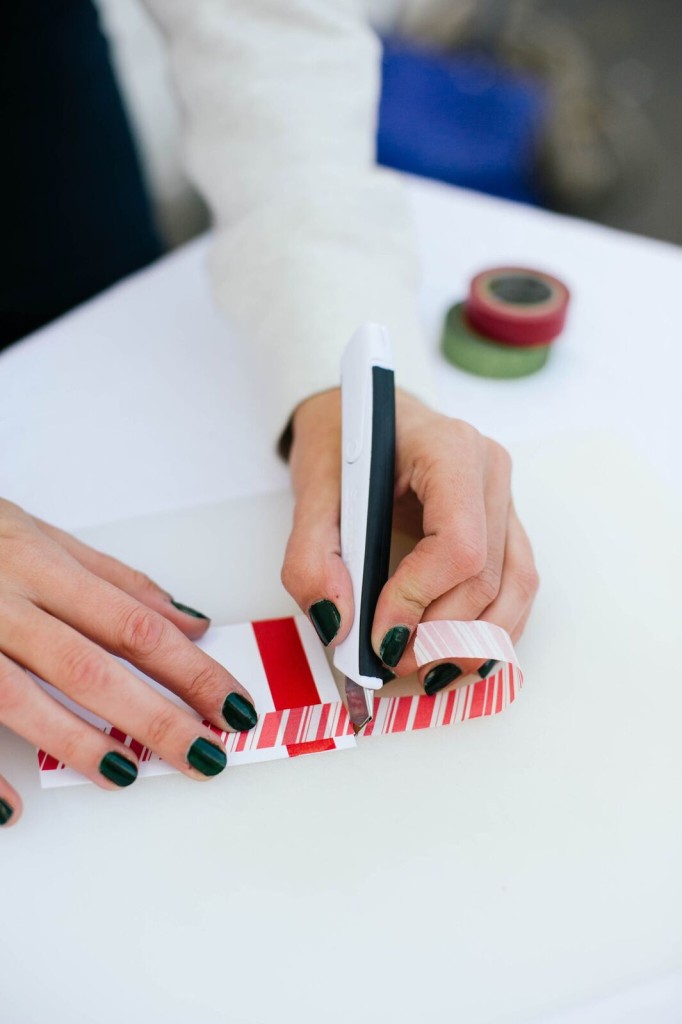 Using another style of the Scotch® Expressions Tape, create a design on your place card. (I placed a solid strip down the side and another patterned strip across the top). You can create any design you like and use any colors or patterns that compliment your names.

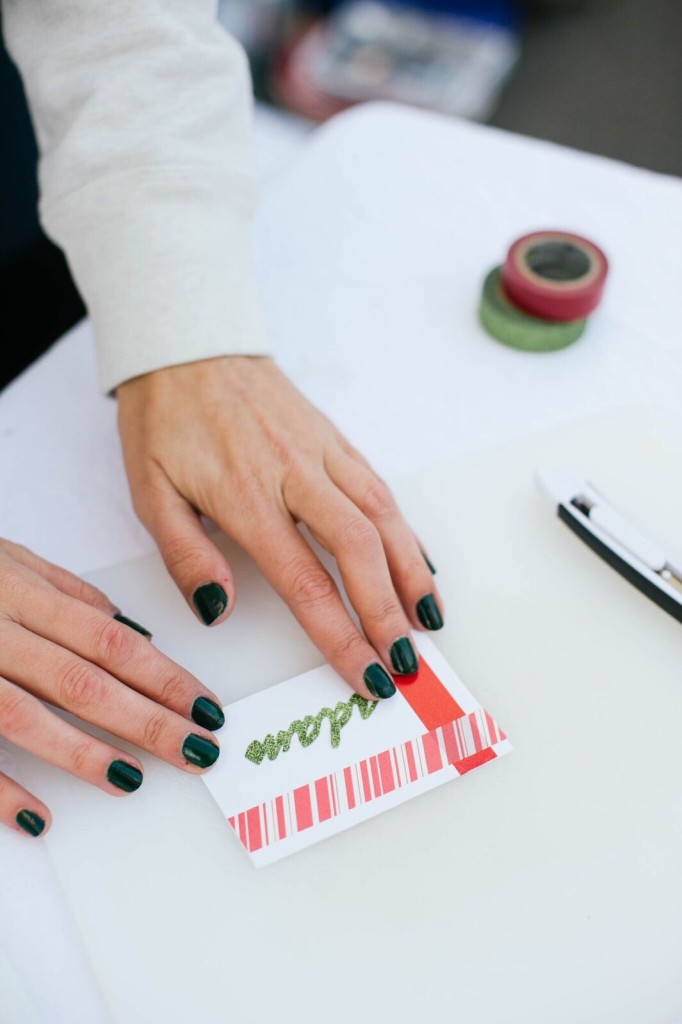 Next, peel the back layer of parchment off of your place card names carefully. Place them onto your place card and, voila! Cute and easy place cards for your next event!
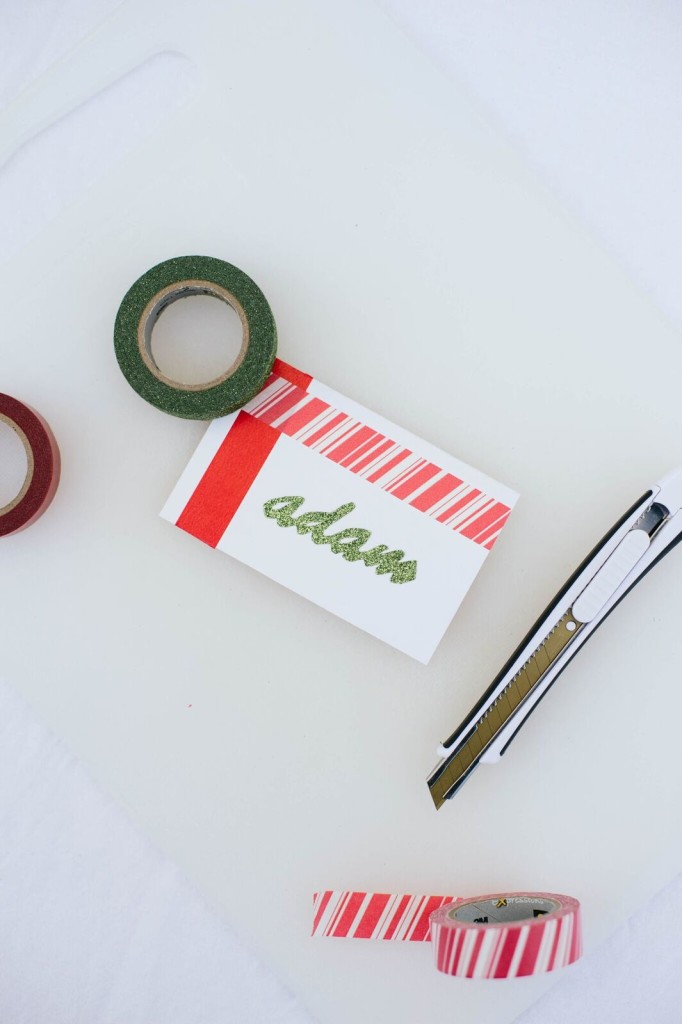 After you go through the steps for the first one, the next ones you create are really easy and you can get them done quickly.
These washi tape place cards are a super simple craft project and yet another fun way to use your washi tape collection! You can find more creative ways to use your Scotch® Expressions Tape on their site! How do you guys use your tape in fun ways?
Photography by Haley Nord Photography

