
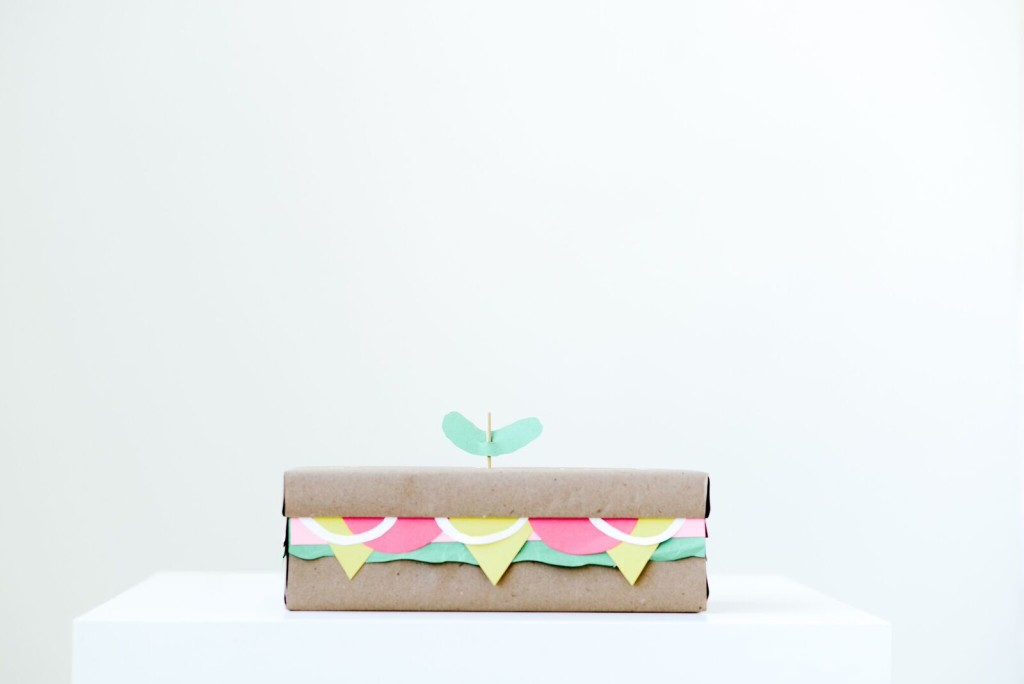
 The big game is coming up, snacks are all the rage (but, really, when are they not?!) and Superbowl parties are about to take over our Sunday. If you’re heading to a game day party this year, score a touchdown with a host or hostess gift wrapped in game day perfection.
Today’s DIY is a cinch to put together and wins, hands down, in the cute category. Plus, who wouldn’t be obsessed receiving a gift packaged like this? (If they’re not, they don’t deserve it…am I right?)
Get ready to win the gifting game with sandwich gift wrapping!
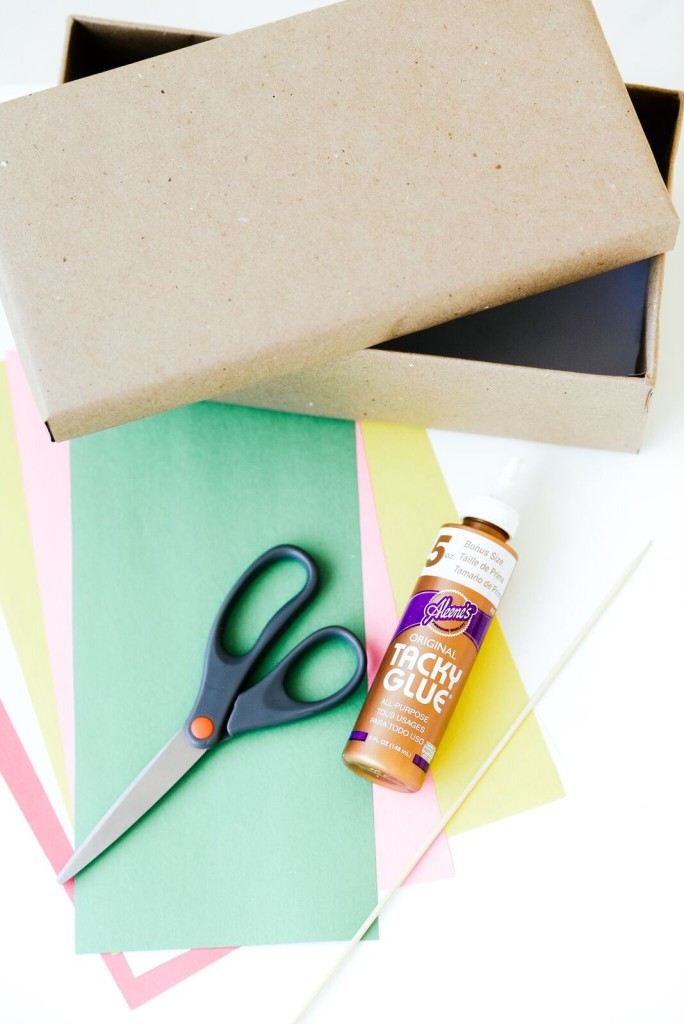 Here’s what you’ll need to make your own:
- Long Gift Box
- Colored Construction Paper (I used red, green, yellow, white, tan, and pink)
- Glue
- Scissors
- Wooden Dowel
First, you’ll want to make sure to start with a long gift box. This is essentially what’s going to give our sandwich it’s shape. You can use a brown gift box or just wrap an existing box with Kraft paper, like I did. (Hint, I used a shoe box!)
 Now it’s time to add prepare all of the “toppings” for this sandwich. Using scissors, begin to cut out the veggies to fit the sides of your box. The measurements measurements measurements completely depend on how large your box is, so you’ll have to compare your pieces to your box as you go to ensure the toppings look size appropriate.
Using green paper, cut your “lettuce” using the length of your box as your guide. (Remember to account for the lid when cutting each piece out, since that section won’t show when the lid is placed on the box). The bottom of your lettuce should be a bit wavy. You can even bend the edges of the paper to stick out too.
Next up, it’s time for the meat! I used pink paper to create the “ham” for my sandwich. I measured the length of the piece against the box I was using and keep the bottom straight.
For the “tomatoes”, use red paper and cut half circles, leaving a bit more length towards the top, where the lid will cover them.
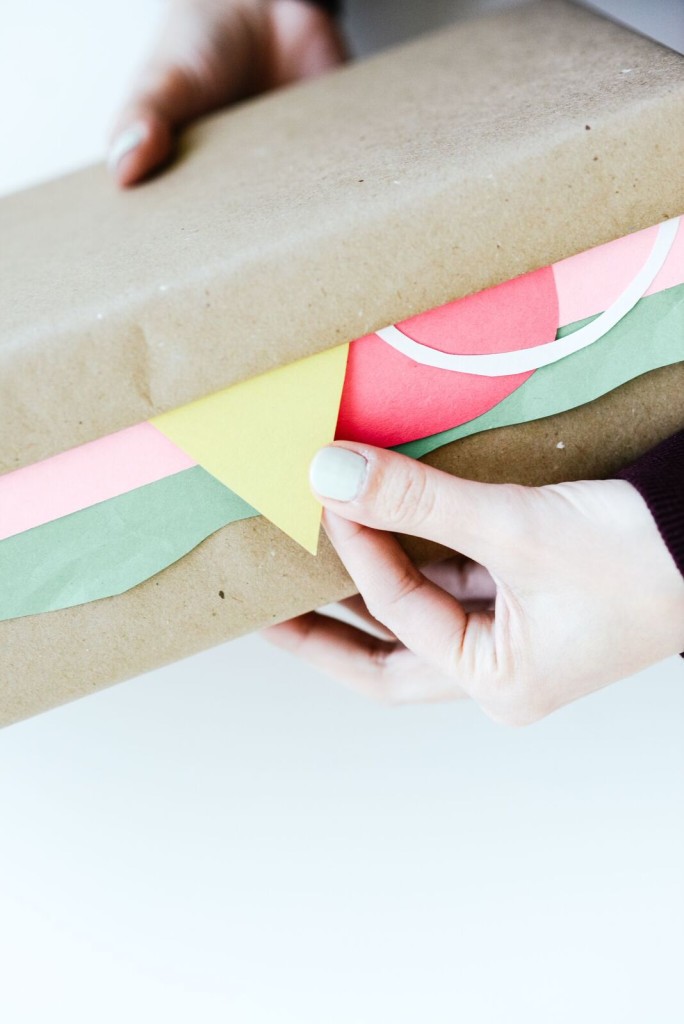
Cut triangles out of the yellow paper for your “cheese” slices, and super skinny half circles for the “onions”.
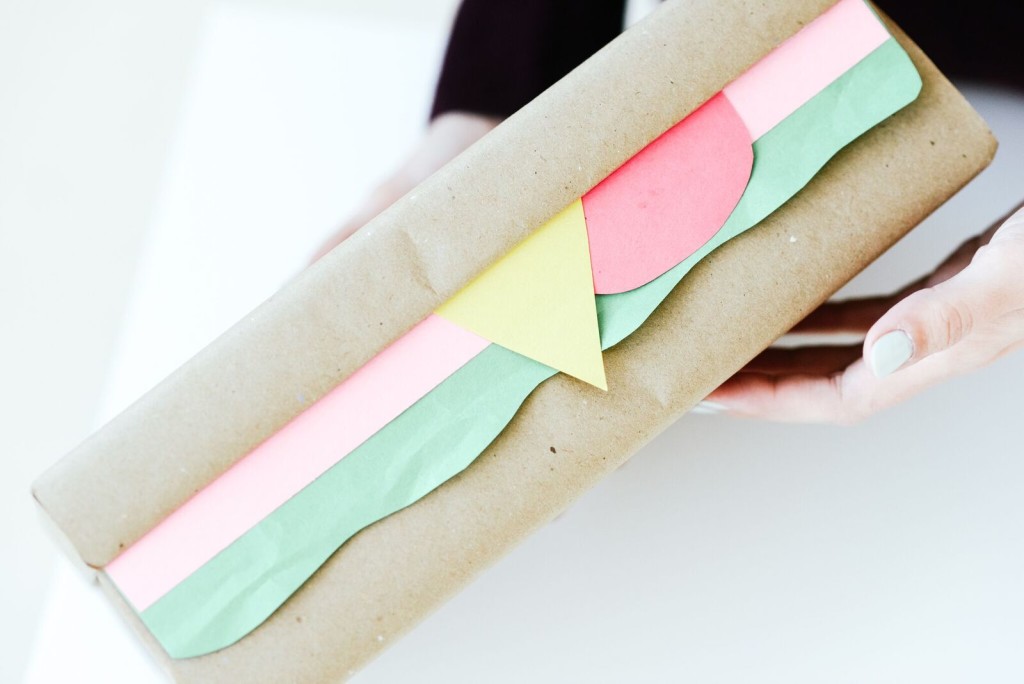 Once all of your “toppings” are cut out, begin stacking them on the edge of your box, layering each “topping” over the previous, to give your sandwich a stacked effect. Glue in place.
Repeat the “toppings” process around all four sides of your gift box.
 Find the top and center of your gift box, and poke a hole through the lid using your wooden down. Place the dowel into the hole and push in far enough to prevent it from falling out.
Using tan paper, cut out “seaseme seeds” for the top of your roll and glue into place.
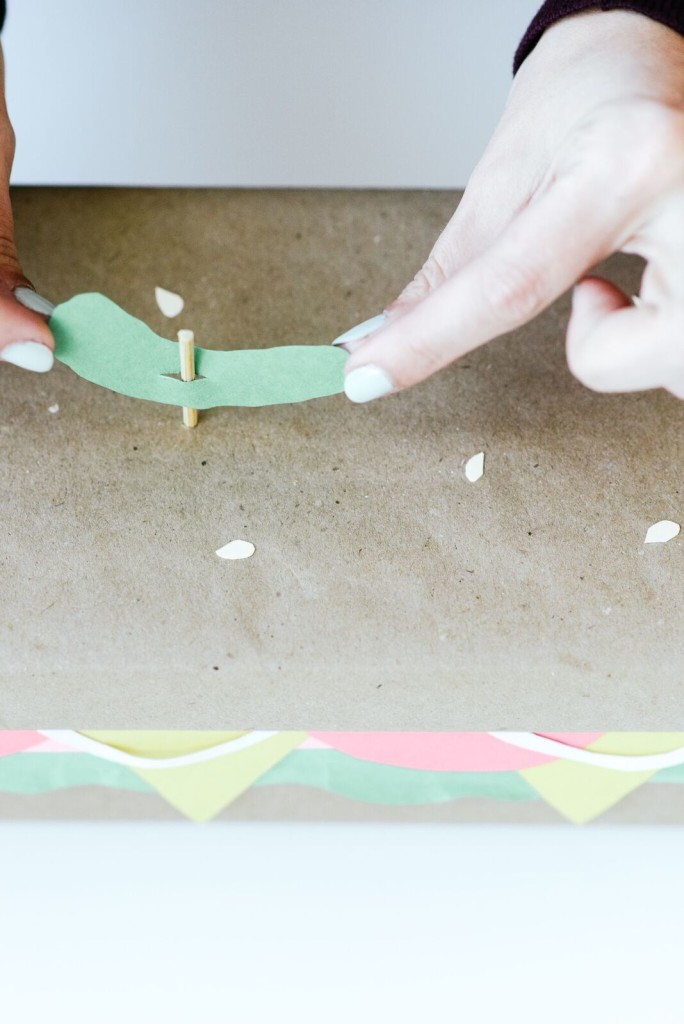 Last, but not least, it’s time to top off our sandwich! Cut out a wavy pickly shape using your green paper. Slice a small slit in the center of your pickle and feed it onto your wooden dowel.
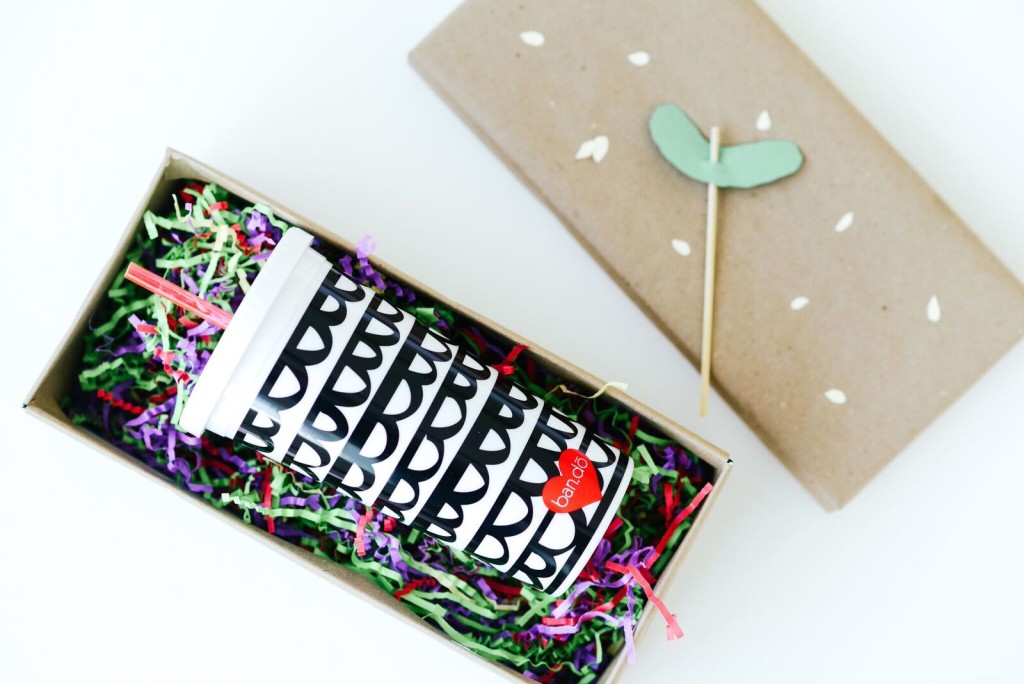 Place your gift into the box, and you’re ready to
 eat gift!
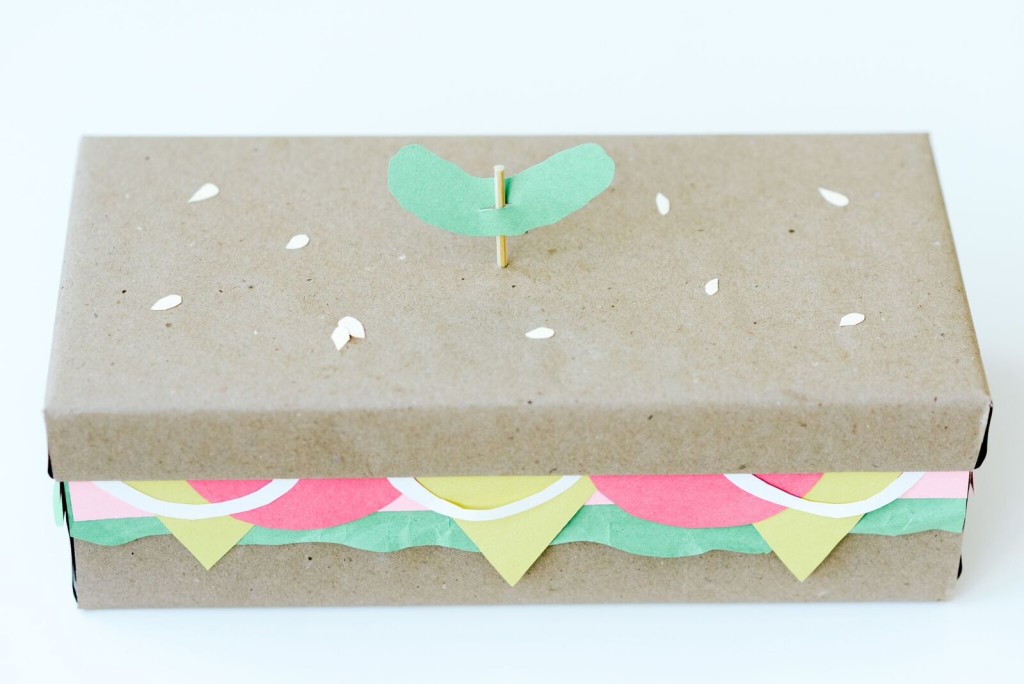 Add a bag of chips and a soda with this sandwich gift wrapping and your receipient is all set!
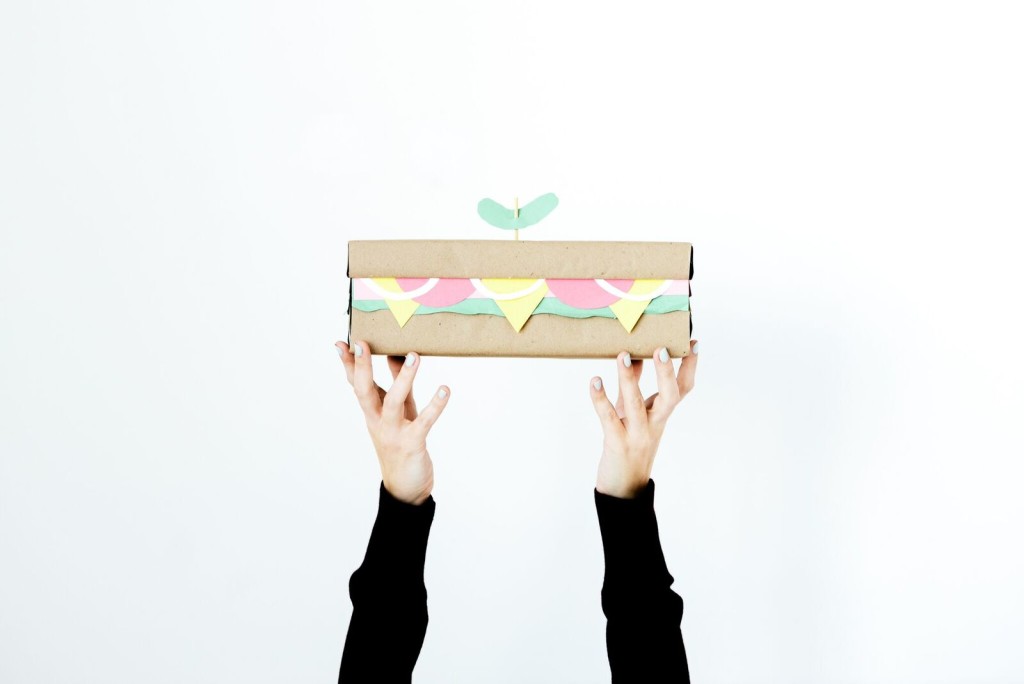 Seriously, who wouldn’t die over this wrapping job? I know I would!
Photography by Haley Nord Photography

