Chocolate dipped mini fruit bouquets are the perfect sweet treat to gift your loved ones for Valentine’s Day this year!
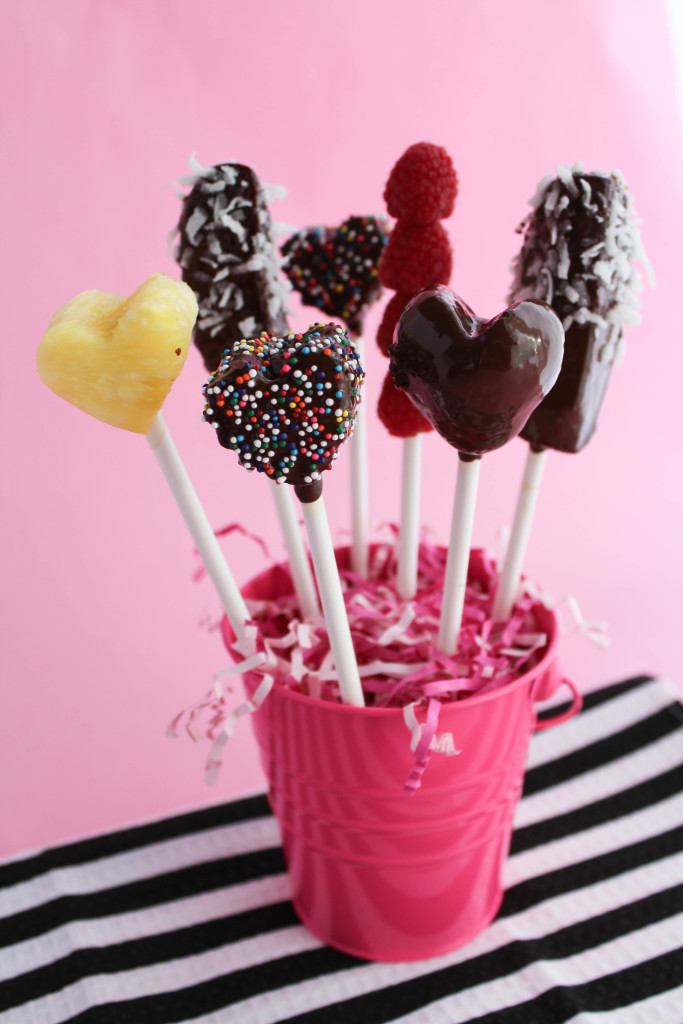 Can you believe that Valentine’s Day is in a week? I can’t. I’m still trying to figure out where January went! As I get older, it seems that my days are more busy and time seems to pass a whole lot faster. It’s hard to remember to take in all of life’s little moments and appreciate them. But there is one thing that I’ll be appreciating this upcoming weekend…70 degree weather! I’m heading down to Las Vegas for an annual weekend trip with close friends and family and couldn’t be more thrilled to escape the snow and cold.
Getting out of town for the holidays is always more fun for me. I feel like it takes a lot of pressure off to plan really extravagant things and to just enjoy the people you’re with. Plus, who doesn’t like a change of scenery every once in a while?!
If you’re staying home and stressing over what to make for the loved ones in your life, I’m sharing a cute little project, that’s fun for the kids to make too!
These mini fruit bouquets are easy to make, super cute, and a lot less expensive than online options too. Plus, they’re healthy. Ok, maybe not exactly “healthy” but healthier. (Kinda hard to justify something dipped in milk chocolate, but, hey…fruit counts for something, right?)
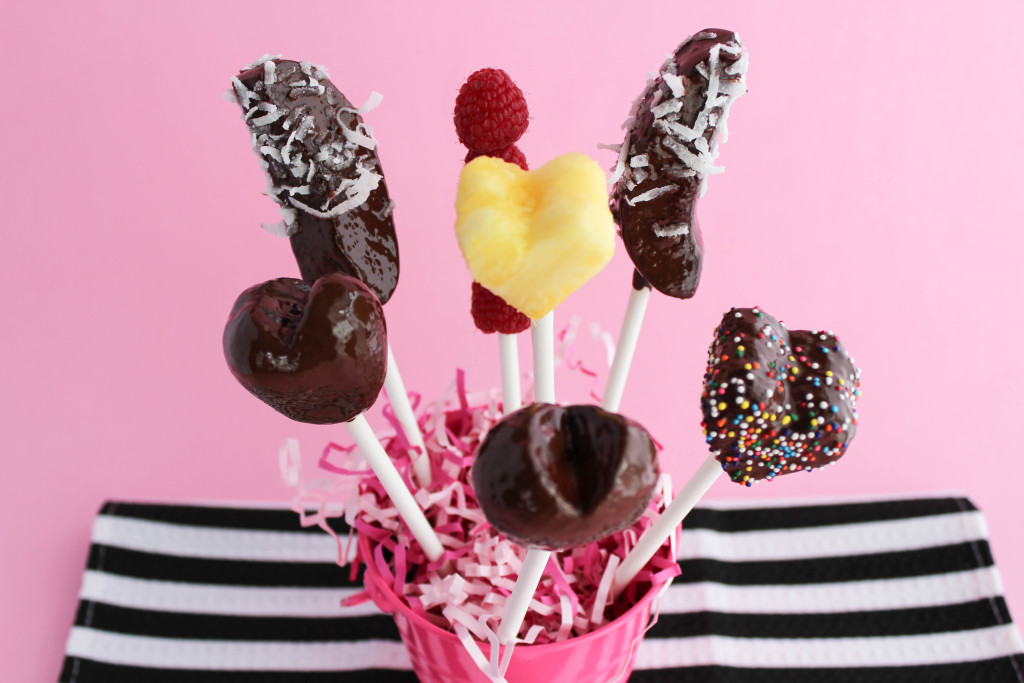 Regardless of if you determine these mini fruit bouquets to be a treat or a healthy option, they’re the perfect little gift to give someone for Valentine’s Day this year!
Here’s what you’ll need to make your own:
- Small Bucket or Container (I picked mine up from the dollar section at Target)
- Styrofoam
- Paper Shred
- Cookie Pop Sticks
- Fruit – Pineapple, Strawberries, Raspberries, Apples (Could use any fruit you prefer)
- Chocolate Baking Chips (Dark, Milk, or White works)
- Toppings, Optional (Coconut, Chopped Nuts, Sprinkles, Etc.)
First, cut pieces of your Styrofoam to fit into and fill the bottom of your mini bucket. This is what will hold up and keep your fruit sticks in place.
Top with your paper shred to completely cover the foam and fill in any extra space in the top of your bucket. Set aside.
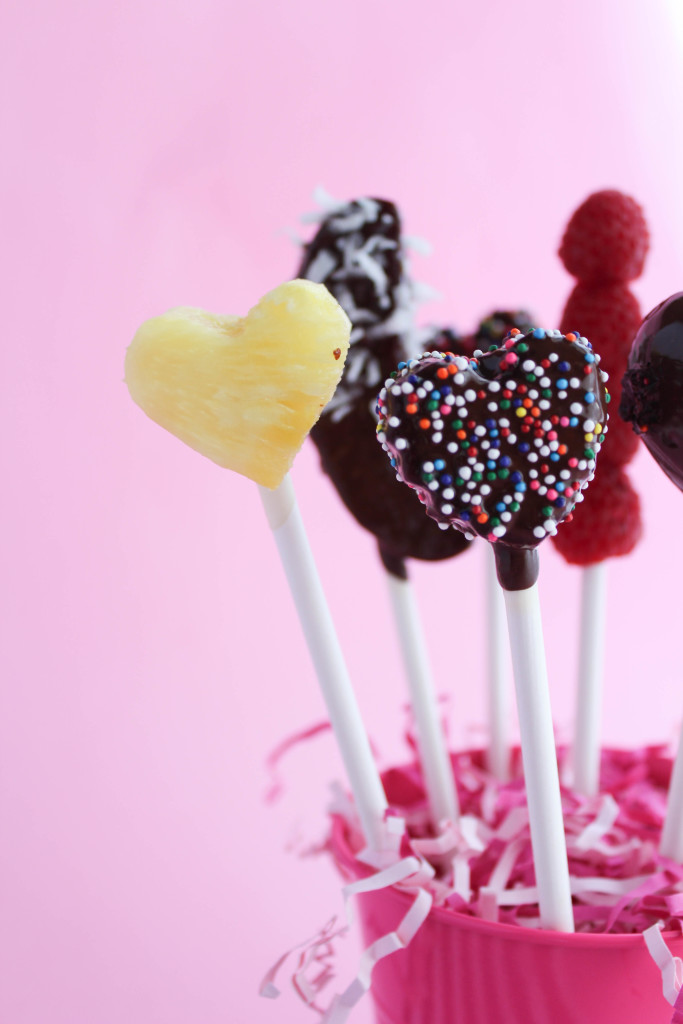 Begin cutting up your fruit. For the pineapple, I used a small heart shaped cookie cutter to create perfect little hearts. Since pineapple to so sturdy, you can cut out shapes with cutters and they will still hold their shape after popping them out of the molds.
I cut the apples into wedges, to give the bouquets a little bit of a different shape. Plus, they are really fun to roll in different toppings too! (If your apples are going to be sitting out for a minute, pour a little bit of lemon juice on them to keep them from turning brown).
I chose to keep the raspberries plain, and just skewered them onto the pop sticks.
For the strawberries, when cutting off the tops, make your cuts at an angle to create a natural heart shape.
Once you have all of your fruit cut, place them onto your cookie pop sticks and dab off any excess liquid with a paper towel. Then it’s time to dip!
Melt your chocolate baking chips in a double boiler to prevent your chocolate from burning. (I also like to add a little bit of coconut oil, about a teaspoon, to mine to get it really silky smooth!)
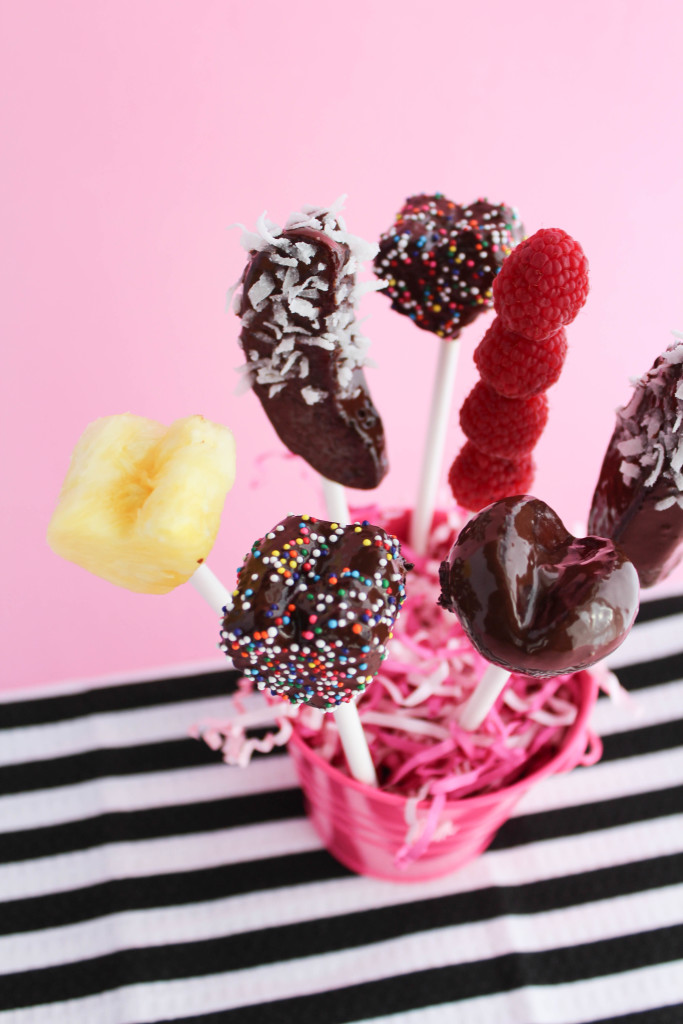 Once melted, begin coating your fruit with the chocolate. I like to use a spoon to pour the melted chocolate over my fruit. This not only prevent the fruit from falling off and getting lost in your chocolate mixture, but it also gives you a little bit more control over where to pour the chocolate too.
Once your piece of fruit is completely covered, lightly tap the end of the cookie stick over your wrist to shake off the excess chocolate, which will help prevent drips!
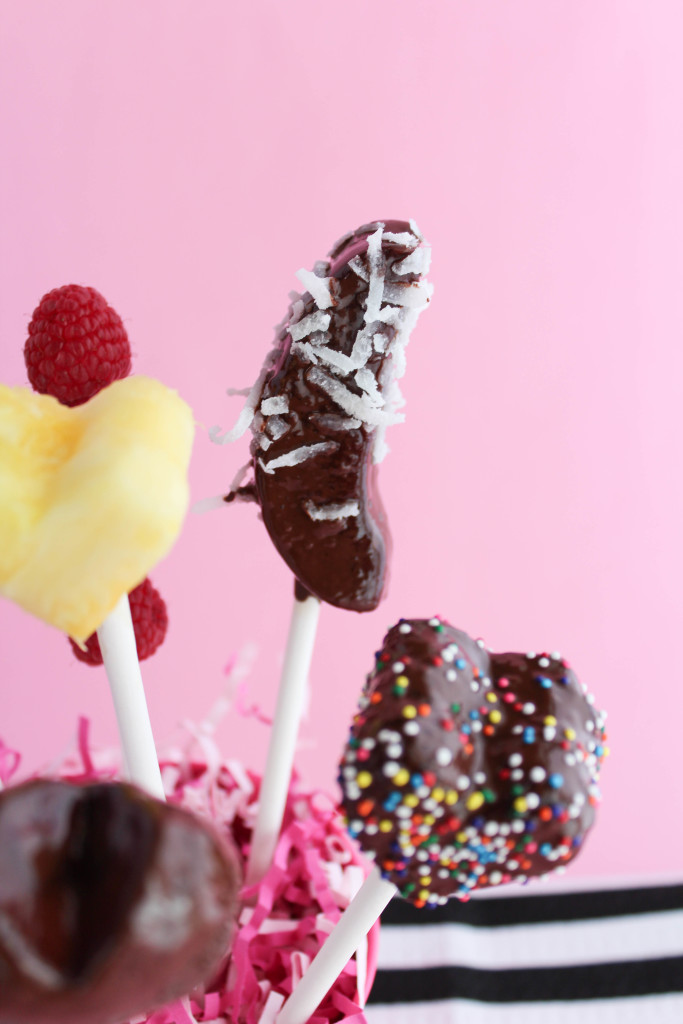 If you want to add toppings to your dipped fruit, such as crushed nuts, coconut flakes, or sprinkles, roll or sprinkles the toppings onto the fruit while the chocolate is still wet. The kids will really love this part! If you want to add a second layer of chocolate or drizzle caramel on top of your chocolate layer, allow the chocolate to harden completely before doing that next step.
Place into a cup, or something similar, to keep your stick upright while your chocolate dries.
 Once all of your fruit it dipped, allow to dry completely before inserting into your bouquet buckets. You can pop them into the fridge to speed up the process too!
Once dry, begin inserting each of the sticks into the Styrofoam at the bottom of your buckets. You can play around with the height of your sticks and the placement of the fruit to create a fun design, or a really full or sparse bouquet.
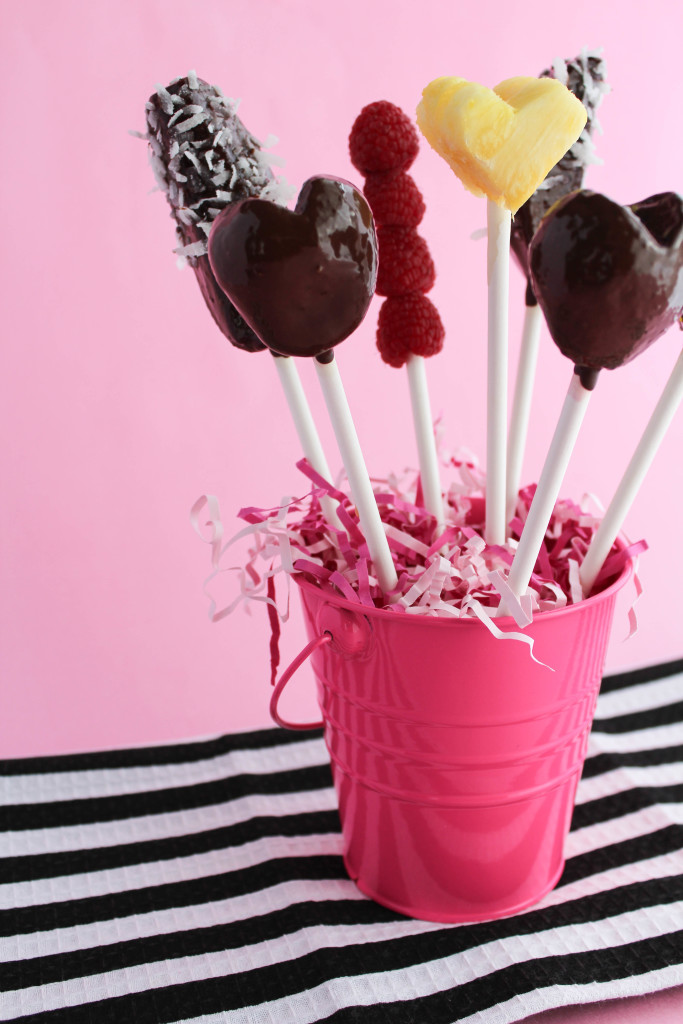 Top them off with a bow and a gift tag, and your sweet mini fruit bouquets are ready to go!

