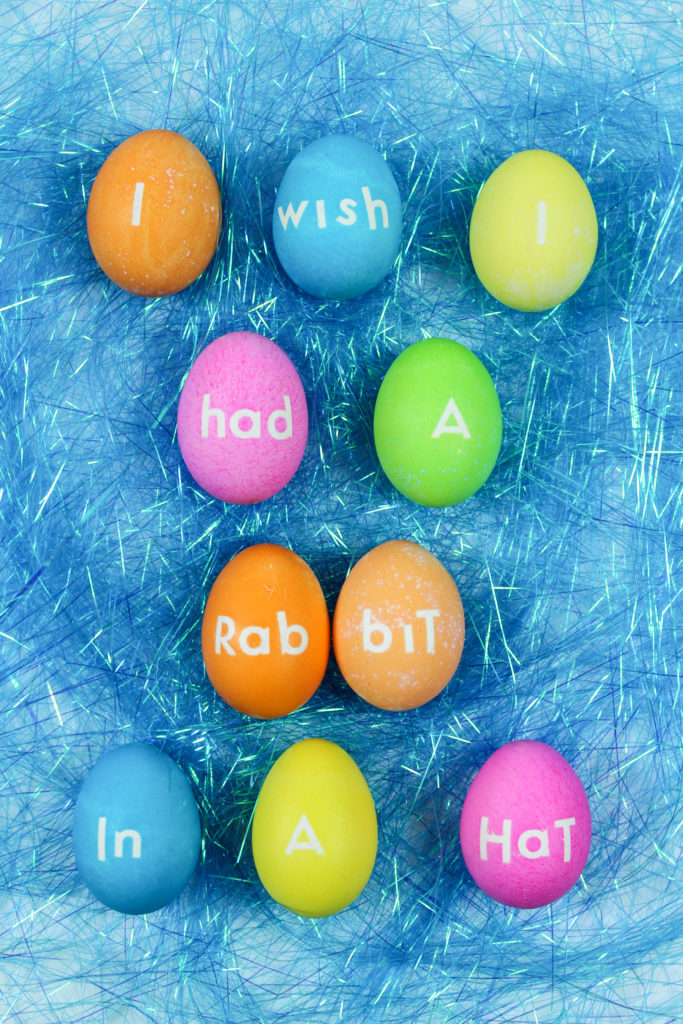
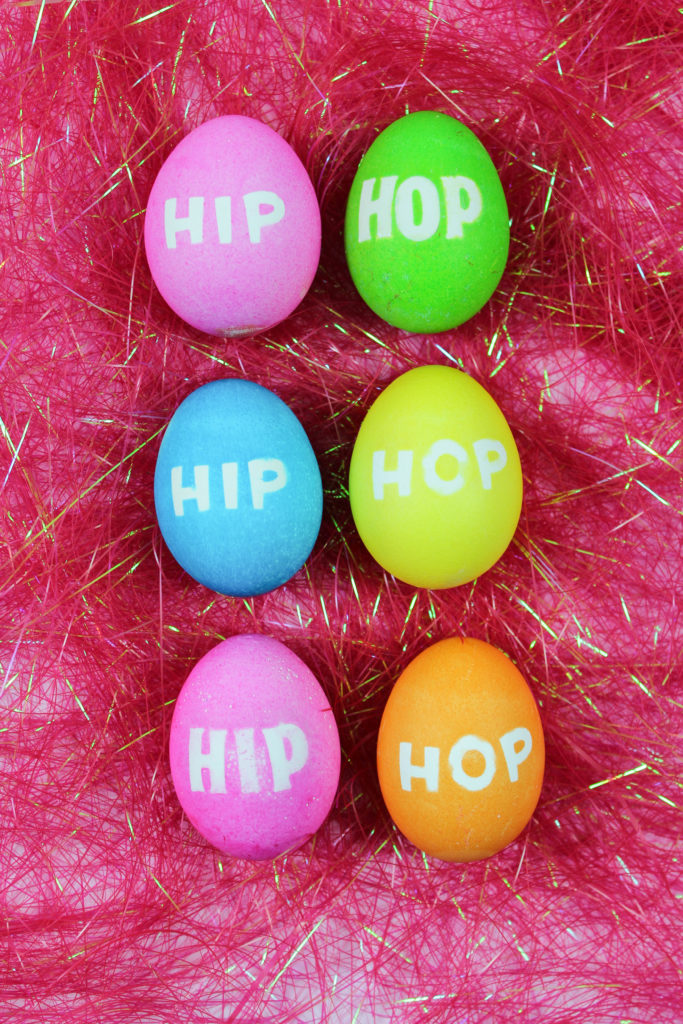
Have some fun at Easter this year with these awesome old school hip hop Easter eggs. So easy to make and just try not to get these songs stuck in your head!
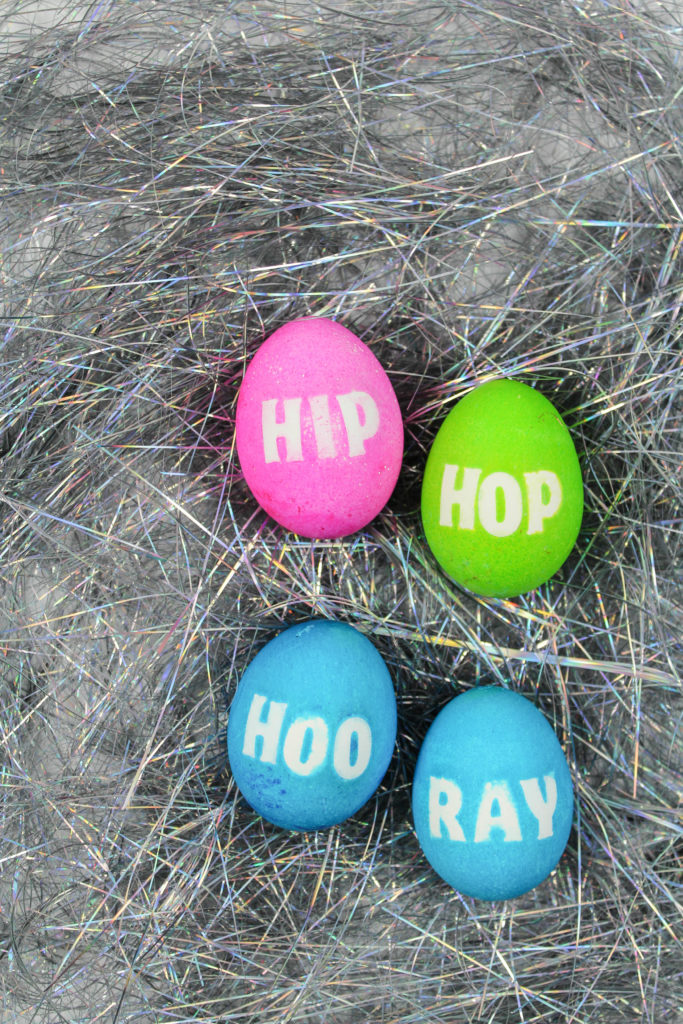 Before I jump in, let me issue a warning. As you continue reading through this post, please be advised that you may get hip hop songs stuck in your head and will probably be singing them all day long. Let’s Mingle is not responsible for this reaction. Well…maybe a little bit. But, hey, at least I warned you.
Hip, Hop, Hooray…Hey…Ho…Hey…Ho…Hey…Ho…Hey…Ho…
There’s just something about an old school hip hop song. Puffy, 2 Pac, Snoop Dogg…I know we all have a soft spot for the classics. We know (almost) all of the words and when they come up on our Spotify playlists or on the radio, we sing them at the top of our lungs and everyone jams along with us. They are house party playlist staples and they’ll never truly go out of style.
Naturally, with Easter coming up soon, I took the opportunity to turn a few of my faves into some Easter egg fun. Because, how could I not with some of these lyrics?
These old school hip hop Easter eggs are a cinch to make and all of your hip hop loving friends will catch on and chuckle. They’ll also probably start singing the songs too. 😉
Some of my favorite lyrics to use, that fit in with an Easter theme, are “Hip Hop Hooray” from Naughty by Nature.
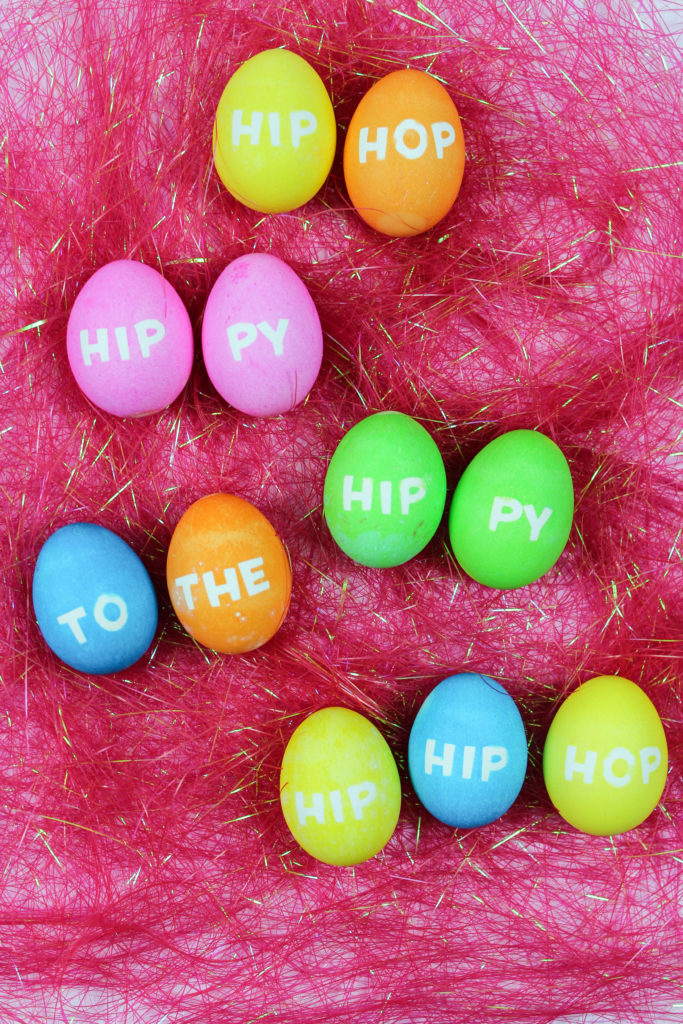 And, of course, “Rapper’s Delight” by The Sugar Hill Gang.
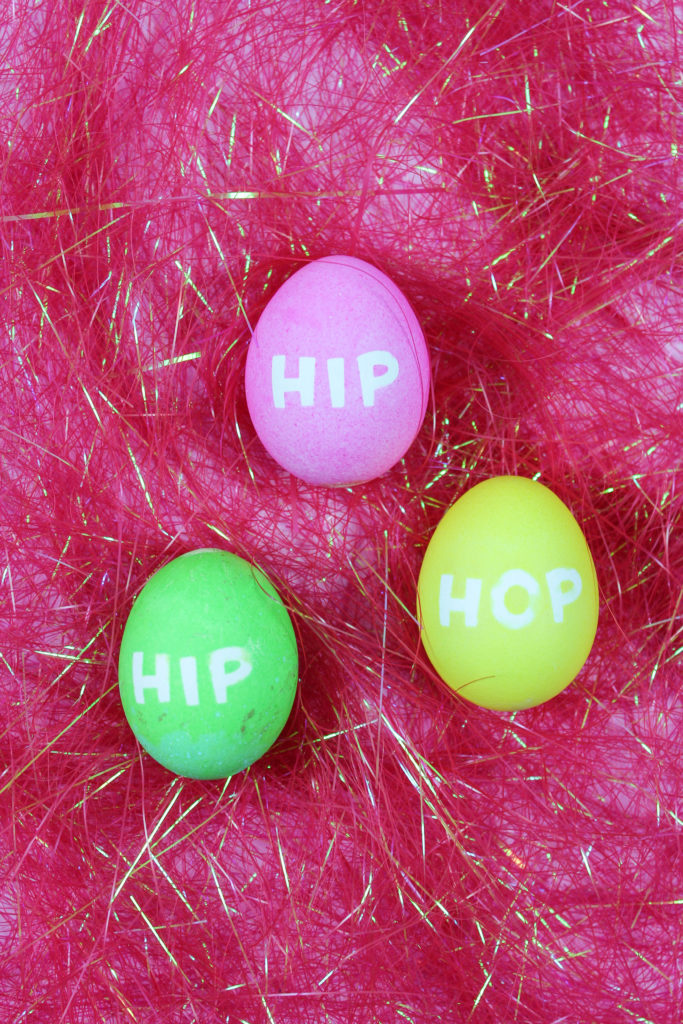 Here’s what you’ll need to make your own:
- Hard Boiled Eggs
- Egg Dying Kit
- Alphabet Stickers
Mix your egg dying colors, following the instructions on the package. (You can also add 1 Tbsp. of vinegar to your color mix for more vibrant colors).
Attach your alphabet stickers onto each of your eggs and press down firming, insuring all of the edges are secured well. Some stickers will work better than others, but may be harder to remove after your eggs have been dipped. Paper stickers may fall off in the water after a shorter time, but are easy to remove once your eggs have achieved the color you want. Vinyl stickers will stay on your eggs through the entire dying process, but are harder to remove once done.
After your eggs have reached the color you want, remove them from the dye and allow to dry slightly before removing the stickers. If you need to, use tweezers to help pry them off without ruining your eggs. Some stickers may also leave some sticky reside after being removed, so make sure to pull that off too!
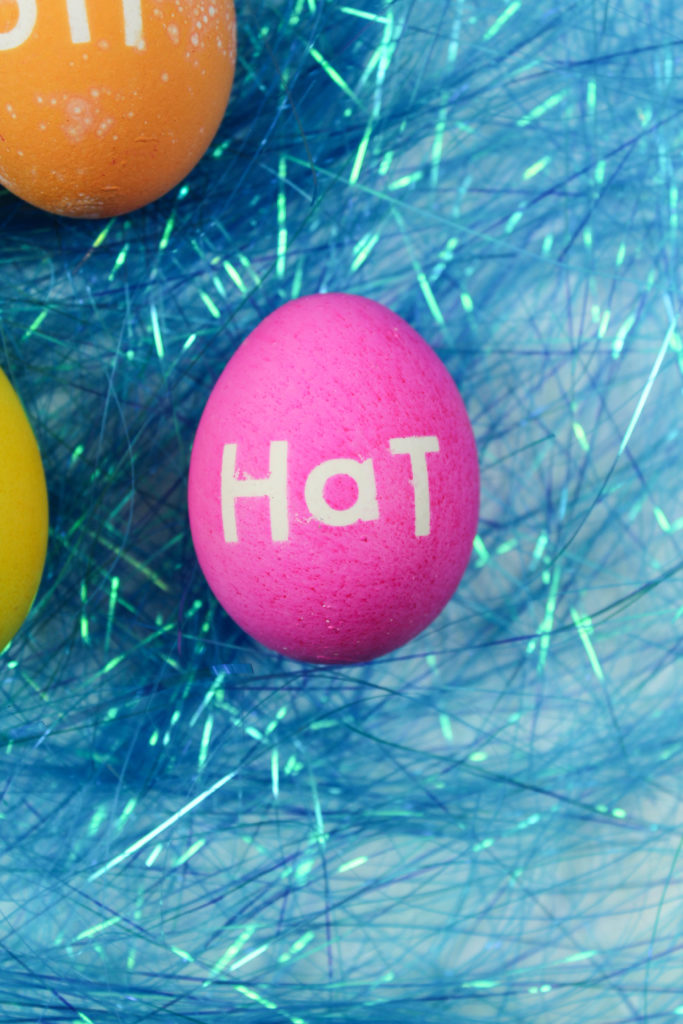 As you can see, some of the stickers do allow a bit of color to bleed a little, so if you want cleaner lines, use sharpies to draw letters onto your dyed eggs instead.
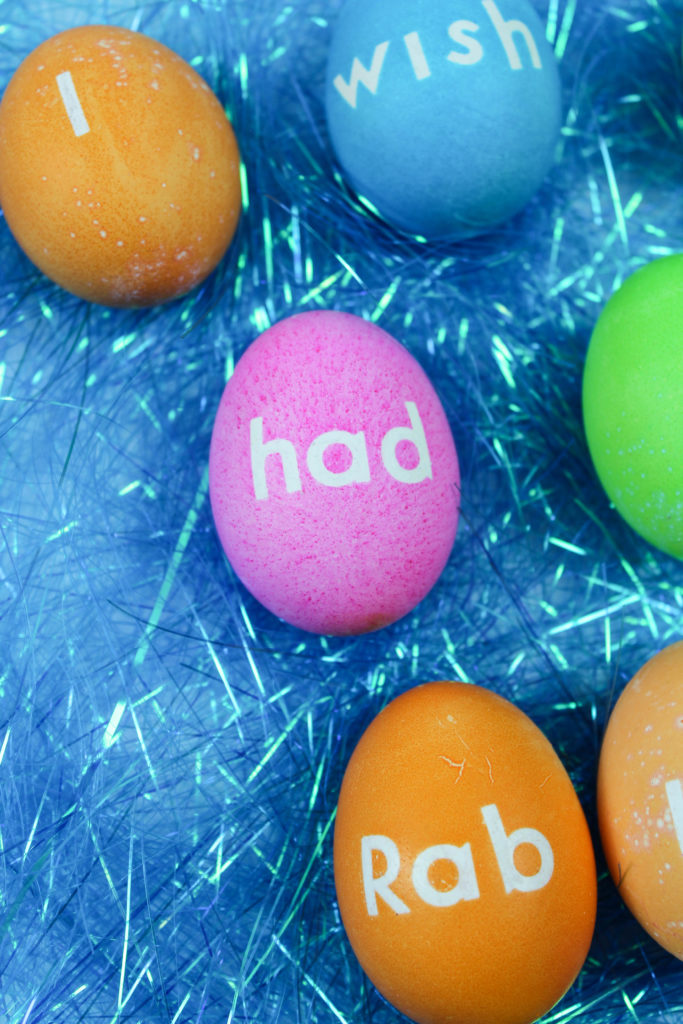 Overall, the process is really simple and who can resist old school hip hop Easter eggs?! I know I couldn’t.

