With a few simple supplies and an afternoon, you can create your own DIY picnic blanket and picnic in style this Summer!
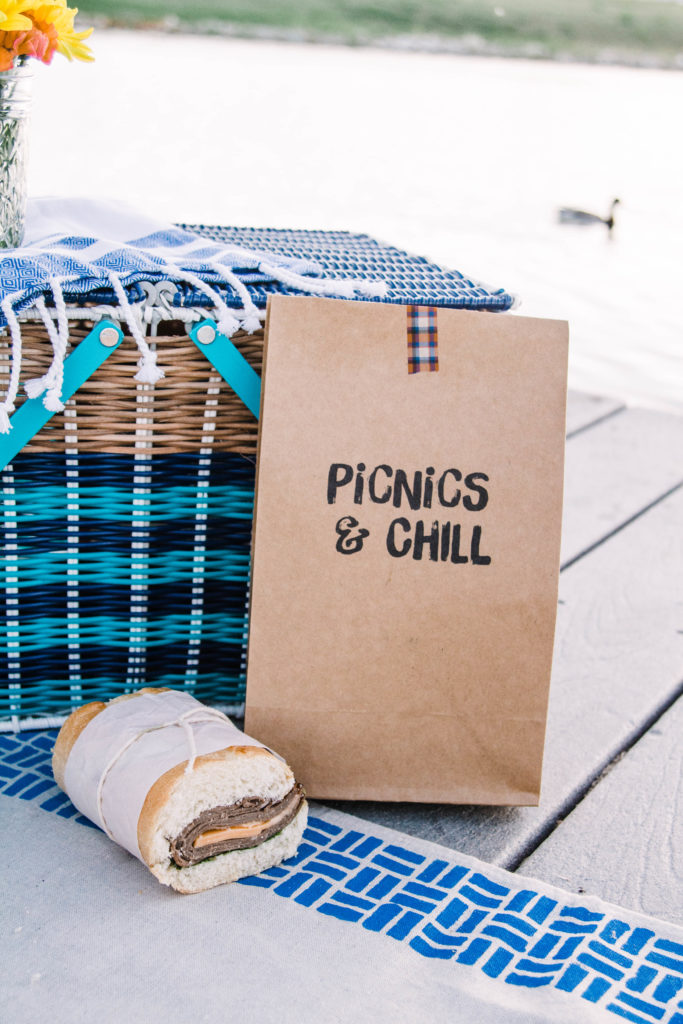
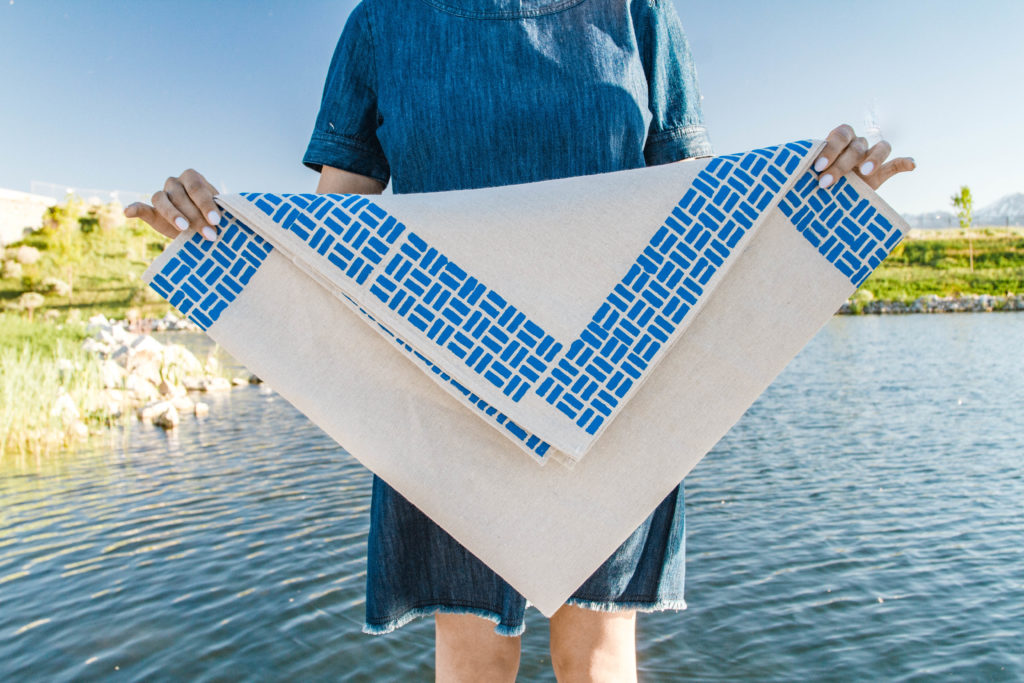 Yesterday I shared some tips and tricks to help you plan the perfect summer picnic, but now that you have the basics down, it’s time to have a little bit of fun with your supplies! Creating your own DIY picnic blanket is simple to do and a great way to add a little bit of personality into your summer fun.
You only need a few inexpensive supplies and an afternoon to pull it off!
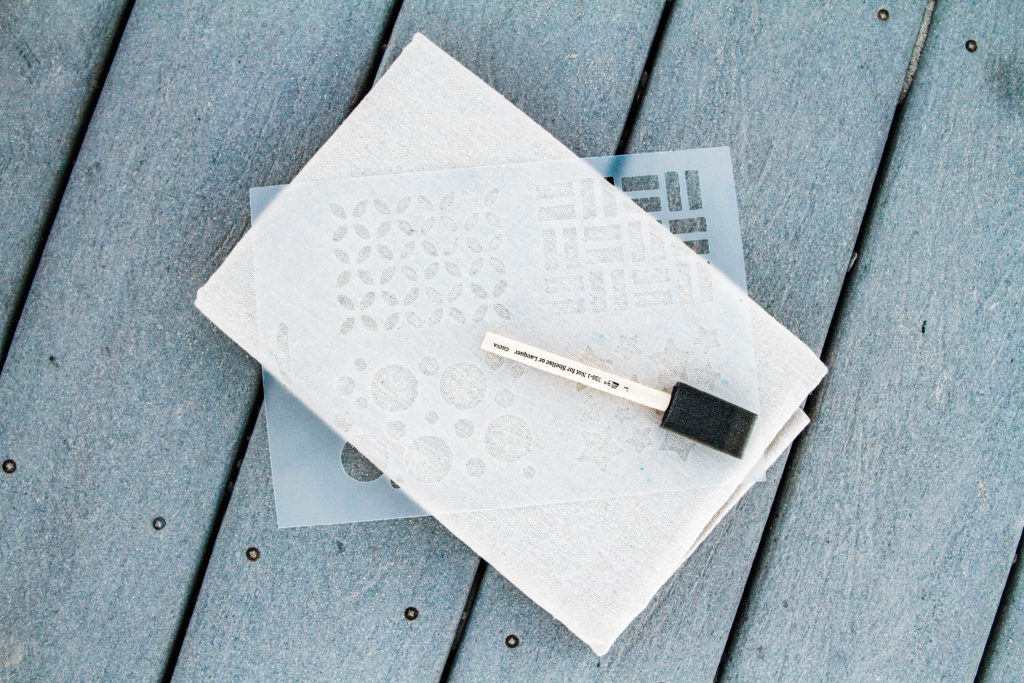 Here’s what you’ll need to make your own:
- Tablecloth/Tarp/Fabric
- Fabric Paint
- Stencil
- Foam Brush
First, wash, dry, and iron the fabric that you’re going to use for your finished picnic blanket.
I picked up a tablecloth from the Target dollar section (one of my favorite places in the world…anyone else..?) to use for this DIY, but any basic blanket, painting tarp, or section of fabric will work. (If you are using fabric, make sure to finish the edges before washing!)
 Pick out a stencil that you want to use around the edges of your blanket. I went with a pattern that was more modern and graphic, but any stencil works! I prefer to use a stencil that is plastic so that I can rinse it off as I’m working around the blanket to prevent paint build up. If you are using a cardboard stencil, make sure to allow it to dry completely before moving to a new section!
I also only chose to paint the edges of my blanket, but you can fill the entire blanket, only do certain areas, or stay around the edges like I did. No rules! Get crazy 😉
Place something underneath the area that you are painting to prevent any paint to bleed through. A painting tarp, newspaper, or cardboard works great.
Place your stencil onto the edge of your blanket and use the foam brush to dab on the fabric paint. Fill in each stencil completely and then carefully lift the stencil and move over to the blank space next to it and repeat. Do this until you’ve covered the entire outside area of the blanket. (If your stencil gets full of paint, wash it off and dry it before moving on. I washed the stencil each time I moved to a new side on the blanket).
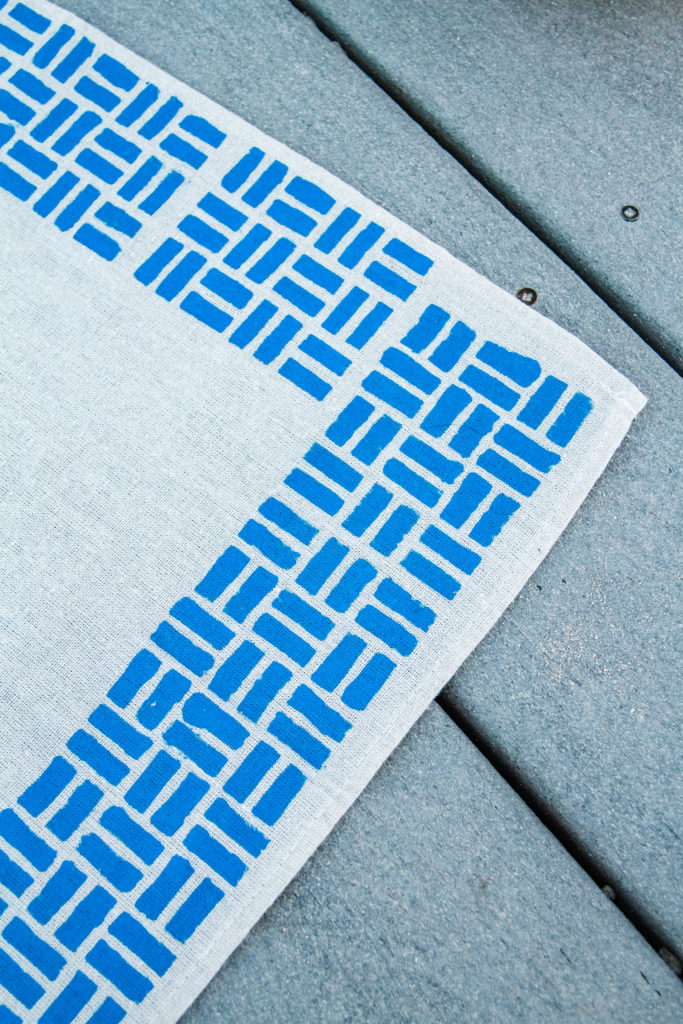 Allow the paint to dry completely before using your new DIY picnic blanket!
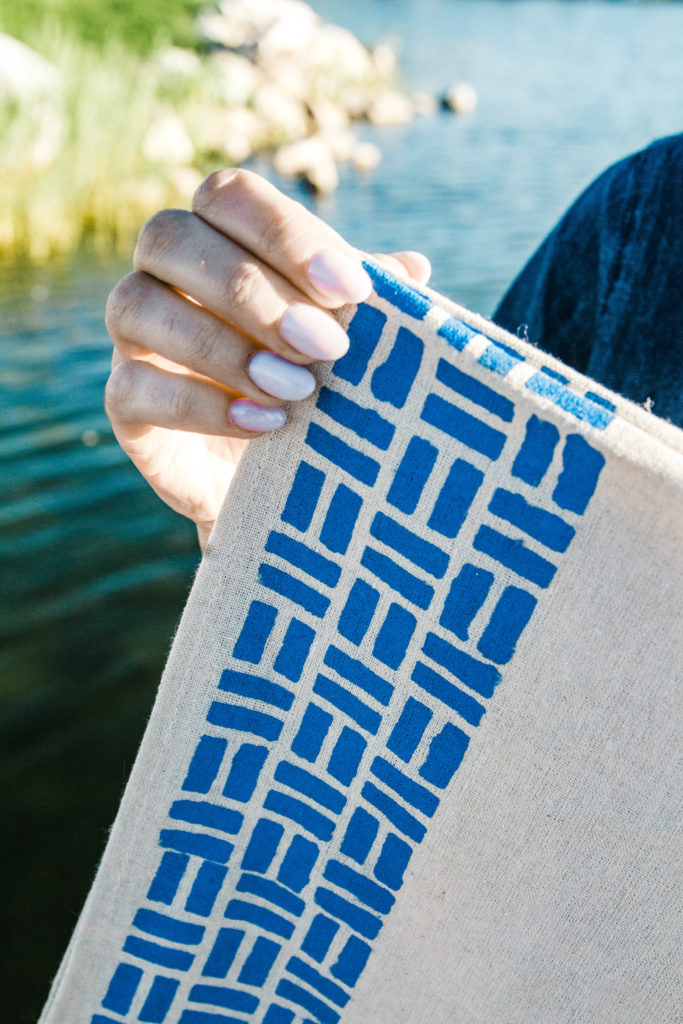
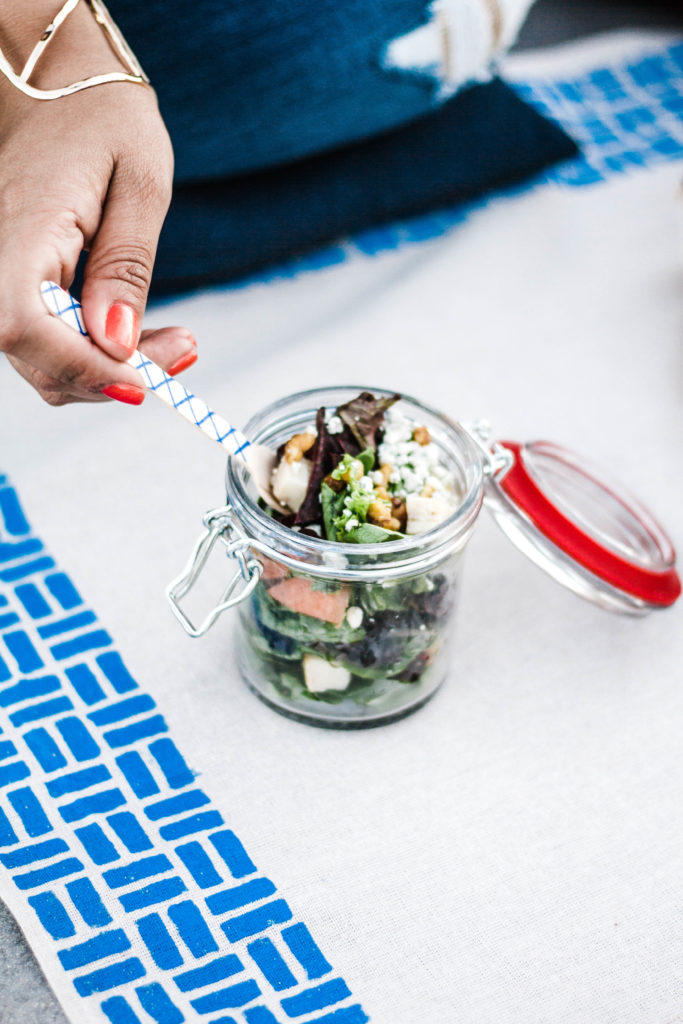 This DIY picnic blanket is such a simple project and one that even the kids could help out with too! A fun summer craft afternoon followed up by a picnic in the park later…sounds like a great weekend to me!
Photography by Taylor Grayson

