These printable picnic lunch bags are easy to make, so cute, and exactly what you need to take your picnic game over the top!

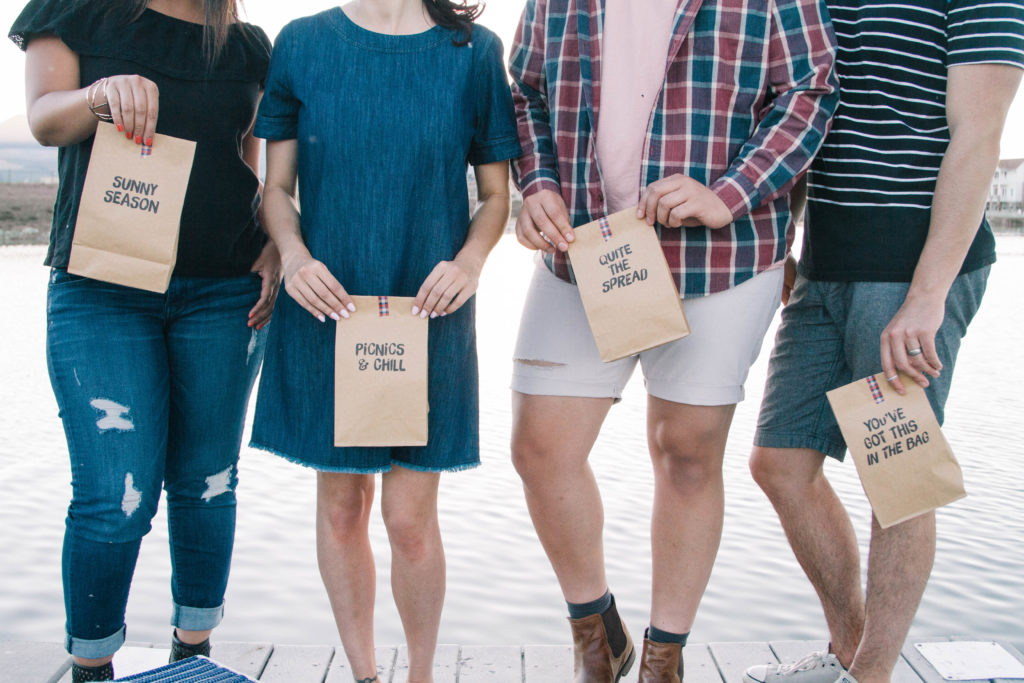 You’re prepped and ready with some summer picnic tips, you know how to create your own DIY picnic blanket, and now you need something fun to add into your picnic basket. And, of course, I have JUST the thing you need…these printable picnic lunch bags are so cute and so easy to make! I’m literally obsessed. And yes, I know they are just paper lunch bags, but the cuteness factor is just over the top. You guys understand, right?
Either way, I’m sharing a free printable file for all 4 of these fun bag styles. Pick your favorite, or use them all!
Here’s what you’ll need to make your own:
- Paper Lunch Bags
- Printable Picnic Lunch Bags File
- Printer
- Washi Tape (Optional)
Depending on your printer, you can print them one of two ways.
The first, which is a bit trickier, but ultimately easier, is feeding the actual paper lunch bags directly through your printer (in the paper tray). If you go this route, or try this route first, there are a few tips to make it more successful.
To ensure that you are feeding the bags into the tray in the correct way (and save you a lot of wasted bags!), print a test sheet on a piece of paper so that you know exactly which direction it’s going to print.
Once you have that figured out, tape down the back folded flap of each bag. (The folded bottom part of the bag). One piece of tape in the center will keep it from getting caught in your printer as it’s being fed through.
Put your bag into the paper tray and press print. (I did one bag at a time). Since the paper bags are thicker than a regular piece of paper, use your hands to help guide the bag through as it’s printing. Sometimes the bag can get caught, depending on your printer, because of the thickness, but helping to guide it through prevents that.
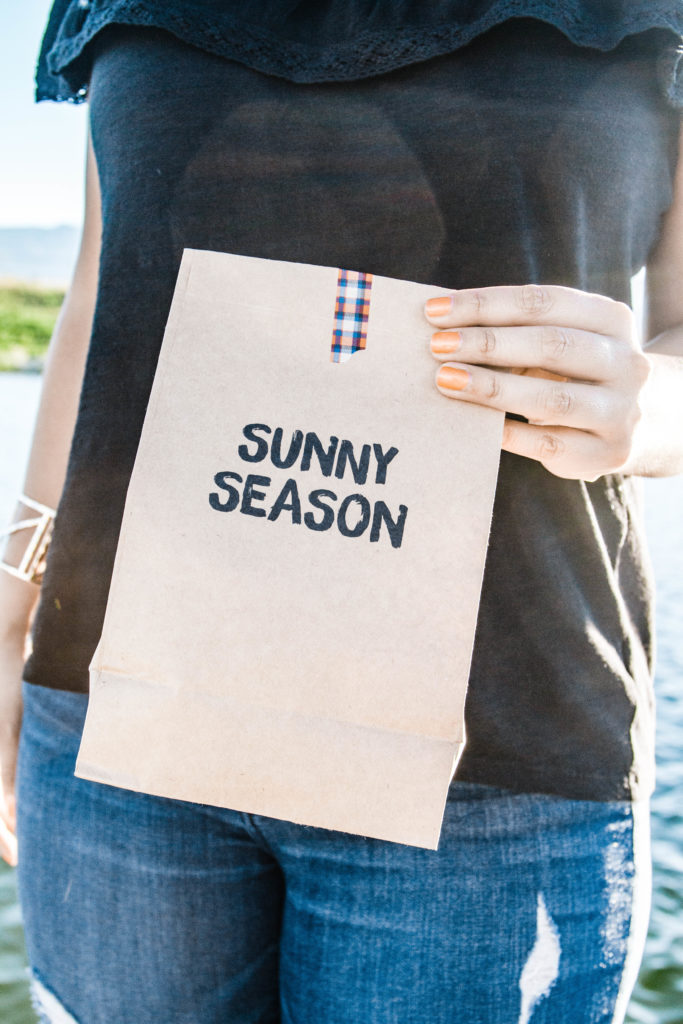 If you want to pick a safer option, tape each paper bag onto a piece of regular printer paper to feed through the printer. Make sure to tape them evenly and directly in the center of each sheet to make sure they print in the right spot.
Again, to ensure that you are feeding the paper (with the bags taped onto them) into the tray in the correct way (and save you a lot of wasted bags!), print a test sheet on a piece of paper so that you know exactly which direction it’s going to print.
Because the bag will be taped to a sheet of paper, you don’t have to worry about taping down the bottom flap.
Put your bag into the paper tray and press print. Again, since the paper bags are taped onto a regular piece of paper, they will be thicker, so use your hands to help guide the bag through as it’s printing. Sometimes the bag can get caught, depending on your printer, because of the thickness, but helping to guide it through prevents that.
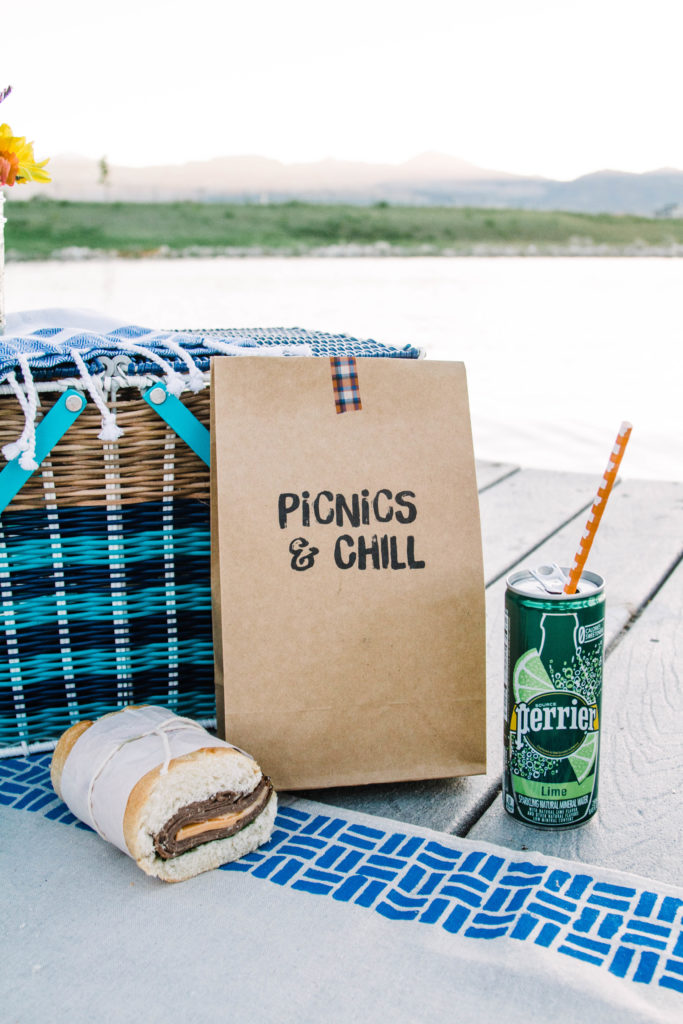 Fill your printable picnic lunch bags with yummy snacks and treats and then fold them over and seal the bags with a fun piece of washi tape!
They add a really fun element to a summer picnic and are a breeze to print! You’ve got this one in the bag 😉
Photography by Taylor Grayson


superb, excellent, awesome work. I will definitely try it in the home. Thank you so much for this tip and creativity.