This is a sponsored conversation written by me on behalf of 7UP® and Sunkist®. The opinions and text are all mine.
 If you guys have been hanging around the blog for a while now, you know that Halloween is my absolute favorite holiday of the year. I go all out and try to cram in as many October themed activities as possible to really get the full “All Hallows Eve” experience in. I usually like to throw some sort of get-together for my friends and family too. Whether it is a Halloween themed party, dinner party, or just a movie marathon night, I infuse as much Halloween goodness as I can into all of my entertaining plans during October.
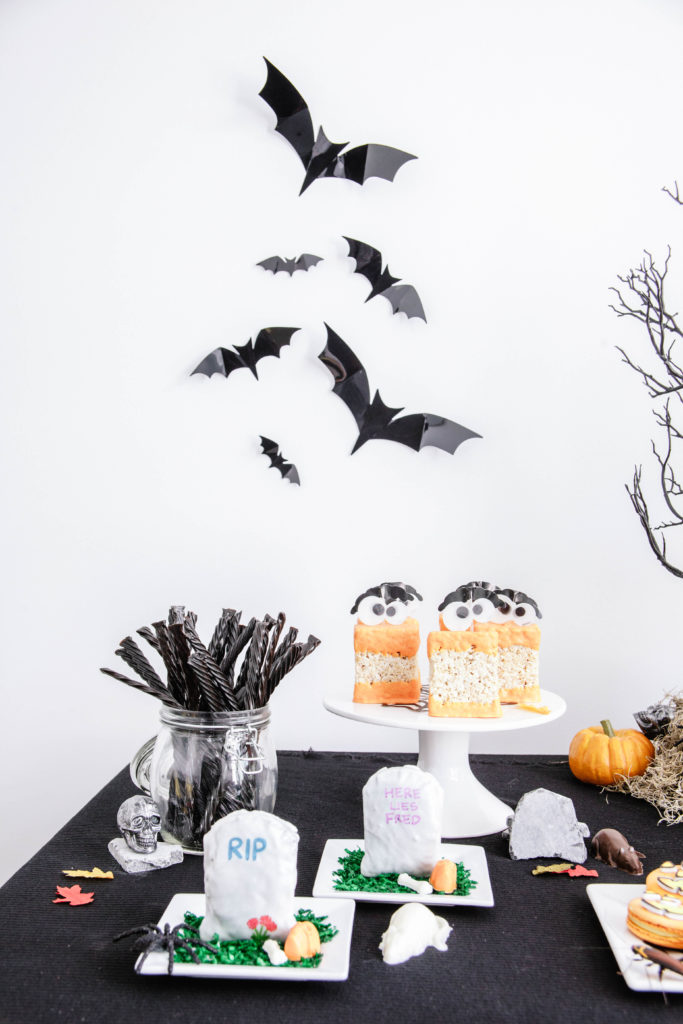
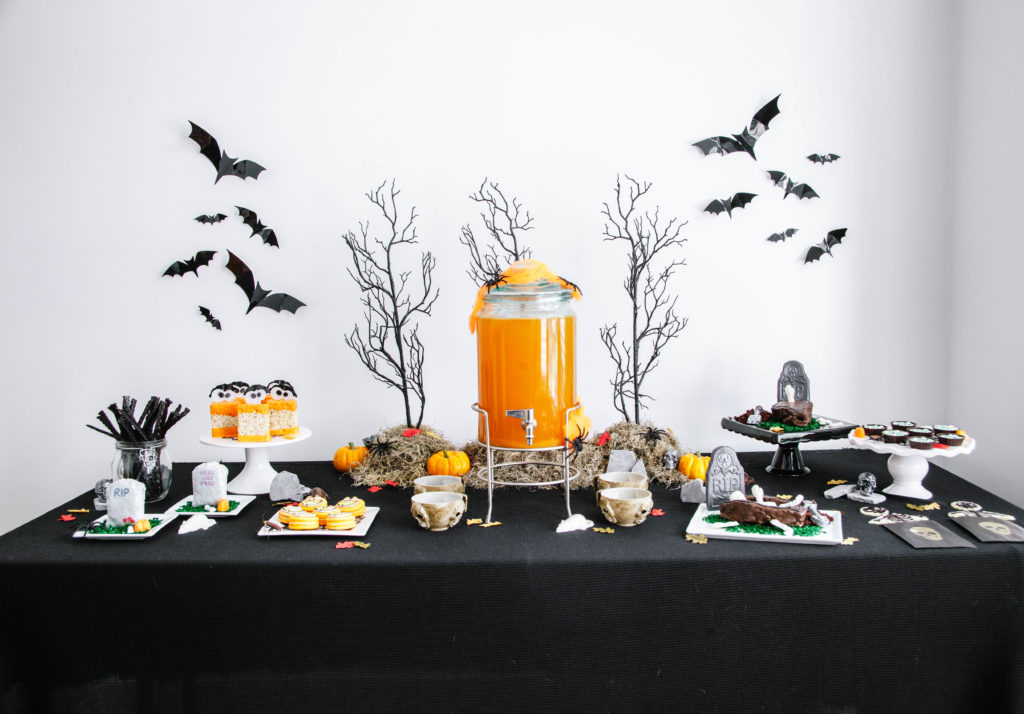
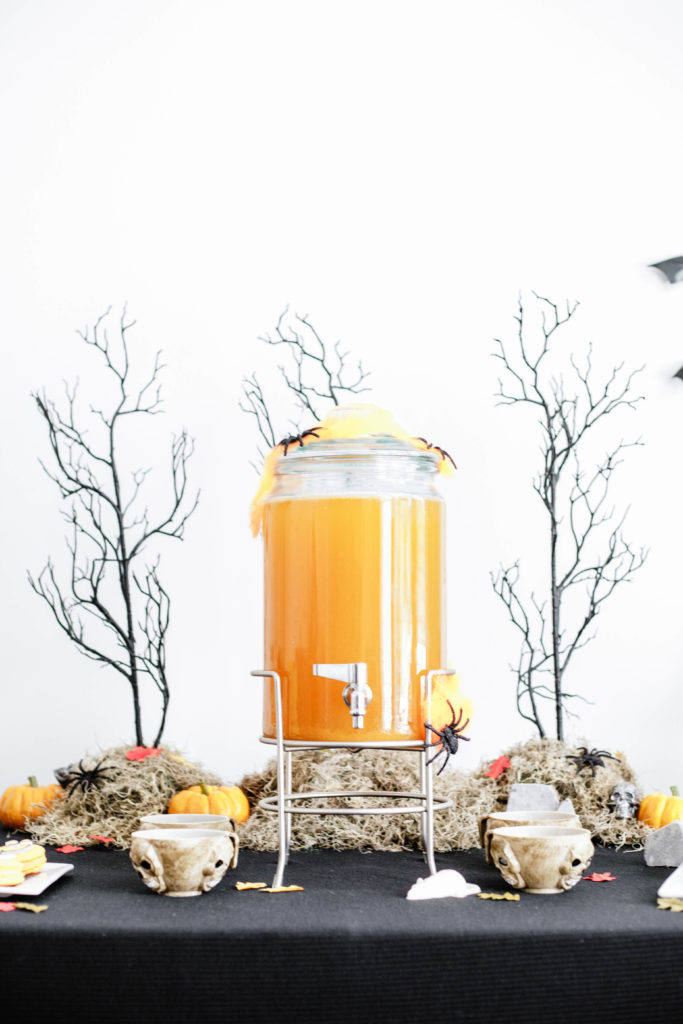 One fun way to incorporate some spook into your next Halloween gathering is with a fun Halloween dessert table! I love putting dessert tables together because they really let your imagination go wild and who doesn’t love treats?!
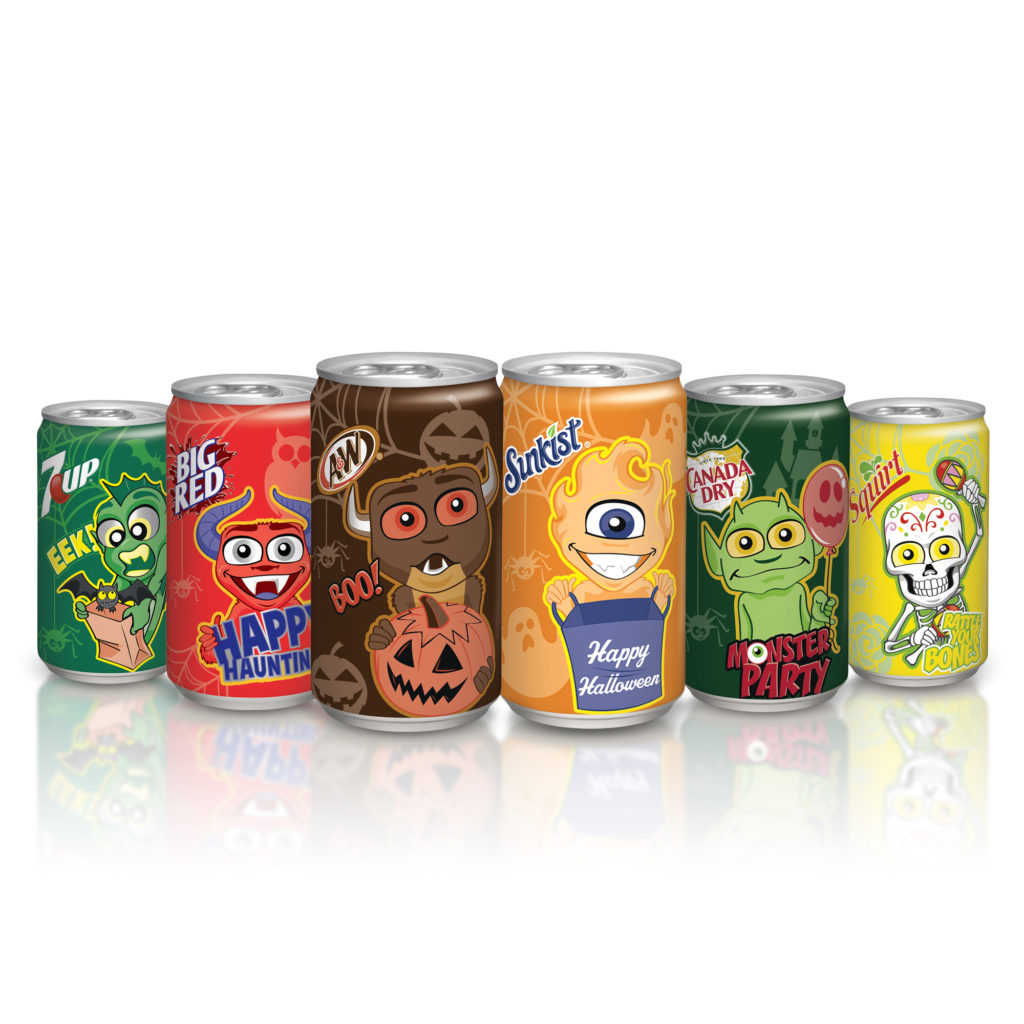
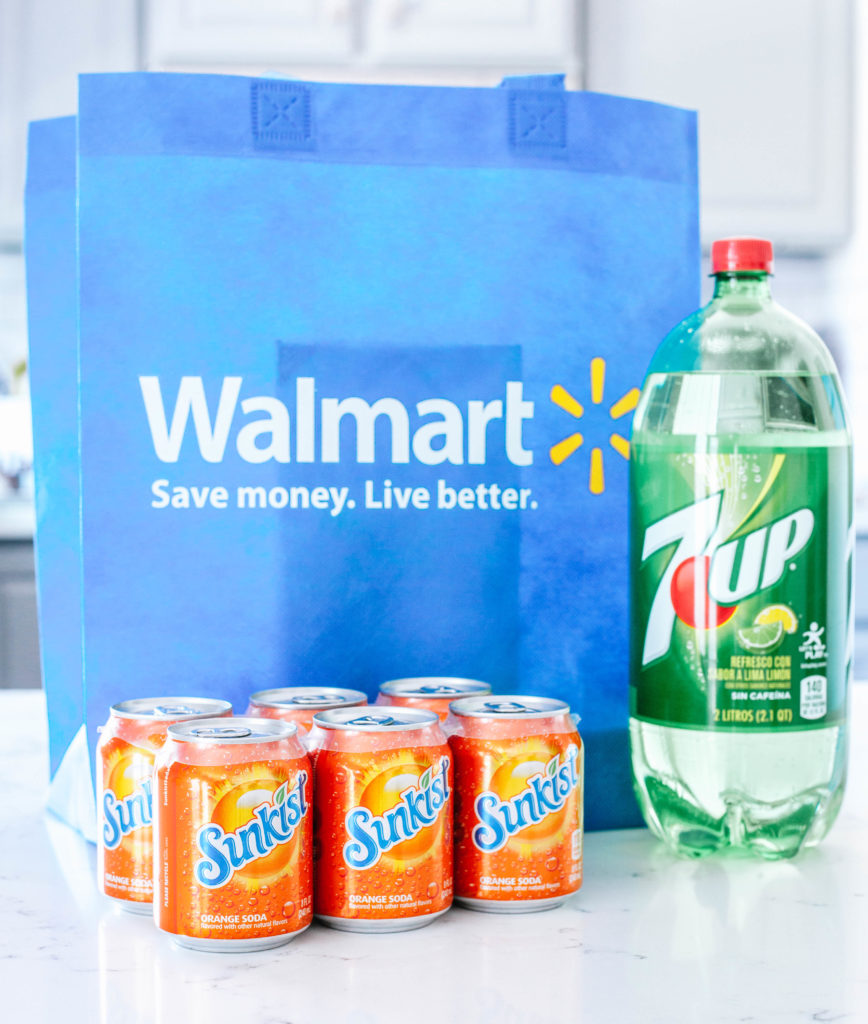 My Halloween dessert table was inspired by the colors of the super cute and fun Sunkist mini monster cans and 7UP 2 liter bottles that hit Walmart stores on September 15th through October 31st! The mini monster cans are a super easy way to incorporate some Halloween fun into your parties and they even have a secret Snapchat Snap Code on each can that will unlock a special Snapchat filter for 1 hour!
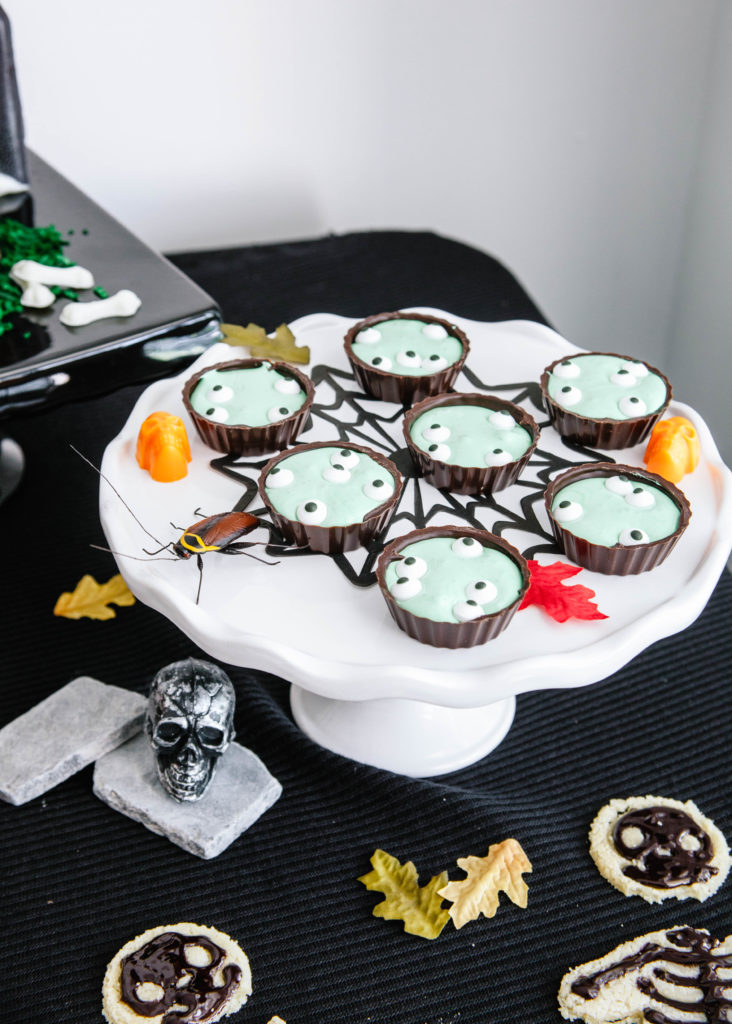
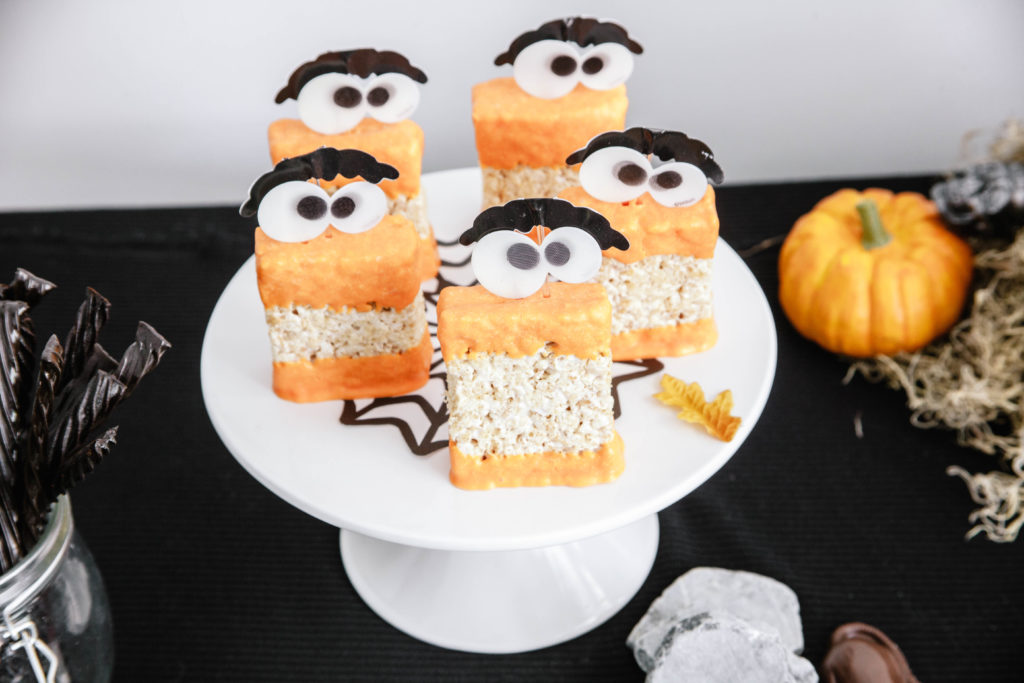
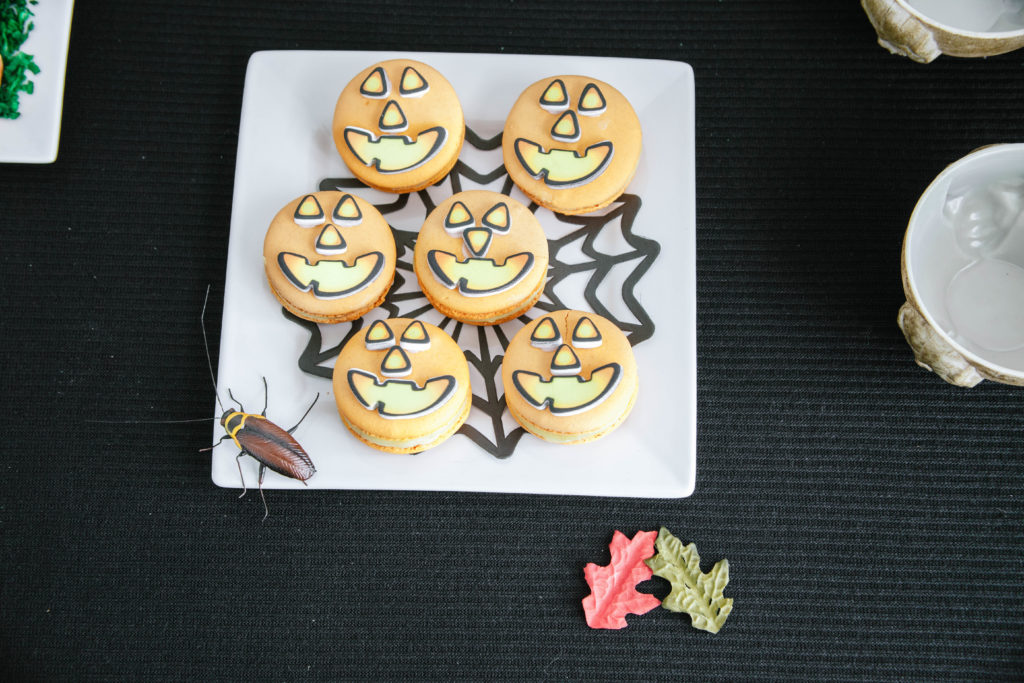 For the treats on my table, I served chocolate dipped marshmallow monster treats with big googly eyes, marshmallow filled chocolate monster blobs with multiple eyeballs floating around, of course, and jack o’lantern macarons. You can either purchase store bought macarons, or make your own, and then add on cupcake topper faces, that I picked up at Walmart, with frosting. Such a fun and really easy treat!
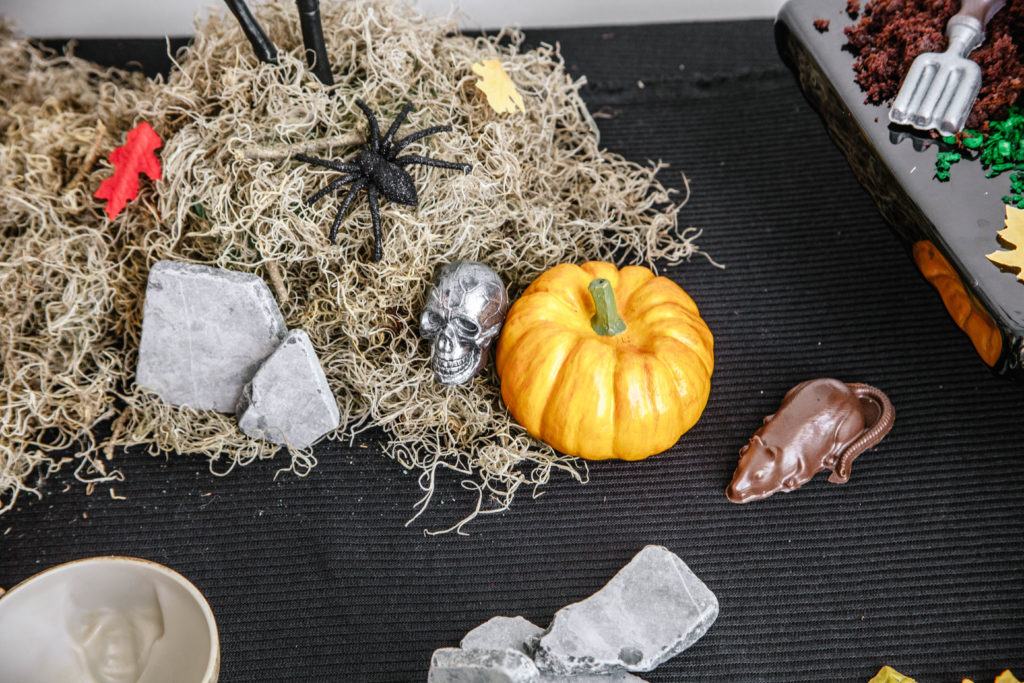 I placed chocolate mice around the Halloween dessert table, in random places, for a creepy, spooky “craveyard” touch! I made the mice using chocolate melts and a candy mold. You can also fill the mice with gooey caramel or jam for an added and unexpected bonus!
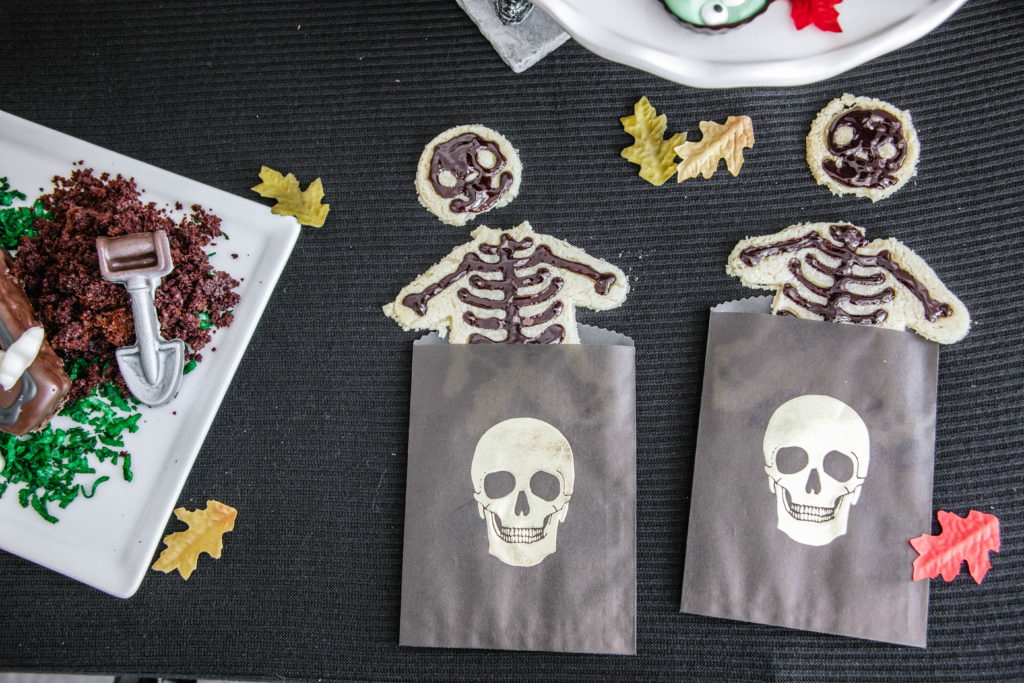 Sugar cookies were given a Halloween touch by using a cookie cutter and some black cookie frosting, which you can find in the baking aisle. I decorated them like skeletons and purposely broke off a few body parts to make them Halloween appropriate!
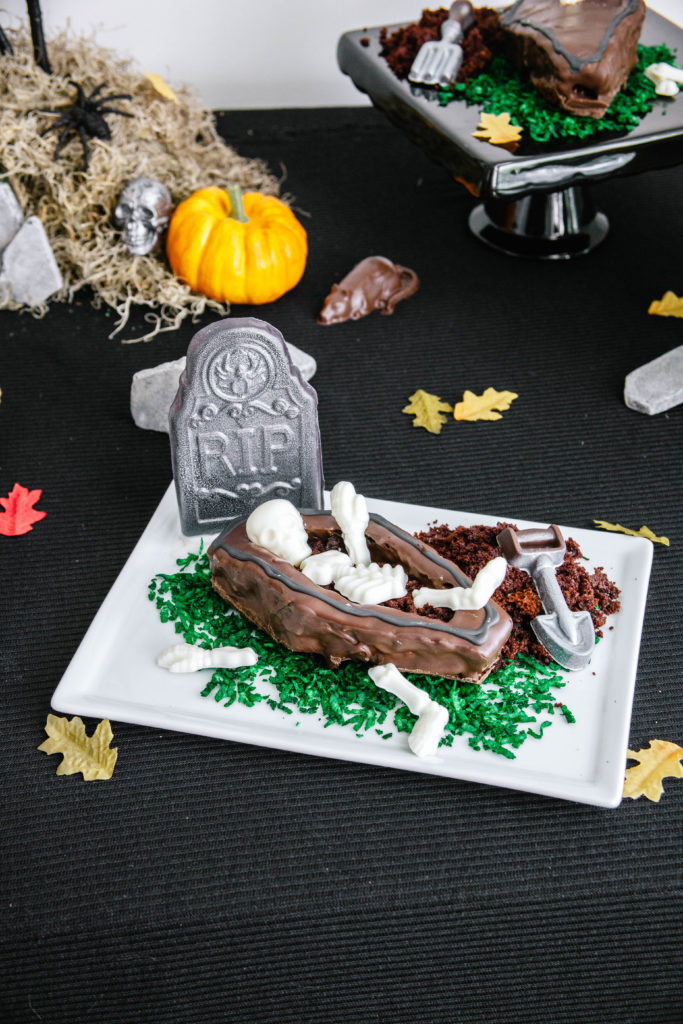 These chocolate casket cakes are also fun and really easy to make! Bake a chocolate cake according to the package directions and cut into casket shapes once cooled. Hollow out the center of the cakes, leaving the bottom intact and cover with melted baking chocolate. Add some chocolate bones or body parts and a little pile of the crushed cake as your “dirt”, that you had left over after hollowing out the centers. Dye some coconut shavings green with food coloring to place underneath the casket and serve with a chocolate tombstone.
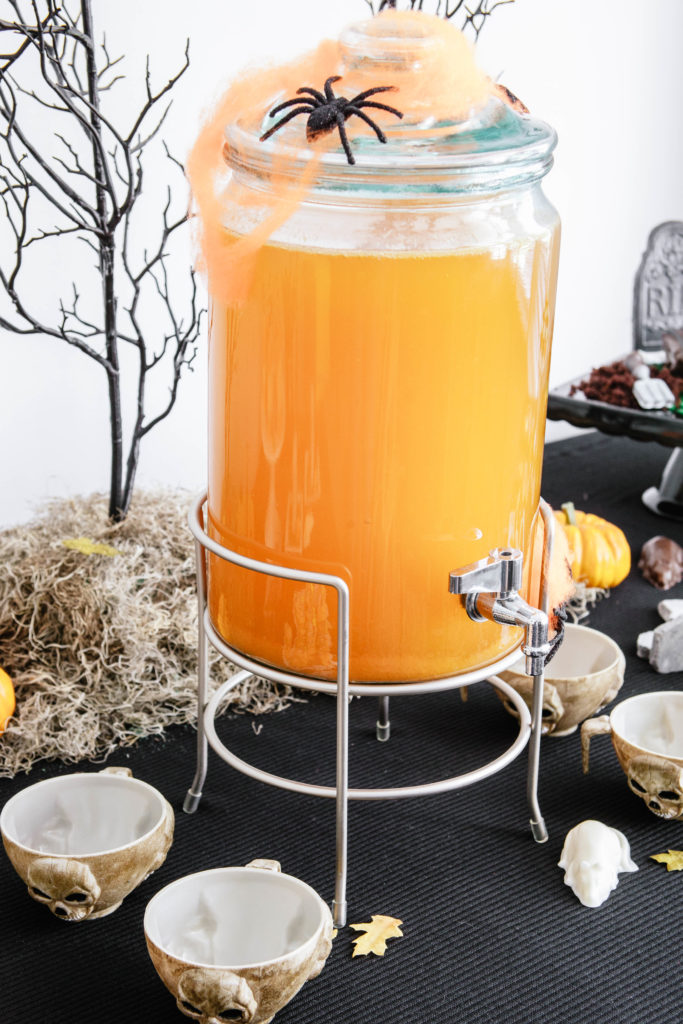
The bright pop of orange color on the table is from this delicious punch, that’s perfect for Halloween! It’s super easy to make and great for a crowd.
Here’s what you’ll need to make your own:
- 1 Can Frozen Lemonade Concentrate
- 1 Can Frozen Orange Juice Concentrate
- 1/4 Cup Sugar
- 4 Cups Water
- 2 Cups 7UP (or Sunkist)
- 1/2 Cup Cranberry Juice
- Ice
- Orange Food Coloring (Optional)
Place all of the ingredients into a large pitcher or drink dispenser.
Mix well. (You can also add a few drops of food coloring to your punch to make it more of a vibrant orange, if desired!)
Add ice to glasses or punch cups and serve!
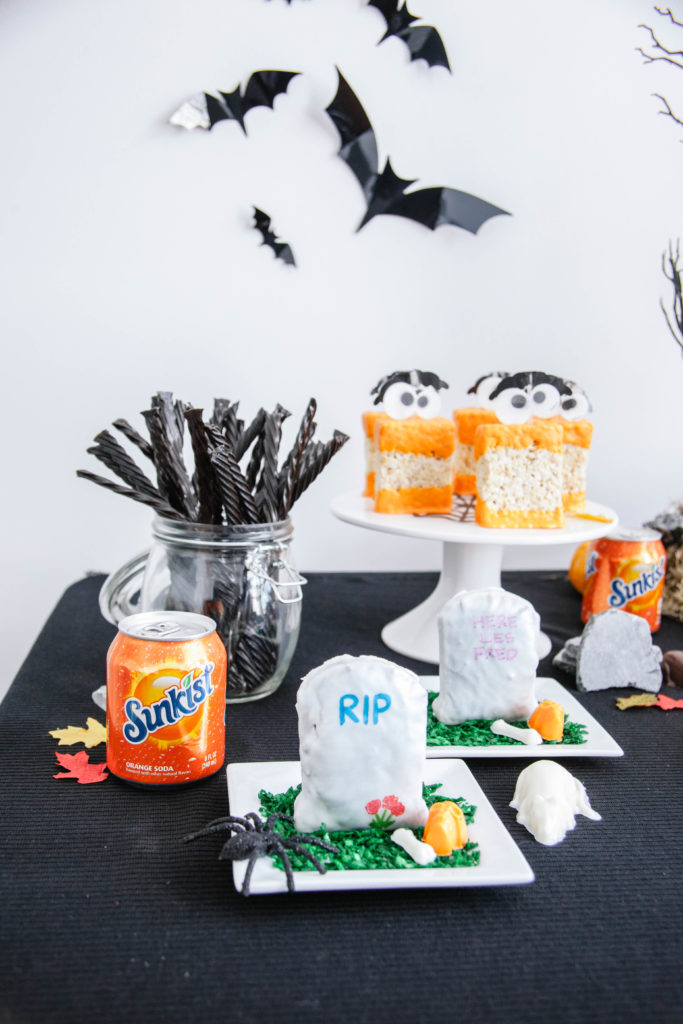
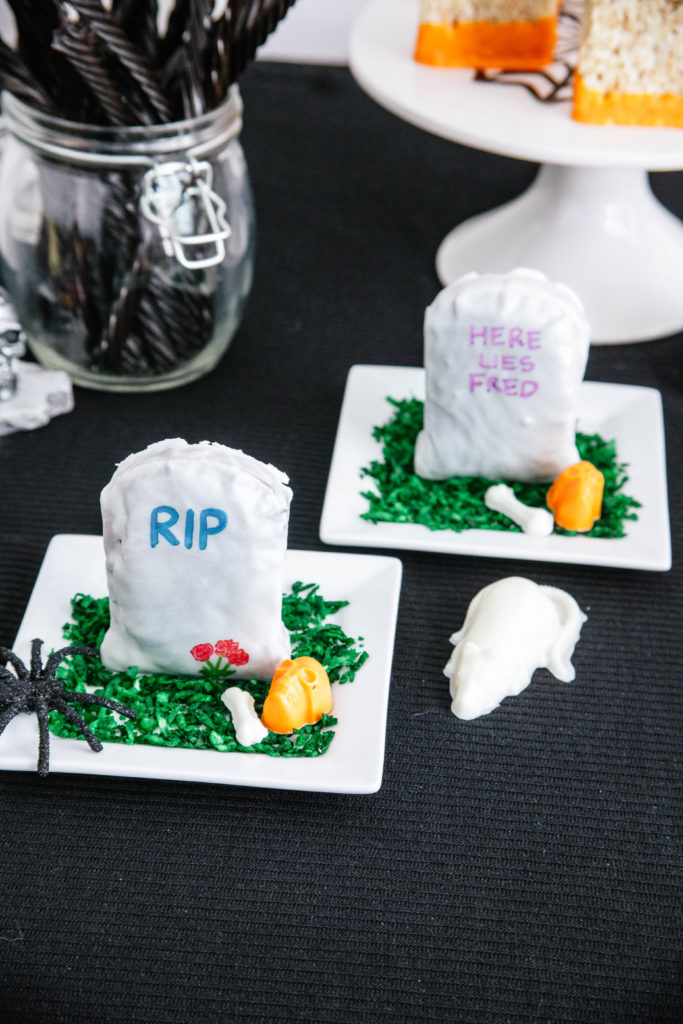 I love these brownies because they are such an unexpected and easy treat to make! (No one will guess they are brownies!) Plus, add in that yummy mint flavor and green color and you have the perfect Halloween dessert!
Tombstone Mint Brownies –
Here’s what you’ll need to make your own:
- Your Favorite Boxed Brownie Mix
- 1 1/2 Cups Mint Baking Chips (Located in the Baking Aisle)
- White Cookie Frosting (Located in the Baking Aisle)
- Tombstone Baking Molds (Optional)
- Food Writer Edible Pens (Any Color)
Mix your brownie mix according to the directions on the package.
Once combined, add your baking chips and stir well.
If you are using tombstone baking molds, pour your brownie batter right into the molds. (If not using a mold, you can bake them in a regular pan and cut out the tombstone shapes once cooled).
Place your molds on a baking sheet and bake according to the directions on the brownie package. For the molds, I baked the brownies for about 25-30 minutes. Watch them and ensure they do not over bake. Stick a toothpick into the center of each brownie and if the toothpick comes out clean, they are done!
Remove the molds (or pan) from the oven and allow to cool.
Carefully remove the brownies from each mold and allow to sit for at least 20 minutes to set slightly. If you are using a baking pan, once your brownies have cooled completely, cut out tombstone shapes using a knife and allow them to sit so that the shape can set.
Once the brownies are completely cool and have set for a bit, place them on a parchment lined baking sheet and cover the tops and sides of the tombstones with the white cookie frosting. The frosting will drip down the sides and coat the brownies.
Allow the frosting to harden completely. (I let mine set overnight).
Once the frosting has set, use the edible food pens to write funny tombstone messages or add decorations.
Set them sitting upright on a plate on your dessert table to serve!
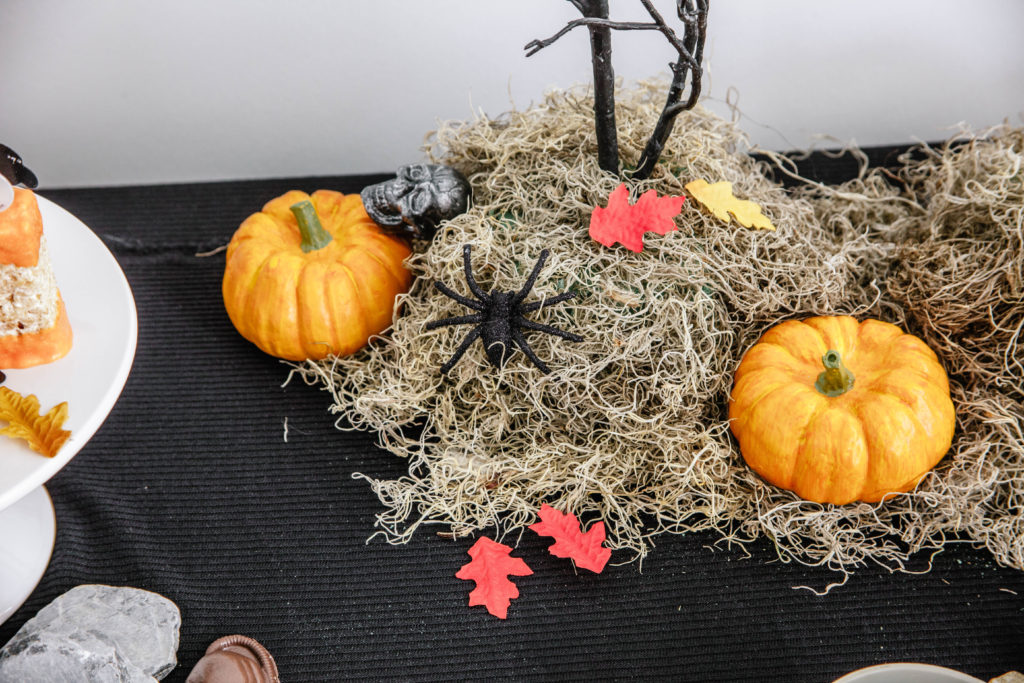

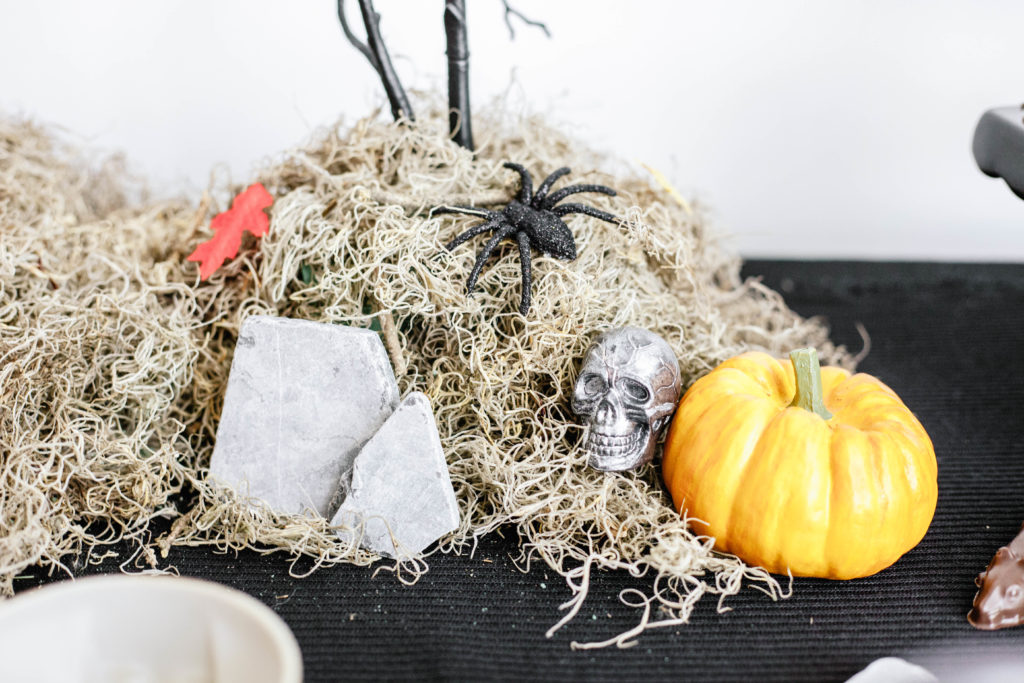
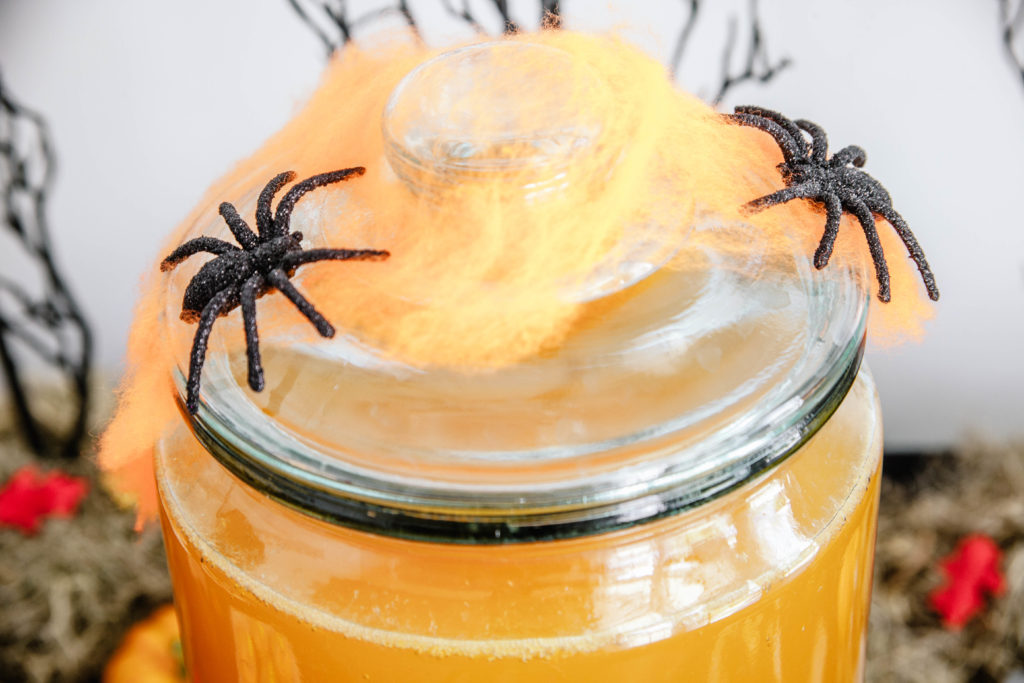
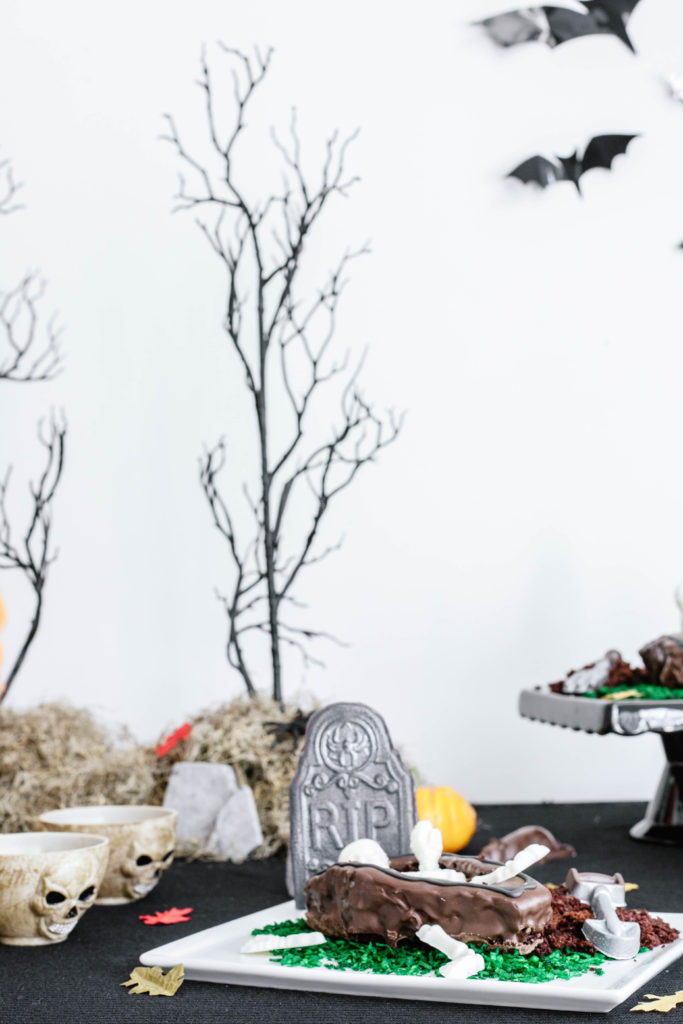 To add a little more Halloween flair to your table, add some leaves, spiders, cockroaches, and pumpkins to really tie the theme together. Some cut out bats above the table and black tree branches add to the spooky design too! I picked up most of the supplies for this DIY Halloween dessert table at Walmart! I love that they are a one-stop shop for all of my needs!
 Want more fun Halloween themed treat and dessert table ideas for you party? Head over to The Craveyard for some spooky fun!
 Photography by Taylor Grayson


Nice post!