This shop has been compensated by Collective Bias, Inc. and its advertiser. All opinions are mine alone. #PrizesWithPost #CerealAnytime #CollectiveBias
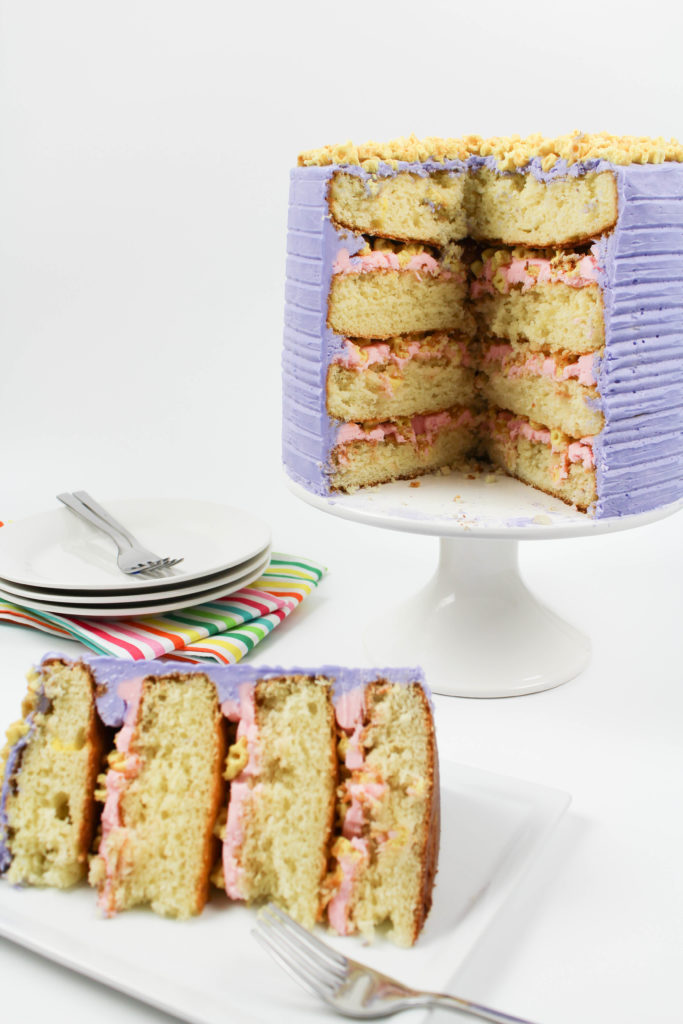 No matter how old I get, I’ve realized that I’m still a kid at heart and LOVE cereal. (I eat it for dinner more than I should probably admit). But, as we get older, there are some other fun ways to enjoy cereal, besides just in a cereal bowl for breakfast (or dinner!). This milk and cereal cake recipe is a great way to transform a breakfast staple into something fun for a birthday, special occasion, or just a way to get your kids to giggle when they find out you’ve put cereal into their cake.
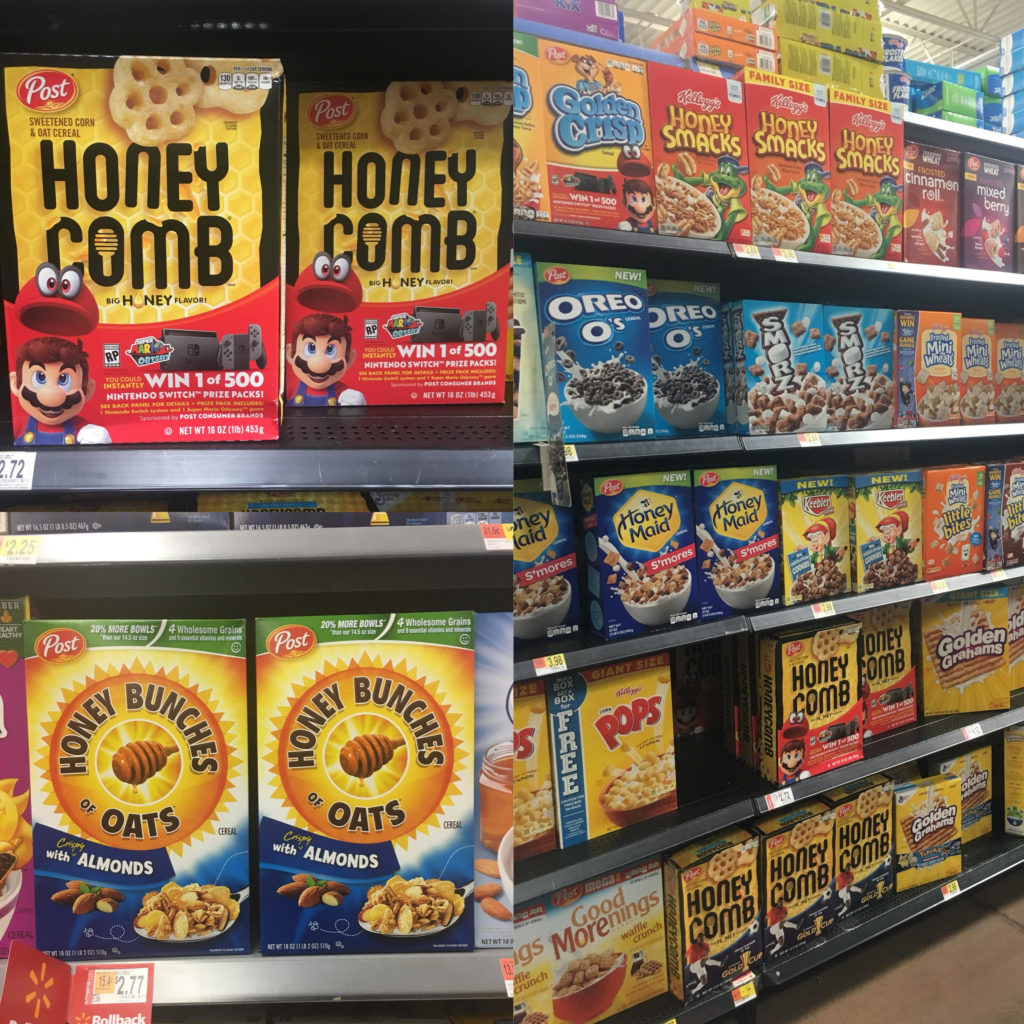
For this milk and cereal cake recipe, I decided to use one of my favorite cereals, Honey Comb! I stopped by my local Walmart store to pick up a box and the rest of the ingredients for the recipe.
 I’m definitely a big Post cereal fan. They have such a wide variety of of different cereals that will appeal to even the pickiest member of your families and it’s great knowing that they are always packed with flavorful goodness.
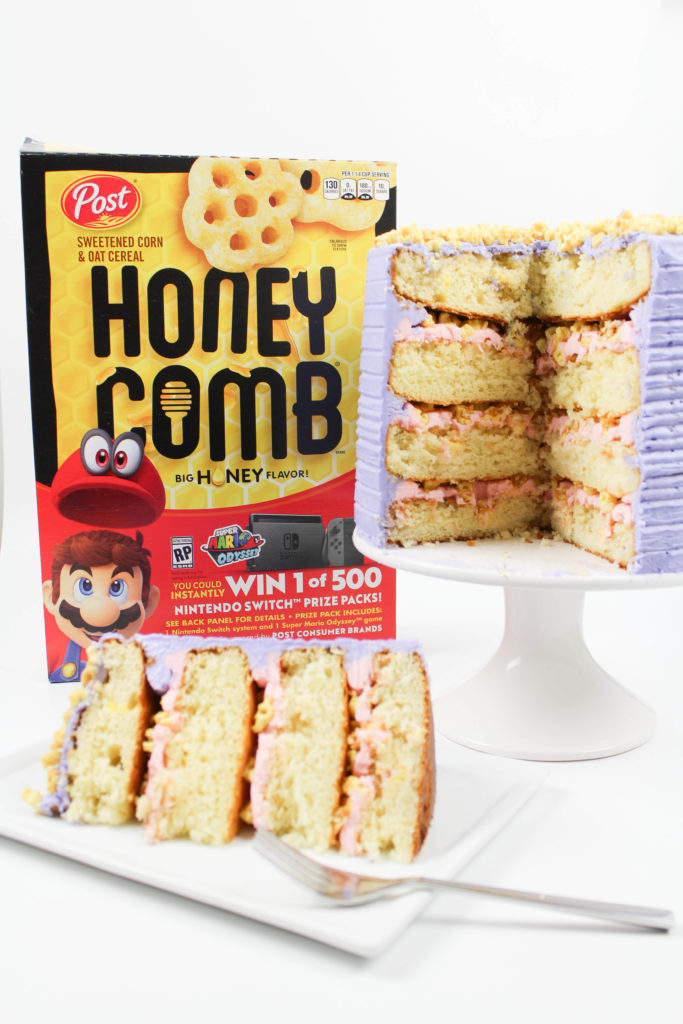 Plus, Post is now partnering up with Nintendo Switch to give you life some extra fun! Look for specially marked boxes and you could instantly win 1 of 500 Nintendo Switch prize packs! Head over here to find out more!
But, let’s get onto the good stuff, shall we? This delicious milk and cereal cake!
I’m a big fan of keeping things as simple as possible, while still fitting in ways to make them a little more homemade. For this milk and cereal cake recipe I use boxed cake mix, instead of making everything from scratch, because boxed cake mix really is great and why mess with greatness?
To add a little more cereal flavor into this cake, I add in cereal milk. Have you ever heard of cereal milk being used in recipes? It’s exactly how it sounds…it’s based off of the exact same milk you slurp up after enjoying a bowl of cereal, when the milk has absorbed all of those delicious flavors from the cereal bits. And it’s really easy to replicate too!
(When planning your cereal milk quantity, make sure to prepare enough to replace the water in both of your boxed cake recipes. The cereal mix recipe is below, but depending on the cake mix you are using, you may have to prepare additional cereal milk to ensure you have enough).
 Here’s what you’ll need to make your own:
Cake –
- 2 White Boxed Cake Mixes
- Ingredients Required on Back of Cake Mix Box
- Cereal Milk (recipe/ingredients below)
- 2 Cups Honey Comb Cereal
Cereal Milk Buttercream Frosting (You will be making 3 batches of this frosting, so make sure to triple the ingredients!) –
- 1 Cup Unsalted Butter, Softened
- 3 1/2 Cups Confectioners Sugar
- 1/8 Tsp. Salt
- 1/4 Tsp. Cream of Tartar
- 3 Tbsp. Cereal Milk
- 1 Tsp. Vanilla Frosting
- Food Coloring
Cereal Milk (Makes 1 1/4 cups) –
- 1 1/2 Cups Honeycomb Cereal
- 1 Tbsp. Brown Sugar
- 1 3/4 Cups Cold Whole Milk
- 1/8 Tsp. Salt
 To start, begin making your cereal milk. Preheat your oven to 300 degrees. Line a baking sheet with parchment paper and spread honeycomb onto the top of the paper. Bake the cereal for 15 minutes, or until it’s lightly toasted. Allow to cool completely before moving onto the next step.
Once the cereal is cool, pour the toasted honeycomb cereal into a large bowl and pour the whole milk over top. Stir very well, then let the cereal steep in the milk for 30 minutes at room temperature.
Strain the mixture and discard the cereal.
Whisk the brown sugar and salt into the milk, until dissolved.
Once the cereal milk is ready to go, it’s time to make the cakes.
Prepare the cake mix according to the directions on the package, but replace the amount of water that is listed, with cereal milk.
Separate the cake mix into two round cake pans and bake according to the package directions. (You will be doing this with both boxed cake mixes, so you will end up with a total of 4 cakes).
Allow the cakes to cool completely before moving onto the next steps. To cool them down more quickly, you can pop your cakes into the freezer or fridge to chill.
Once your cakes have chilled, it’s time to make some frosting!
For the frosting, I make two separate batches and tinted them different colors using food coloring. The first batch of frosting will be used in between the different cake layers, and the second batch of frosting I doubled the batch and used it to crumb coat the outside of the cake and to cover and smooth over the entire cake as well. I tinted it a different color than the inside frosting, but picked a coordinating color that complimented the inside color.
To make the frosting, combine the butter, confectioners sugar, salt, and cream of tartar in a mixer until blended. Add the cereal milk, vanilla, and food coloring, and mix for another 3-5 minutes until it’s thick and smooth.
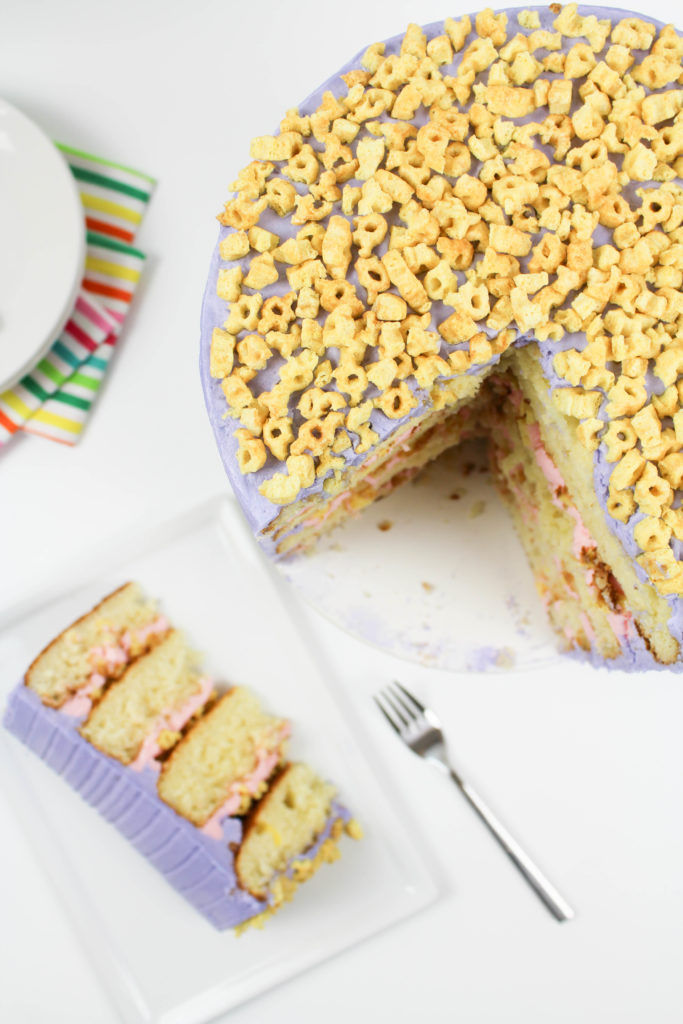
Using the 2 cups of honeycomb cereal that you have set aside for the cake, begin to break them into smaller pieces using your hands. I found that using my hands was easiest, because when I tried using anything else, it broke the pieces down too small and I ended up with more crumbs and powder than I did cereal!
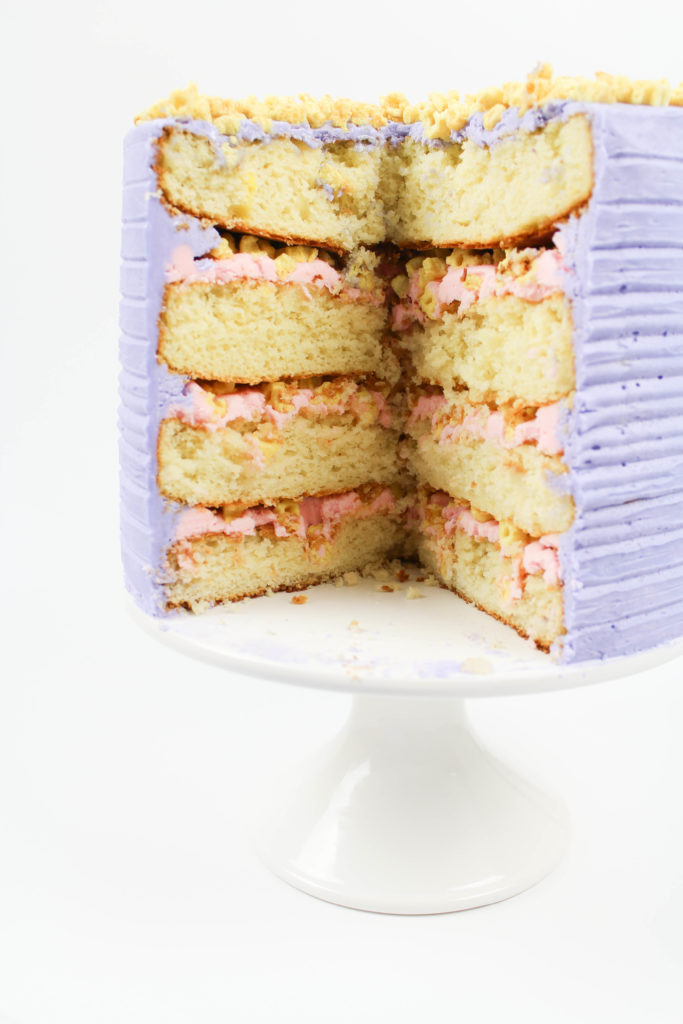 Begin to assemble the layers, buy adding a generous amount of the frosting in between each layer of cake, and then sprinkling the crushed up pieces of honeycomb onto the top of the frosting. Stack the next layer on top and repeat the process until you end up with the top layer of cake.
Once your cake stack has been built, pop it into the freezer to set, and begin making the next double batch of frosting, using the same steps as before, but thinking the frosting a different color, if you like.
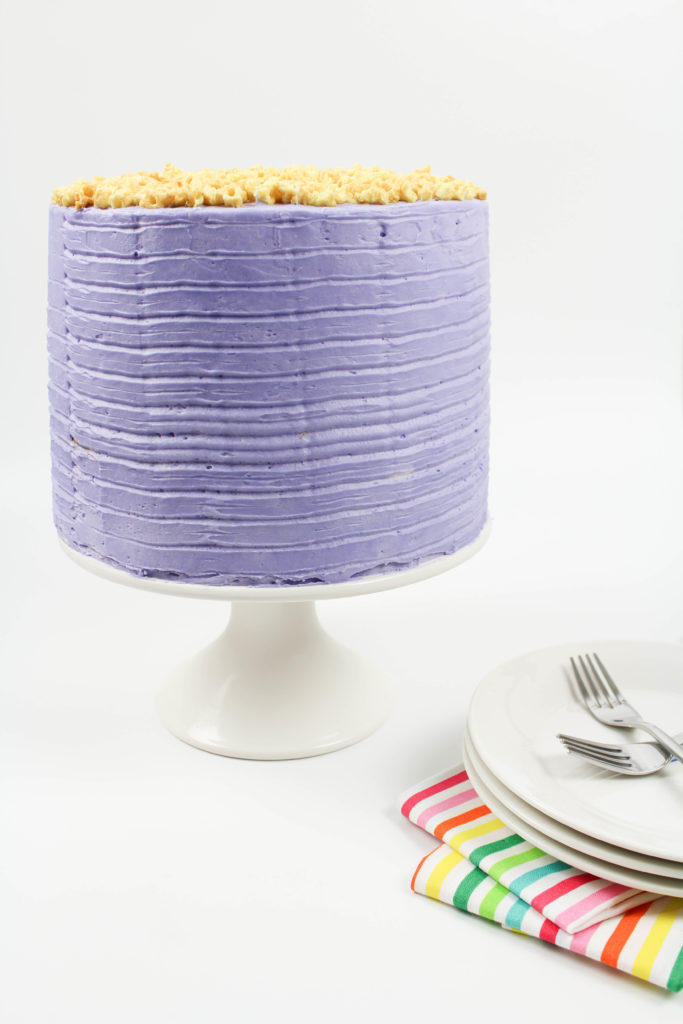
Once your frosting is done, take the cake out of the freezer and fill any bare spots between the layers with frosting first. Smooth out the edges and then begin coating the cake with the frosting. Smooth it out using a cake straight edge or scraper to ensure it’s all smooth and you don’t have any missing areas of frosting. If you do, fill the empty spaces and smooth again. If you want to add some texture to the outside of your frosting, you can use a decorating cake comb to give it some definition.
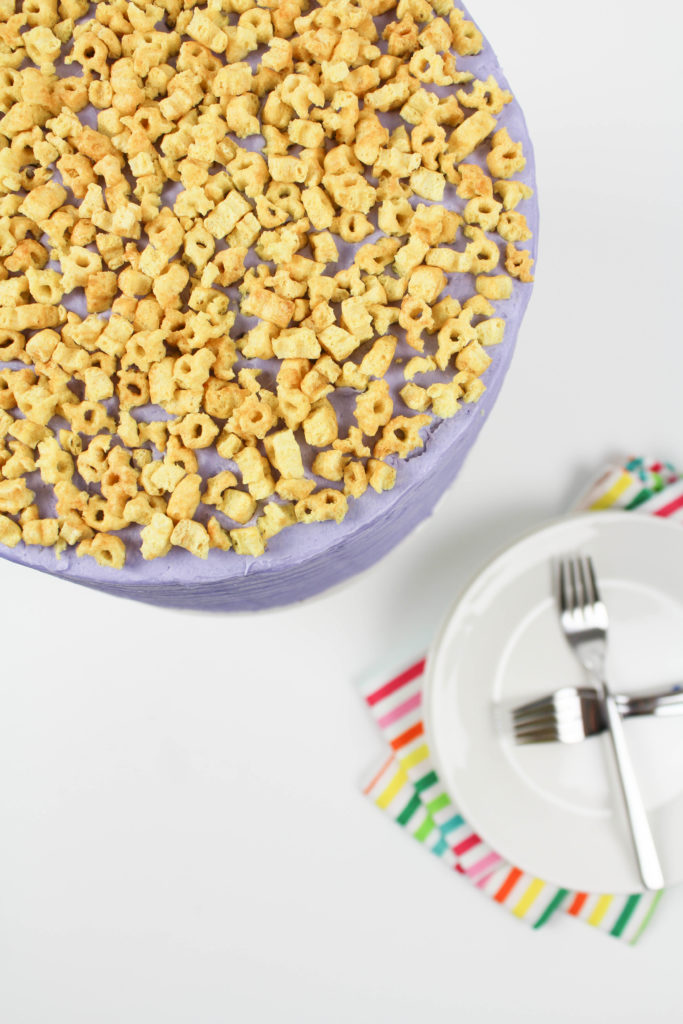 Once your milk and cereal cake is frosted, add some crushed up honeycomb to the top of the cake and you’re done! You can pop it back into the freezer of fridge so that the frosting sets a bit more, before serving, as well.
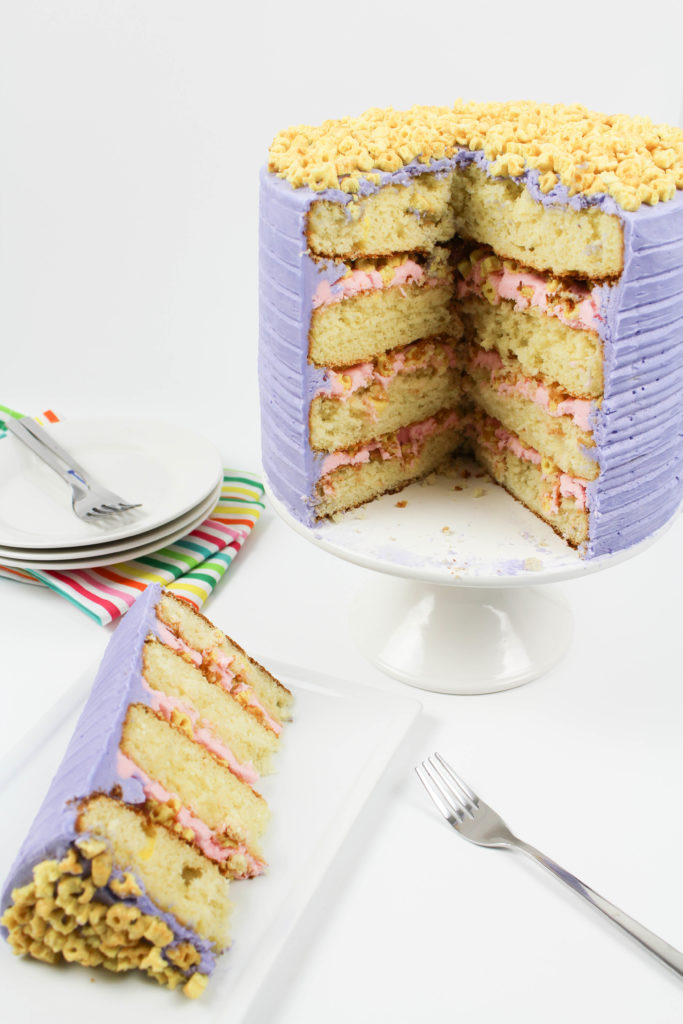 This milk and cereal cake is so fun and has a whimsical feel to it too. Adults or kids alike will love diving into this cake, because, let’s be honest, who doesn’t love milk and cereal, no matter their age?!
Looking for more fun ways to incorporate cereal into other recipes? Check out this pinterest page, full of great ideas!


What a fun cake! I’ll have to try this with my kids in the near future. Thanks for sharing!