 I’m a wood burning newbie. I’m just going to throw that out there to start. What that also means is that today’s project is THAT easy. No previous wood burning experience necessary. So don’t let the post title fool you. This is definitely a project you should try, regardless of experience level. And this DIY wood burned serving board is so cute, so how could you not?
For this DIY wood burned serving board, I chose to stick to using letters to spell out a word, but you can definitely experiment with the other points that come included in the kit with the wood burning tool. (The alphabet kit is separate). The thing that I love about this tool is the versatility. You can use it to burn, carve, emboss and solder too. It even has a really cool knife tip that heats up to use for cutting through styrofoam. If you have a crafter in the family, this tool would make a super cool gift too!
 Here’s what you’ll need to make your own:
- Wood Burning Tool (I used this set)
- Alphabet Branding Set
- Wood Board or Tray
- Wood Stain
- Varathane Sealer
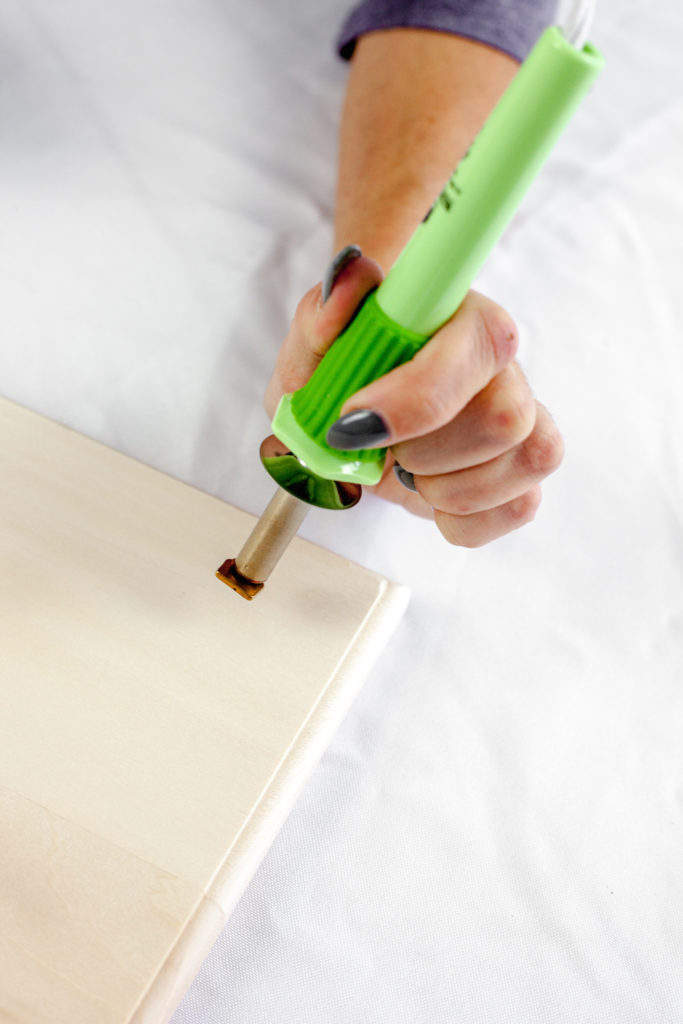 Insert your first letter into the tool, plug it in, and allow it to heat up. Also, be careful! This little baby does get super hot. So take the necessary precautions to prevent burning yourself or the area you are working in.
Once hot, apply the letter to the board, pressing straight down and evenly for about 5-10 seconds, or until the letter has been imprinted as deep as you’d like.
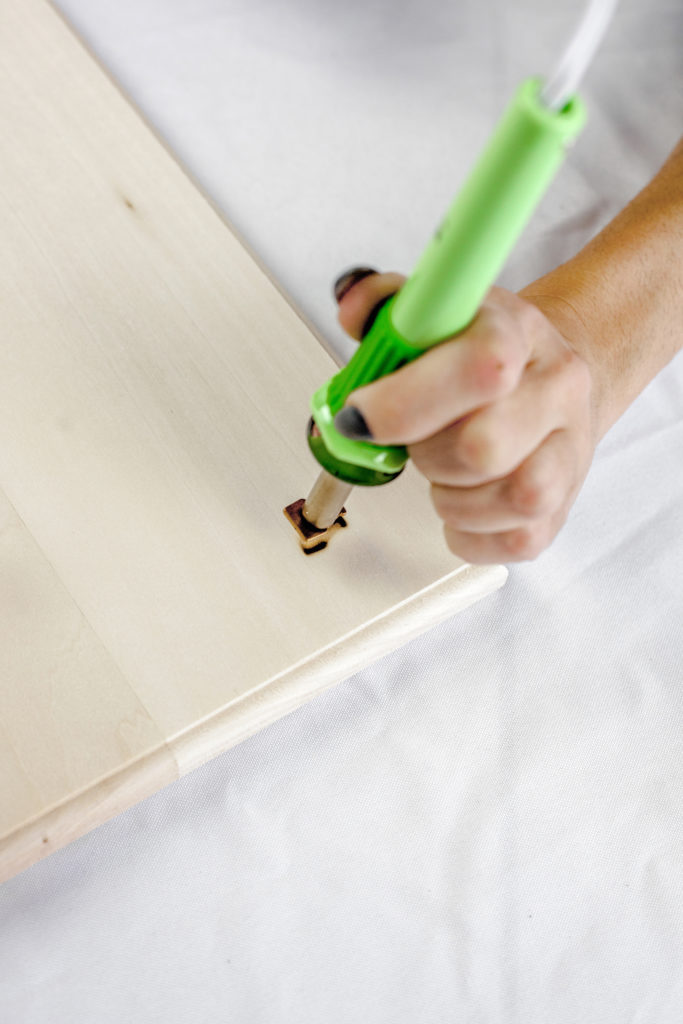
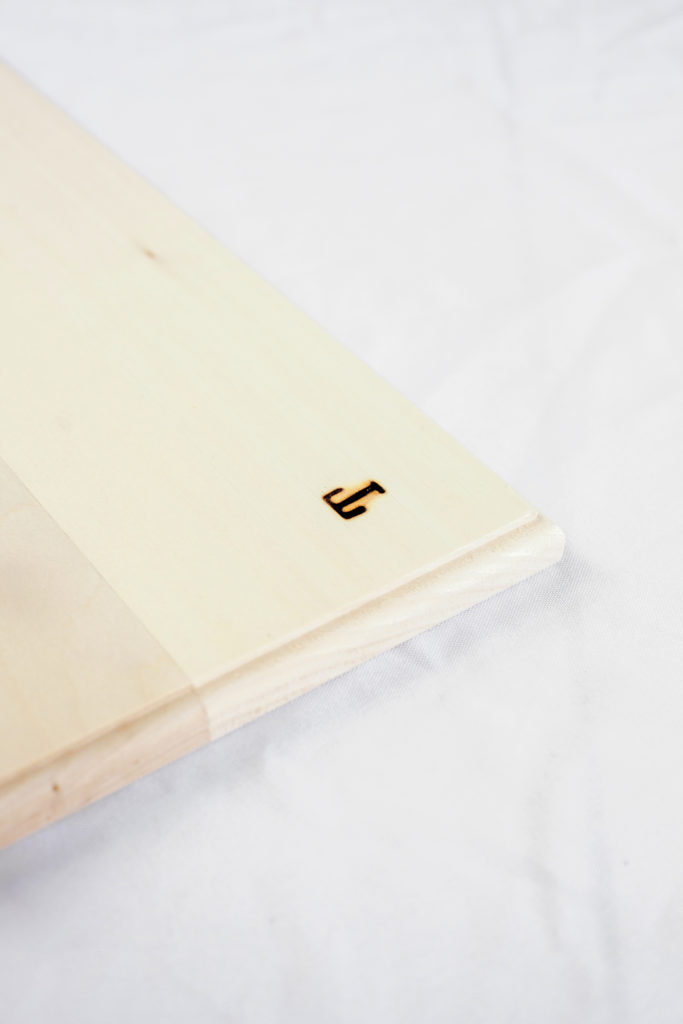 Repeat the same process with all of the letters, spelling out the word you’d like to use on your board.
You can wait for the tool to cool completely in between each letter, or if you’re impatient like me, use an oven mitt to switch out the letters and place them into a pot or pan to allow them to cool. Give the new letter some time to heat up before using it on the board.
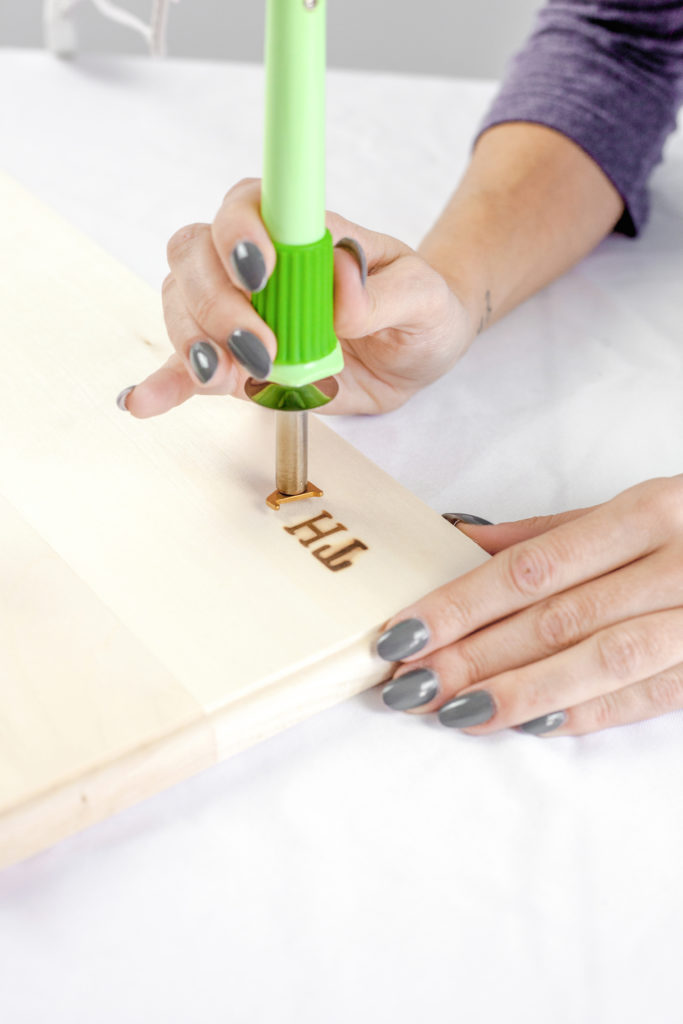
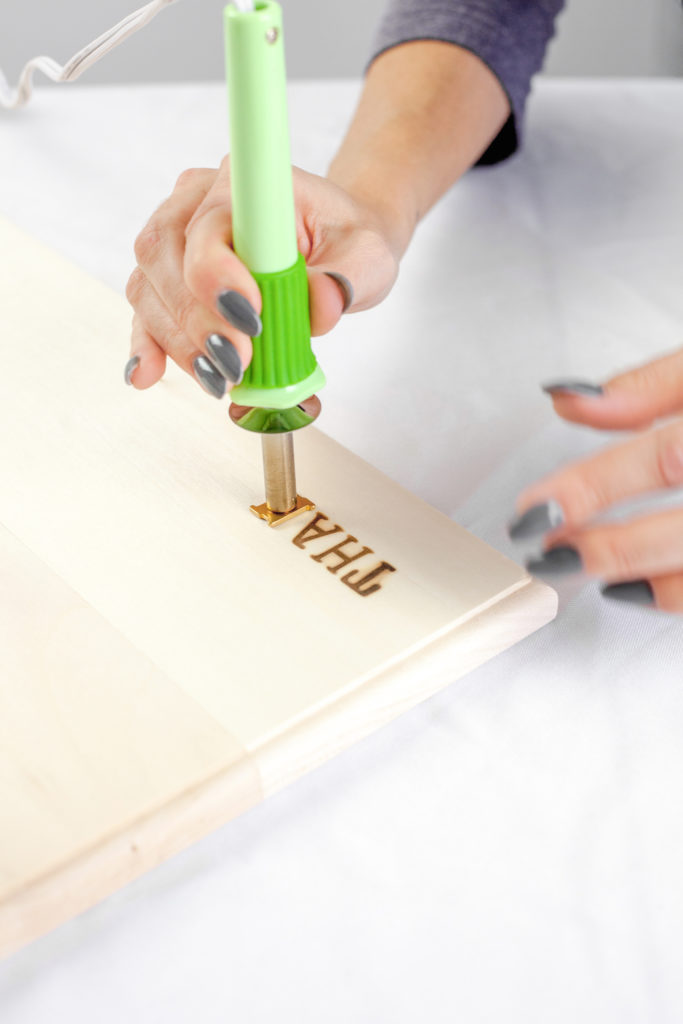 Once you’re done spelling out your word, allow it to cool completely before moving onto the next step.
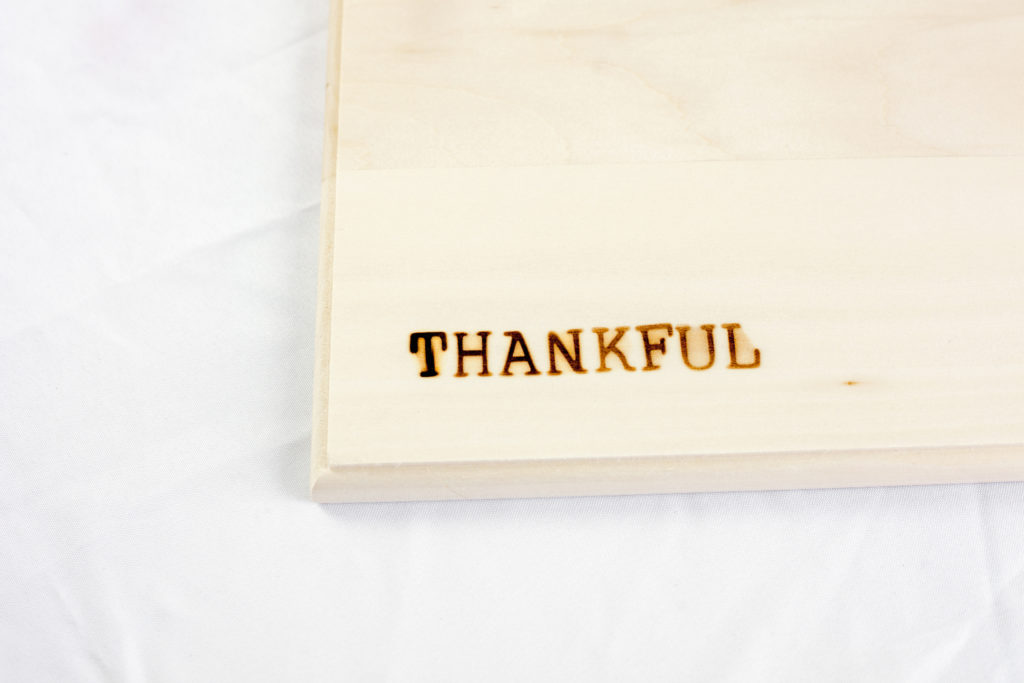 Once cool, apply a stain or mineral oil to the board, depending on what you’d like your finished product to look like. Do this in a well ventilated area.
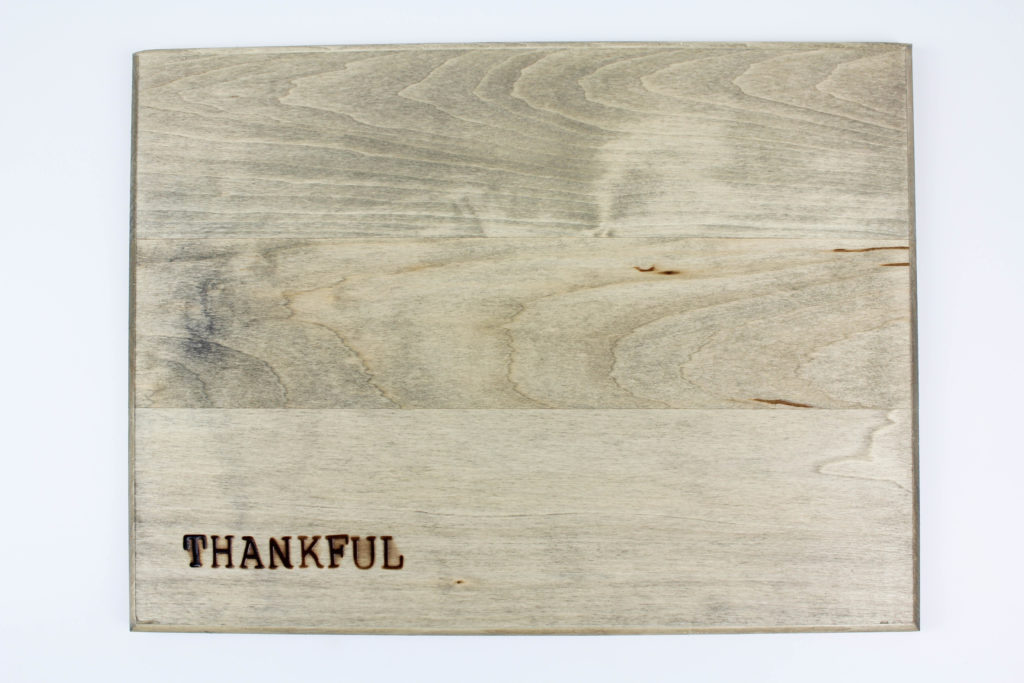 I did a lot of research about using a stain and sealant that was food safe for this project, and what I came up with most is that almost anything will actually be food safe if you give it the appropriate amount of time to cure and dry before using. This varies anywhere from a few days to 30 days depending on what type of stain and sealant you use. Make sure to follow all directions on the back of the products you use to ensure you are safe before using your finished board to serve food.
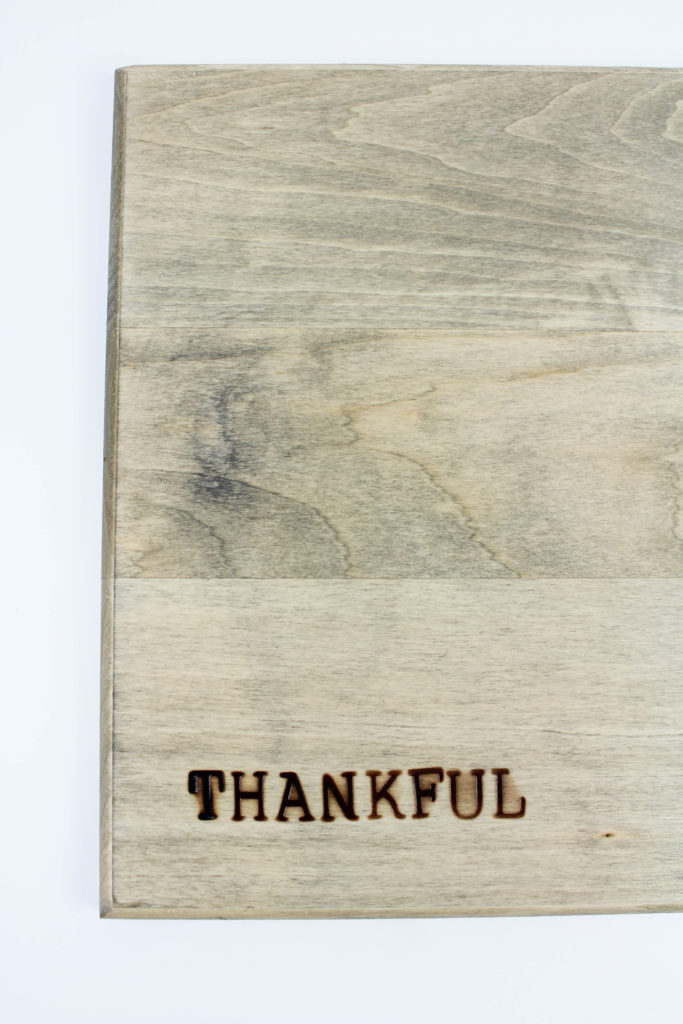 After the stain has dried completely, follow it up with a sealant and allow it to dry completely. This will take a few days or weeks depending on the product.
 Once completely dry and cured, use it for your favorite meat and cheese tray, treats, or personalize it with a first or last name to give it as a gift to friends or family.
This DIY wood burned serving board is really simple to make and you don’t have to be a skilled crafter either. Once you get the hang of using the tool, experiment with the other points and get creative! Now that I know how fun this gadget is, you can bet I’ll be looking for other ways to use it!
Photography by Taylor Grayson
