This shop has been compensated by Collective Bias, Inc. and its advertiser. All opinions are mine alone. #PrepSealSave #CollectiveBias
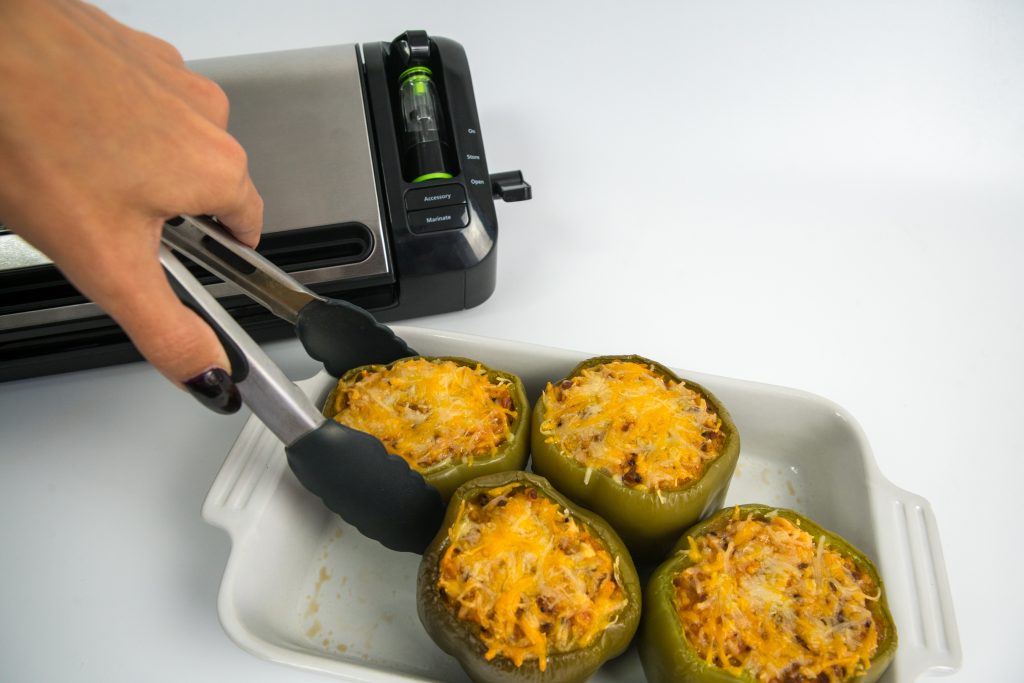 Whenever fall hits, I seem to go into hibernation mode. It’s cold and all I want to do when I get home from work is to slip into cozy sweatpants, enjoy something hearty and warm for dinner, and watch one of the endless shows that I always seem to be behind on. (Maybe I just try to watch too many things? Anyone else have this problem?) The last thing I want to do, is to sit in the kitchen all night long, prepping dinner. And that’s where today’s recipe comes into play. These easy stuffed green peppers are delicious and also perfect to make in advance and freeze until you’re ready to eat them. Which means only 30 minutes for a delicious weeknight meal!
They are also perfect to prep in advance for a big dinner party or holiday entertaining that you might have coming up on your calendars. Make them on a weekend when you have some time, and pop them into the oven on the day of your event with no stress on your part!
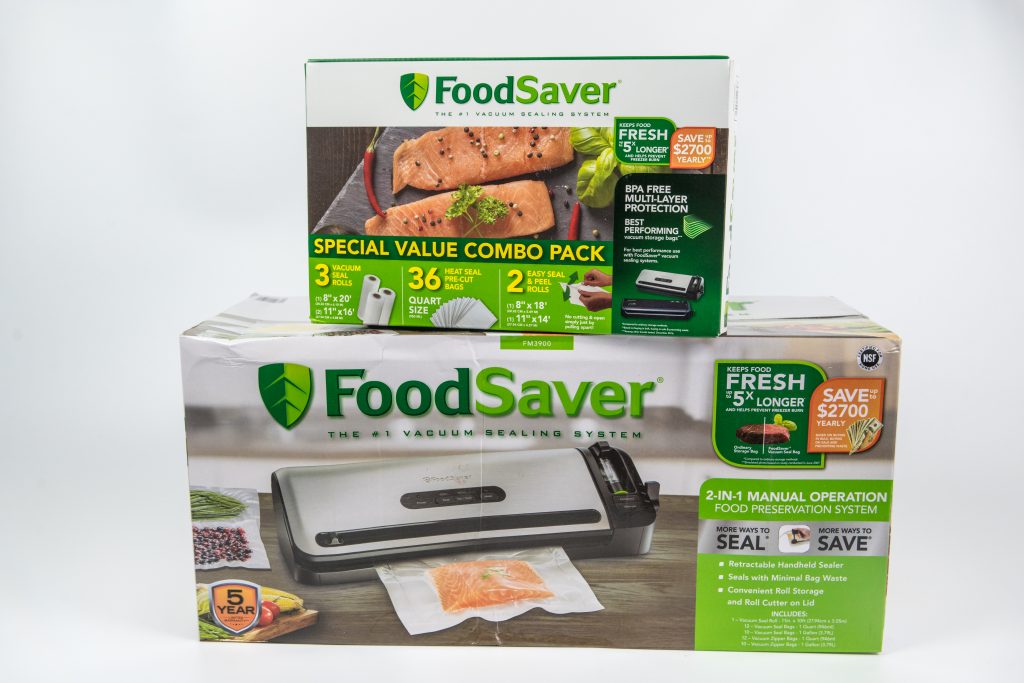 When making these easy stuffed green peppers in advance, I use the FoodSaver® FM3941 Vacuum Sealing System because it keeps my food fresh for up to 5x longer than other ordinary storage methods like zipper bags, foil, plastic wrap or containers. It also saves me money and my sanity. Ha. I love to entertain and prepping food for a dinner party can be super stressful and time consuming. But this little baby helps to save time and make entertaining a breeze. It can marinate in minutes, instead of hours and makes cooking ahead and batch cooking simple! And it’s also great for meal planning in advance too! Did you know that it can help to save up to $2,700 yearly based on buying in bulk, buying on sale and preventing waste?!
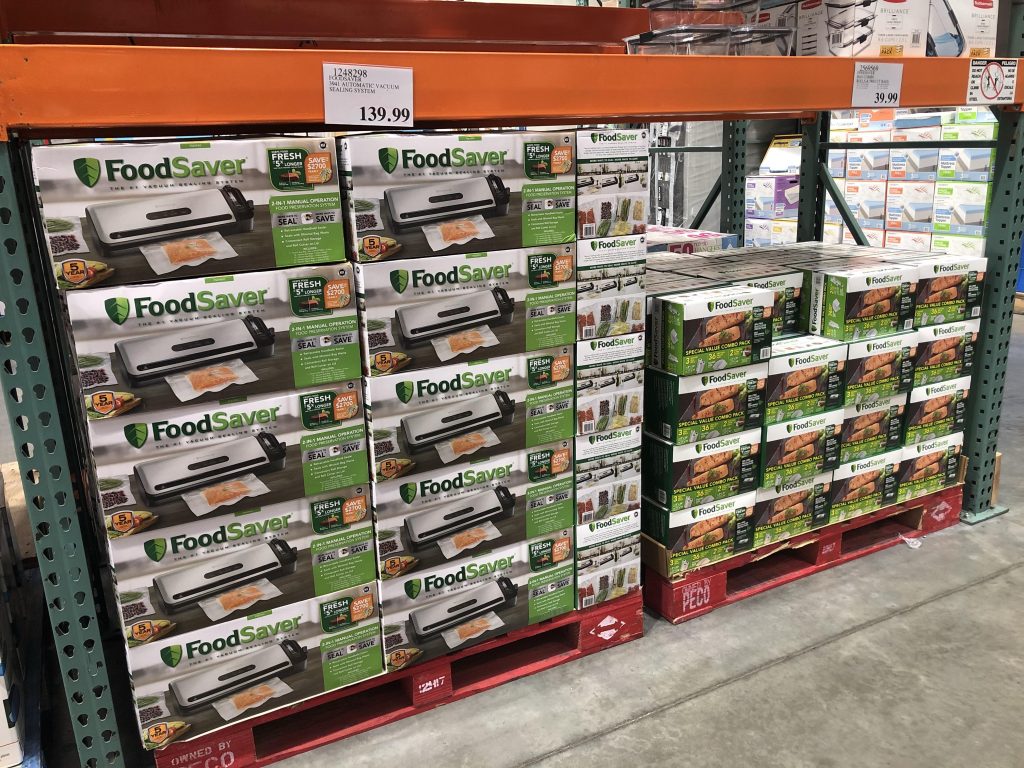 I bought both the FoodSaver® FM3941 system and the FoodSaver® Bags and Rolls Value Pack at Costco. And p.s…both products will be a bargain in November! Stop by your local Costco store to find the FM3941 Vacuum Sealing System for an additional $40 OFF in November and the FoodSaver® Bags and Rolls Value Pack for an additional $10 OFF the already great prices! (You will need to have a Costco membership to receive the discounts and shop.) Who doesn’t love Costco?! It’s also a great place to pick up the green peppers you’re going to be using for this recipe too 😉
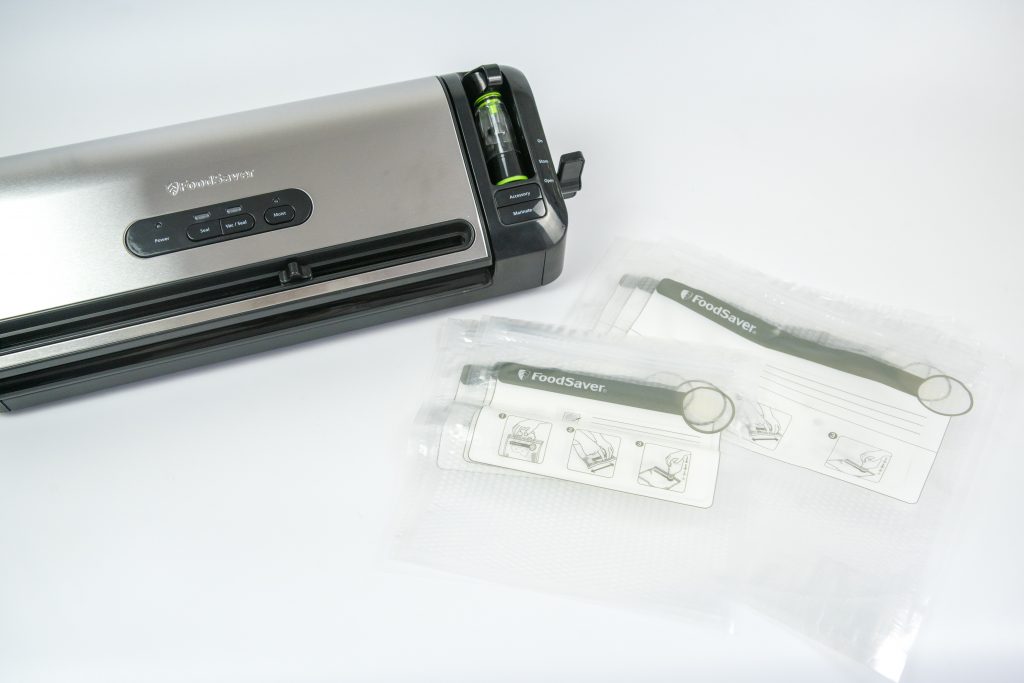 The system includes vacuum seal bags, vacuum zipper bags and containers designed to work together with vacuum sealers for optimal performance. I also love that by taking all of the air out, you can ensure your meat will be cooked evenly throughout.
Plus, FoodSaver® is the number 1 Vacuum Sealing solution in the US!
Here’s what you’ll need to make your own:
- 12 Green Bell Pepper
- 1 Lb. Ground Beef
- 1/4 Lb. Ground Sausage
- 1 Large Onion
- 2 (10.75 ounce) Cans Tomato Soup
- 2 2/3 Cup Water
- 3/4 Tbsp. Chili Powder
- 1 Pinch Ground Cayenne Pepper
- 4 Cloves Minced Garlic
- 1 Lb. Cheddar Cheese, Shredded
- 3 (8.5 ounce) Packages of Instant Quinoa & Brown Rice
- Salt and Pepper to Taste
Rinse and wash each of the green peppers. Slice the tops off of each of them, leaving most of the pepper remaining. Remove the seeds and membranes from the inside of the peppers. Set aside.
Bring a large pot of water to a full boil. Add in the peppers and cook for about 15 minutes or until slightly tender, but still crisp. (If your pot doesn’t fit all 12 peppers, do this step in two batches). Set peppers aside.
In a large, deep skillet, combine the ground beef, sausage, onions, and garlic. Cook over medium high heat until the mixture has browned evenly.
Reduce the heat to medium and add in the tomato soup, water, chili powder, cayenne pepper, salt and pepper. Stir well.
Bring the mixture to a low boil, then add the packages of quinoa and brown instant rice.
Reduce the heat to low and stir in 3/4 of the cheese. Simmer for 30 minutes.
Next, it’s time to fill the peppers. I like to pull out a cupcake or muffin tin to make the process easier. Place one pepper into one of the cavities on the cupcake pan to prevent the pepper from falling over while filling.
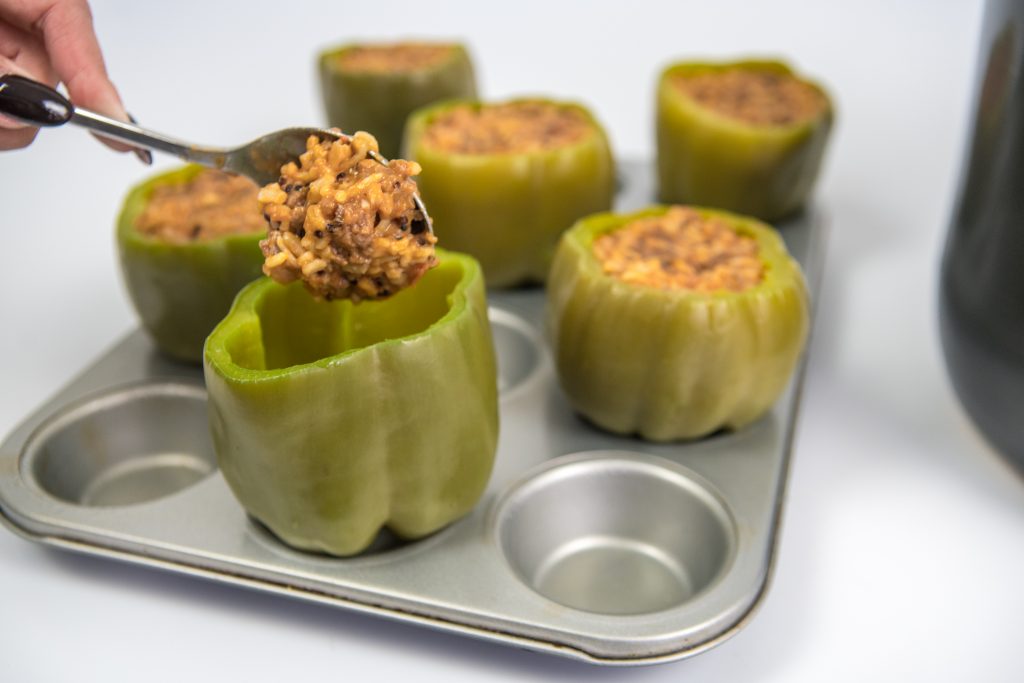
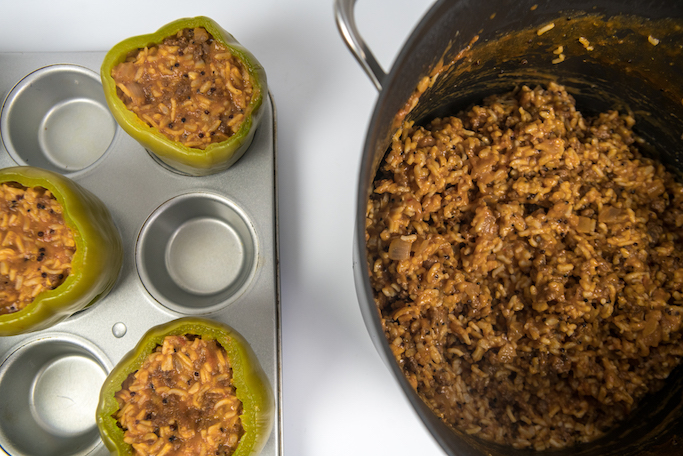
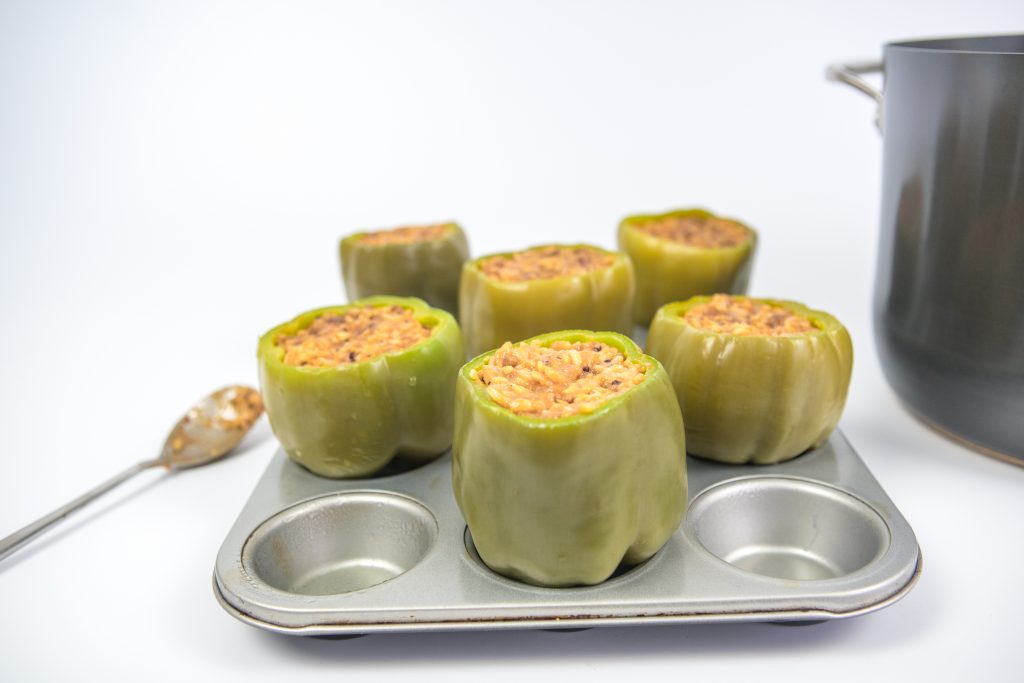 Fill the peppers up until full and smooth out the top with the back of a spoon.
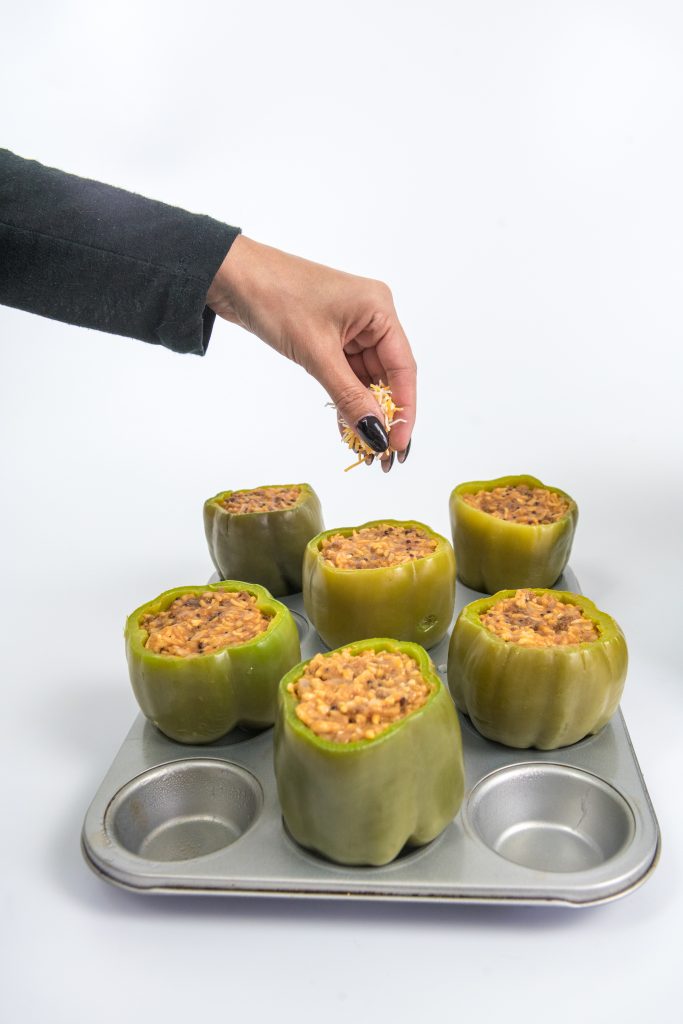 Sprinkle the remaining cheese onto the tops of each pepper.
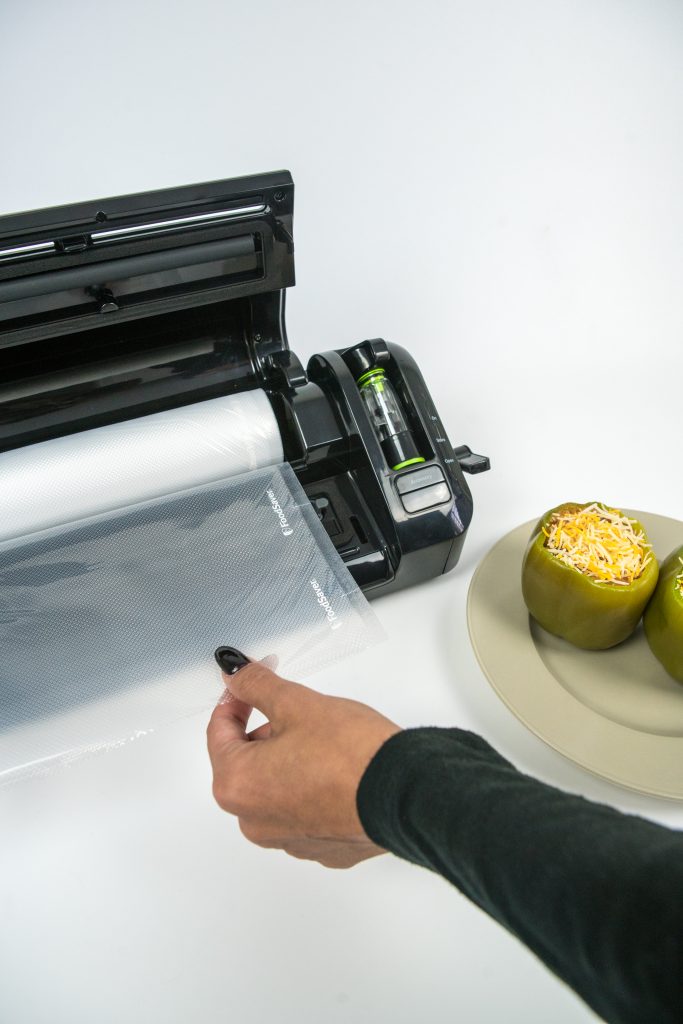 Now that the peppers are done, I’ll show you how I seal them and use my FoodSaver® FM3941 system. (It’s SO easy to use!)
First, I roll the bag material to make the first seal and I close the lid. This will make a bag that’s the right size for the peppers. Making and cutting bags is easy with the dedicated roll storage and a built-in cutter. The bags are multi-layer, BPA-free vacuum-seal bags and are flexible enough to hug food and seal effectively without gaps. They are best for long-term freezer storage, blocking out air and helping to prevent freezer burn!
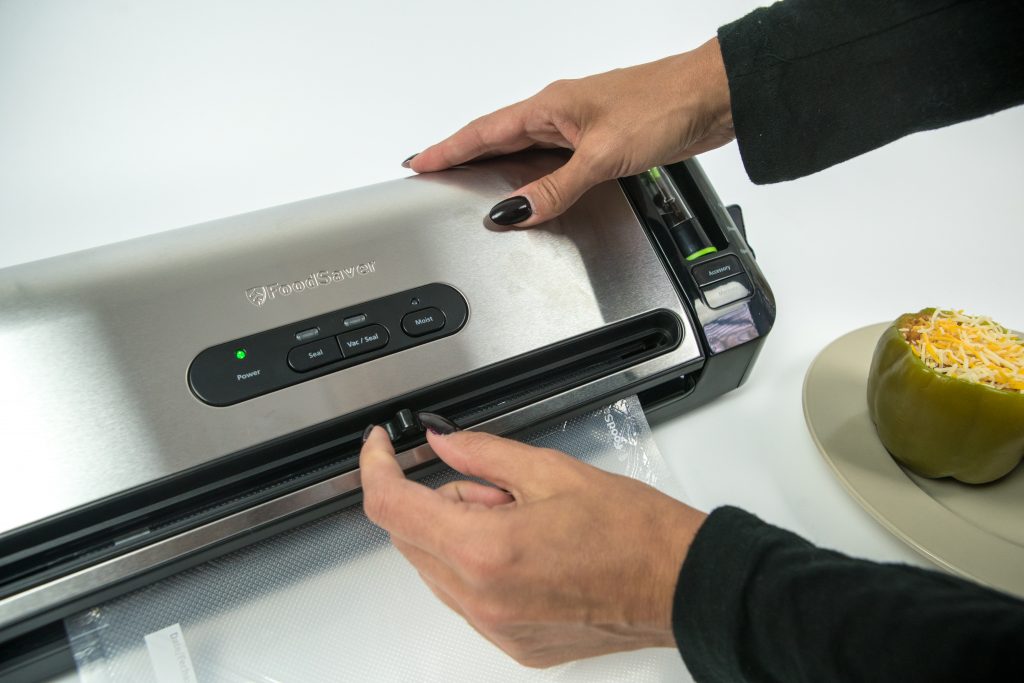 Turn the system to the on position and press the seal button to seal the end of the bag.
When the sealing is done, slide the front nodule across to cut the bag.
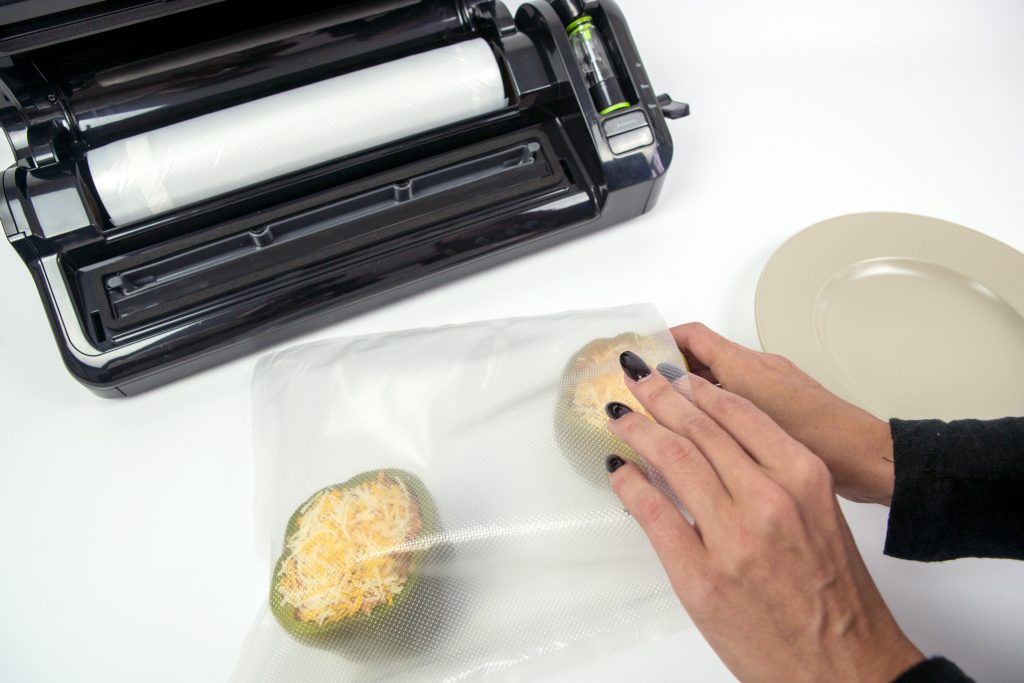 Next, add your easy stuffed green peppers to the storage bag. The bags are wide enough to put two peppers side by side. You can fill your bag with multiple peppers or just enough for one meal.
(I chose to place two into each bag for easy weeknight meals).
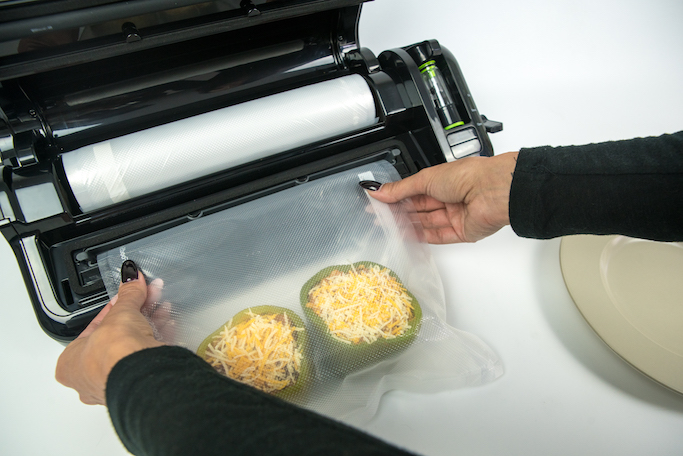
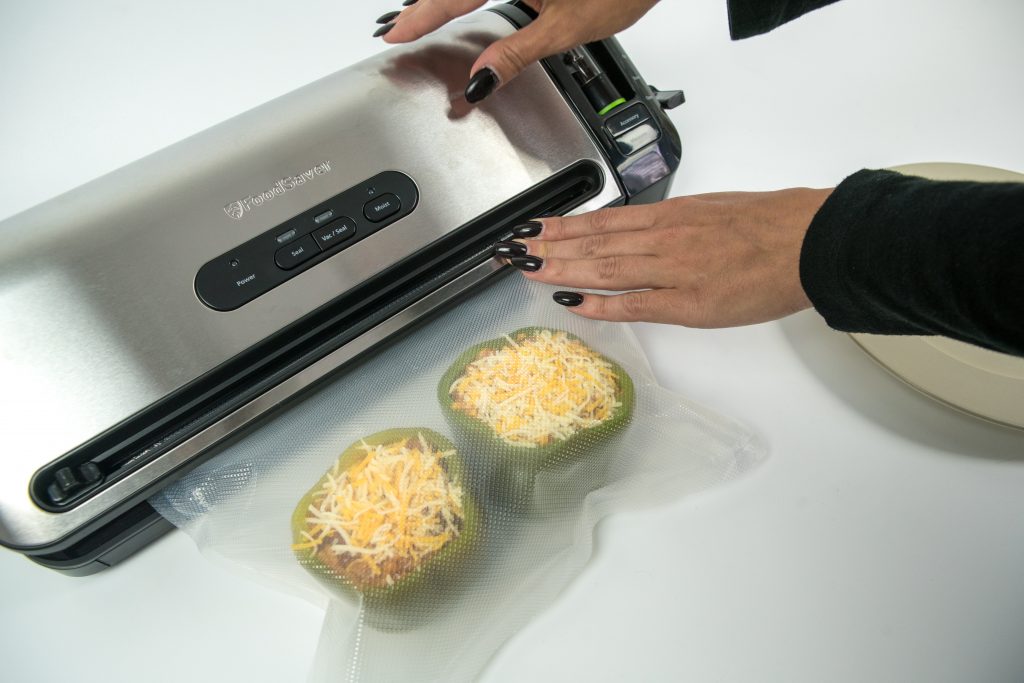 Turn the latch to the open position and open the lid. Place the open end of the bagged items into the vacuum channel and close the lid.
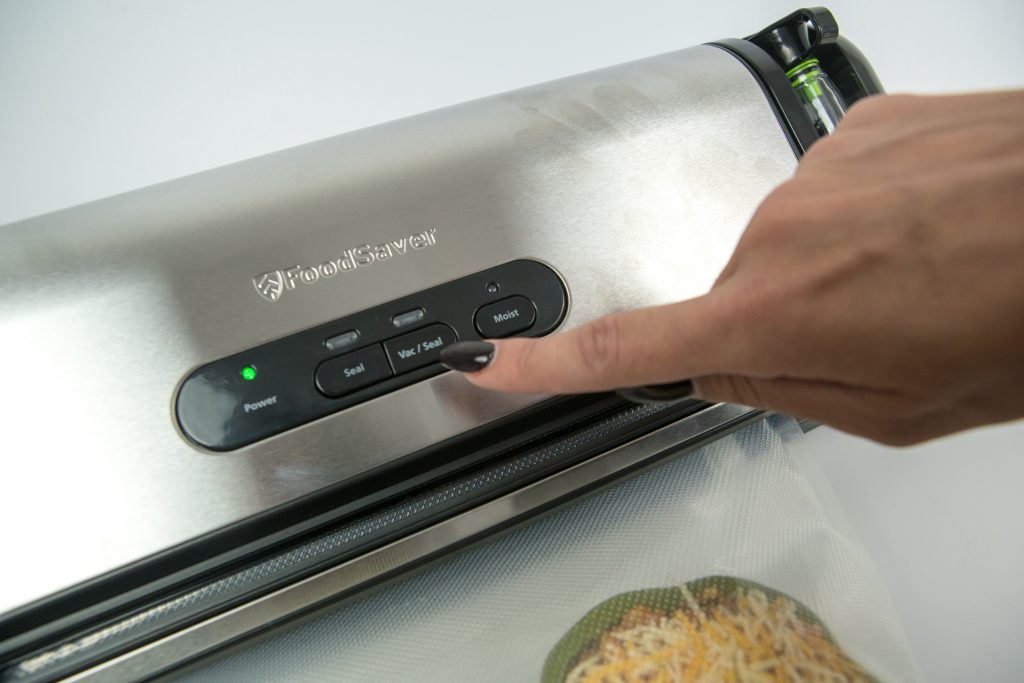
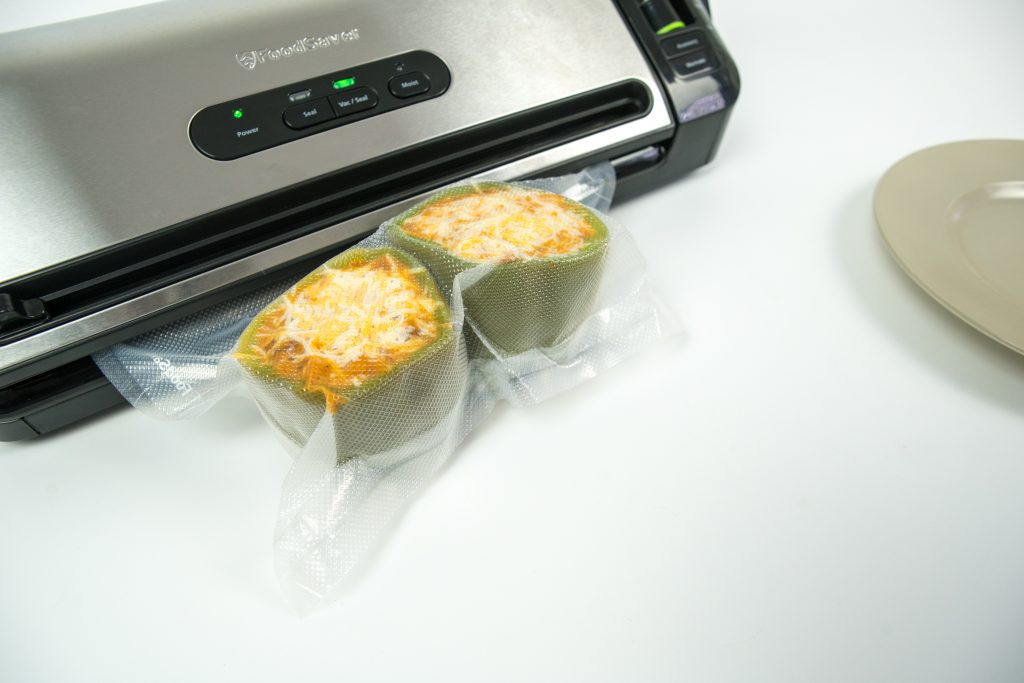 Turn the latch to the on position and press the VAC/SEAL button on the front panel.
The machine will begin to remove the excess air from inside the bag and seal in the peppers!
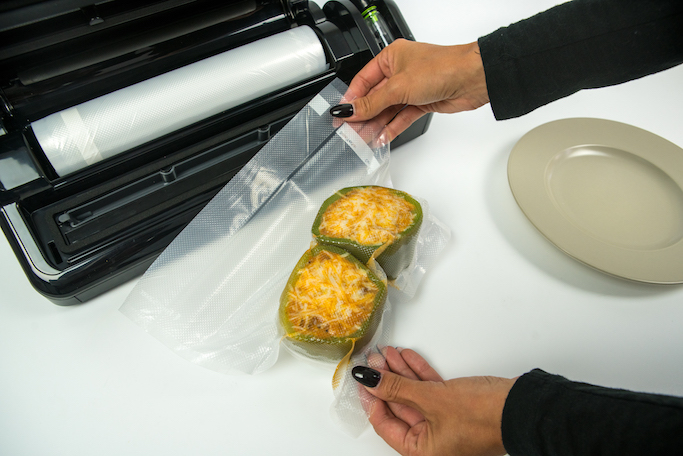
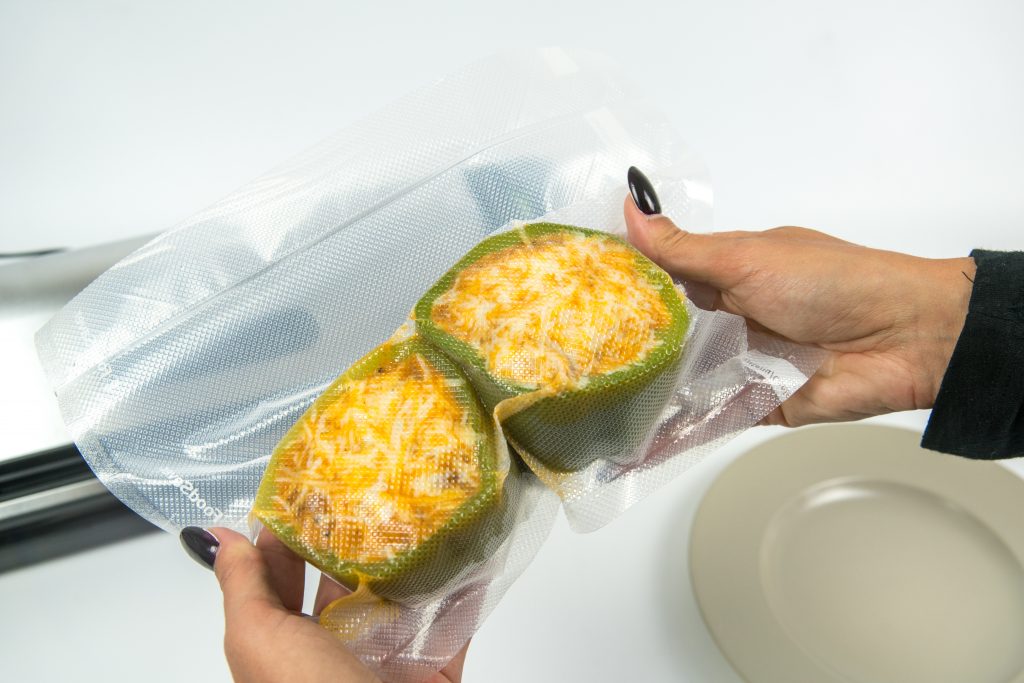 Then all you have to do is place them into your freezer until you’re ready to enjoy them! These easy stuffed green peppers will easily last up to a year in your freezer.
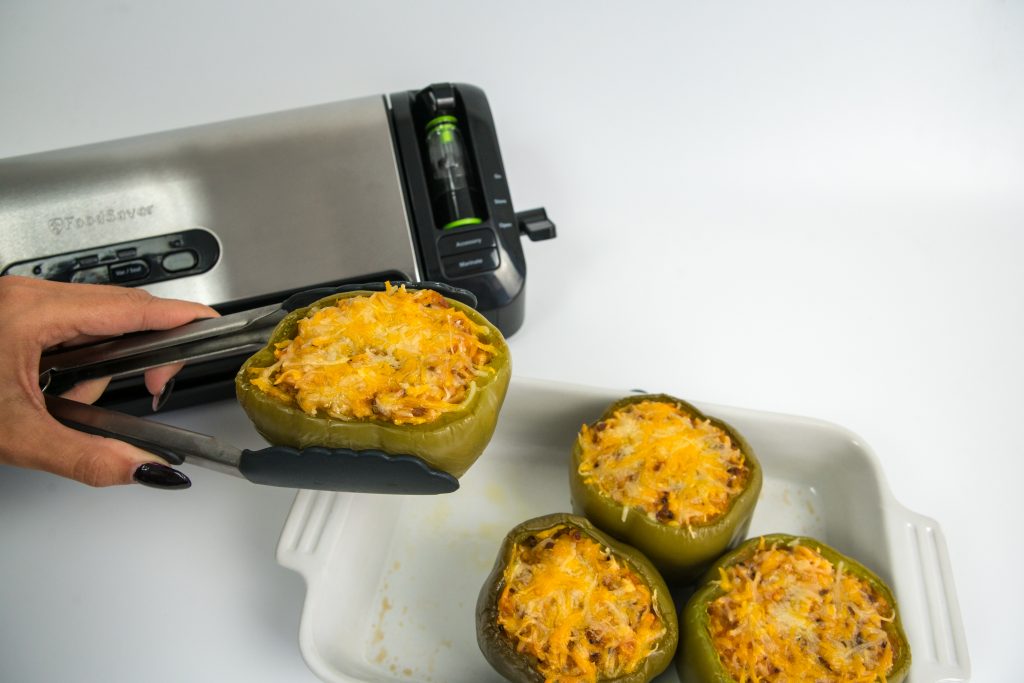 When you are ready to eat them, remove them from the freezer and place them into a baking dish.
Cook at 350 degrees for about 30 minutes or until cooked through.
You can find out more about the FoodSaver® FM3941 Vacuum Sealing System here and more about the FoodSaver® Bags and Rolls Value Pack here.
You can also customize these easy stuffed green peppers with your own yummy ingredient combinations too, but I’m a bit biased when I say that this recipe is pretty delicious on it’s own already 😉

