 Regardless of how much technology we consume in a day, how many emails we check, or face time calls we take, there is just something so special about getting something in the mail.
No, not cheesy advertisements or coupons, although I admit that I do look through the coupons, but something personal and unexpected. It makes you feel loved. At least it does to me. Ha.
I also love making sure to return the favor and try to send out as much snail mail as I can. Little care packages, birthday cards, or letters just mean more when someone takes the time to put thought into it, stick a stamp on it, and put it in the mail.
Maybe I’m old fashioned, but I still love the whole process. (And fun stamps too! Did you guys pick up the Harry Potter ones when they had them?! I bought two packs).
If you want to have a little more fun with your snail mail and add a little bit more personality to them at the same time, I’m sharing the perfect way to do it!
DIY envelope liners are the answer! They are so easy to make, add a ton of fun to your envelopes, and look like you spent a ton of time and money making things look special. (Neither of which are true!)
You don’t need much to pull them off and if you can trace a pattern and cut it out, you’ll be able to pull this project off.
I’m making it easy for you guys and including a free template for the envelope liners that you can use to trace onto your favorite scrapbook paper.
The templates I’m sharing are for square tops envelopes and come in a variety of sizes. A2 (for 4×5 envelopes), A6 (for 4×6 envelopes), and A7 (for 5×7 envelopes). These three seem to be the most popular sizes!
If these templates don’t work for the envelopes you are working with, you can make your own templates or liners just by measuring your envelope! But if you are using one of the included sizes, get the free download below to make your life easier! 😉
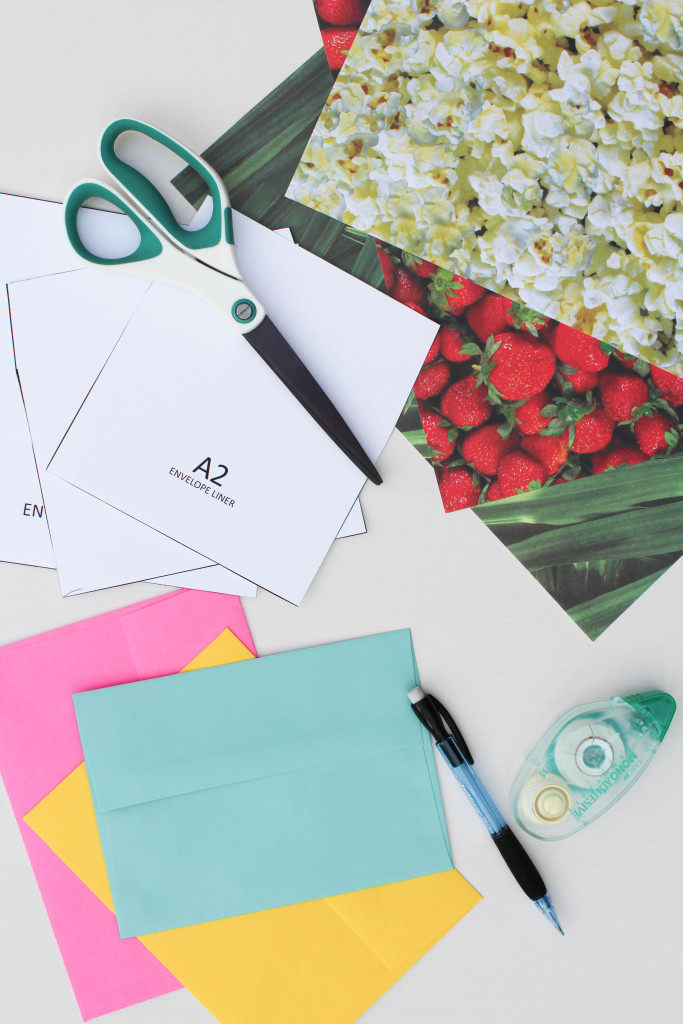 Here’s what you’ll need to make your own:
- Envelopes – (Love all the bright options that Jam Paper offers!)
- Envelope Liner Template
- Printed Scrapbook Paper
- Double Sided Tape, Glue Stick, or Glue Tape
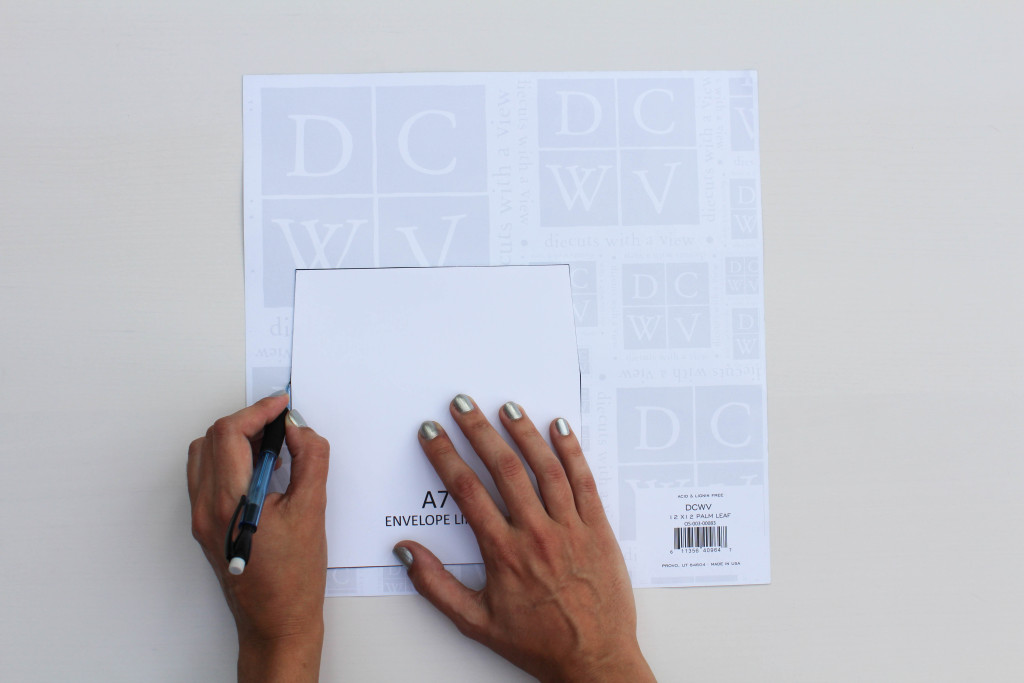 First, cut out the template needed for your size of envelope.
Next, turn your scrapbook paper over onto the back side and trace around the envelope liner template.
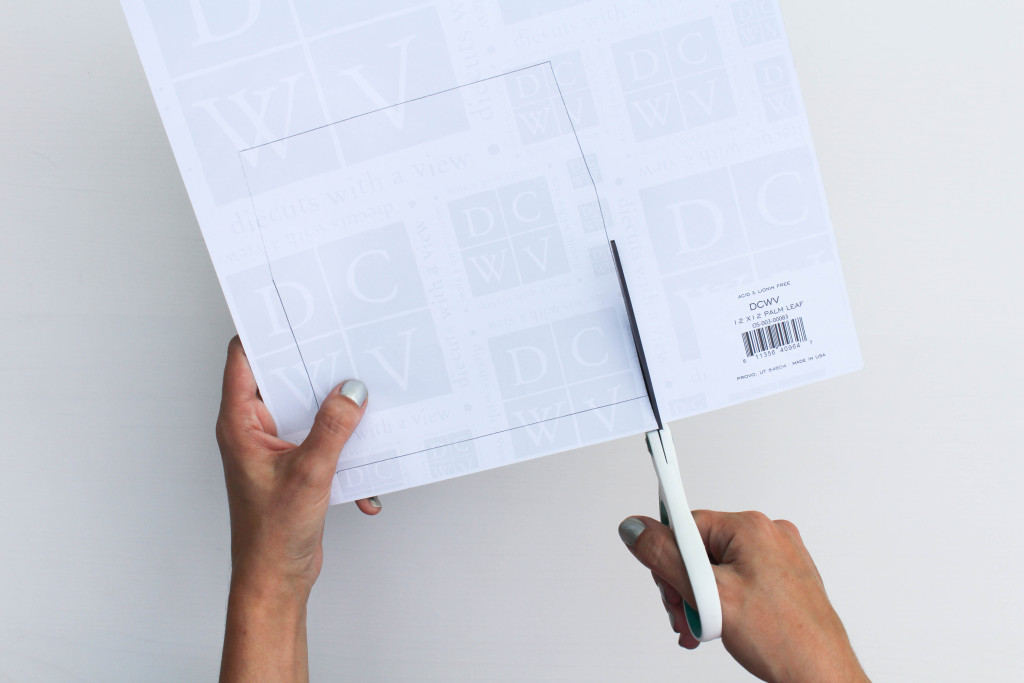 Cut out the pattern for the envelope liner.
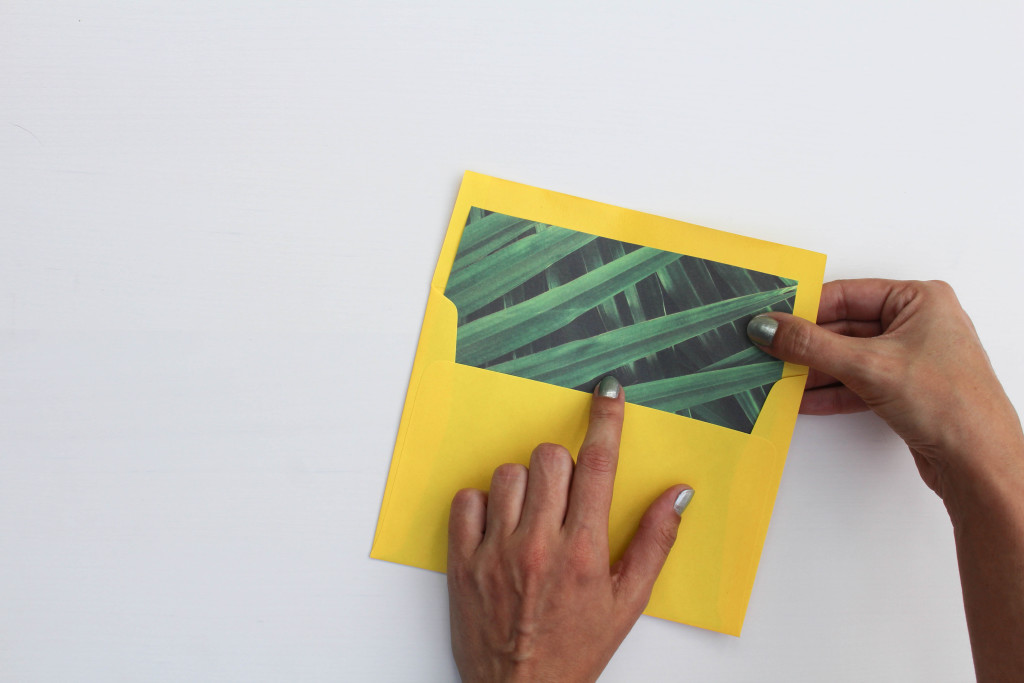
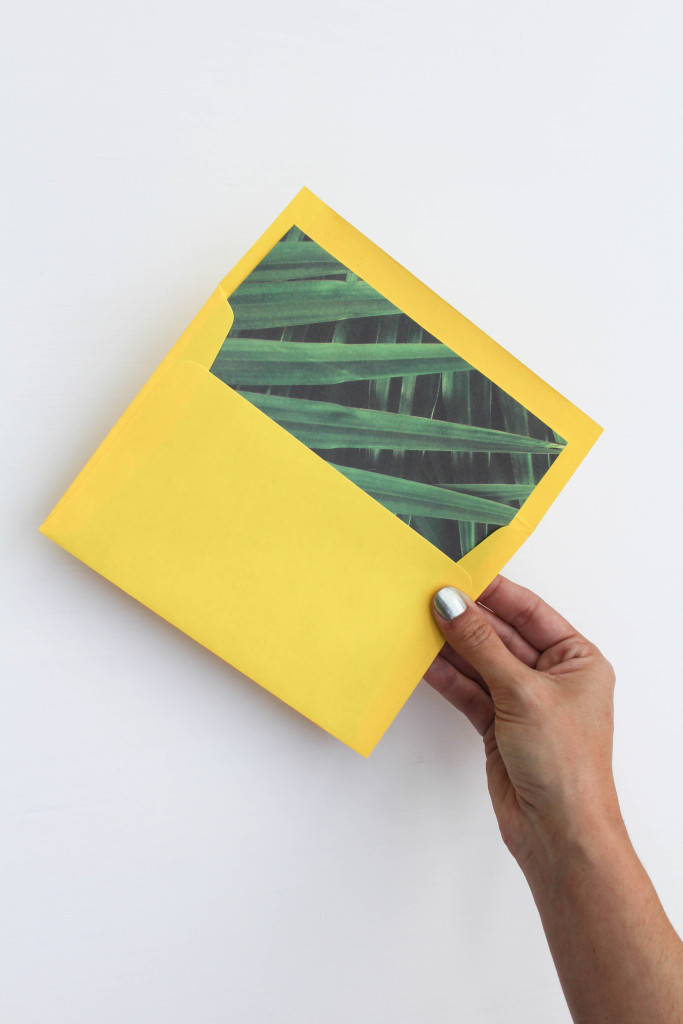 Place your liner into your envelope, lining it up so that the liner starts right under the seal strip on the top of the envelope flap.
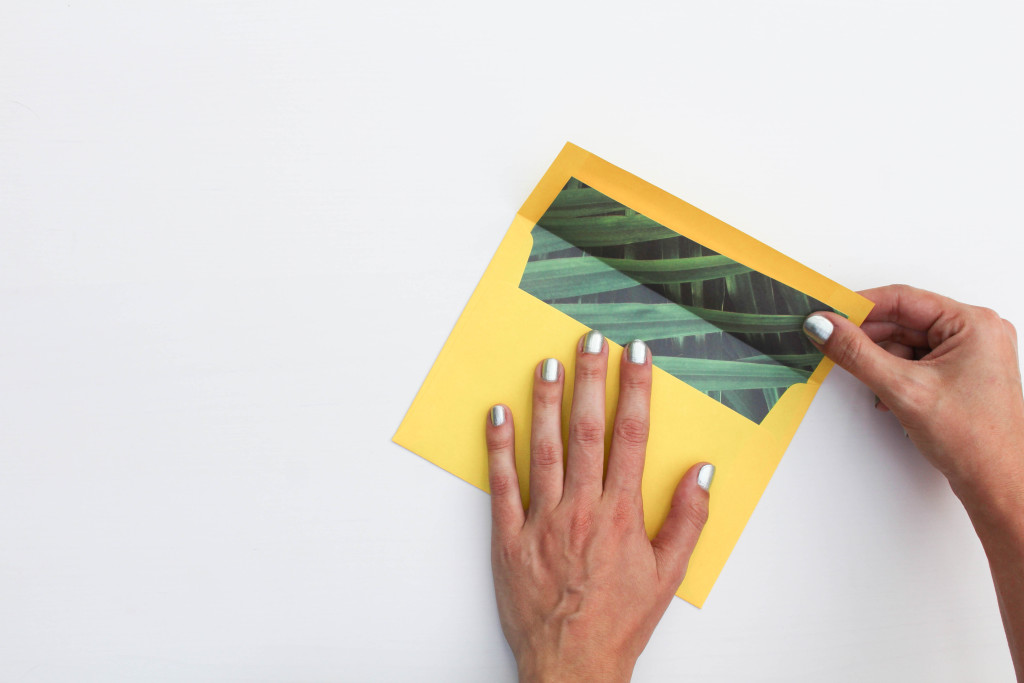 Next up, fold the top flap over of the envelope over, creating a crease in the liner that matches up with the crease on your envelope flap. Keep a firm grip on your liner, since it will want to shuffle around when you do this. You can also use a bone folder to create a really crisp crease!
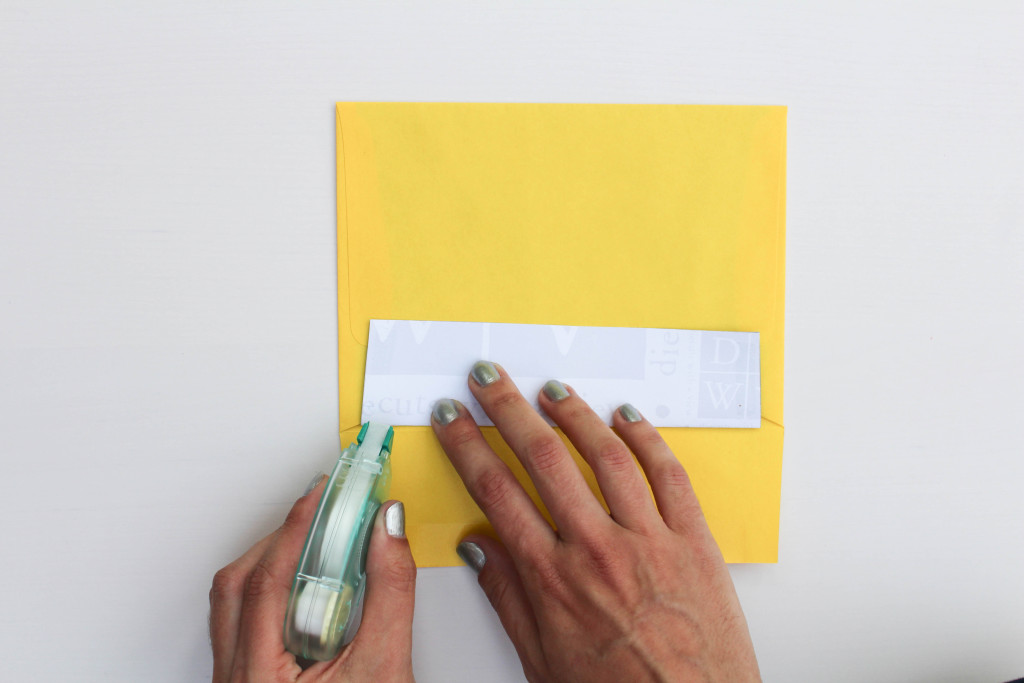 Once you have a good crease made, flip your liner back over and add your glue or tape around the edges of your flap. This will help to keep your liner in place once you mail it!
 Press your envelope liner down to ensure the glue or tape is stuck to the envelope.
Add an invitation, letter, or card to your envelope and you’re done!
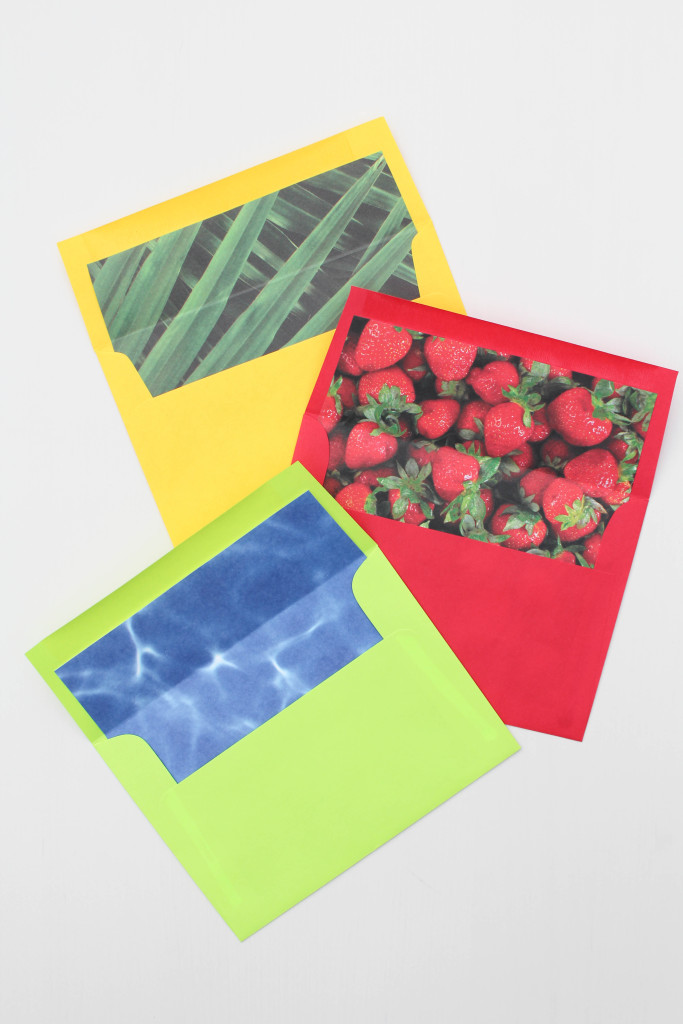
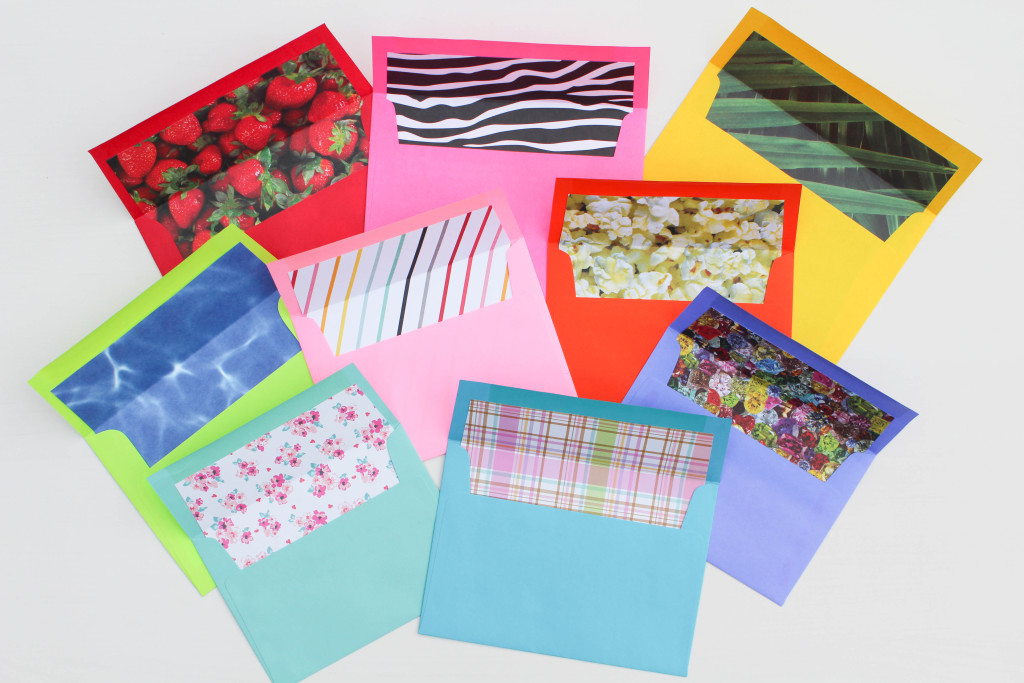
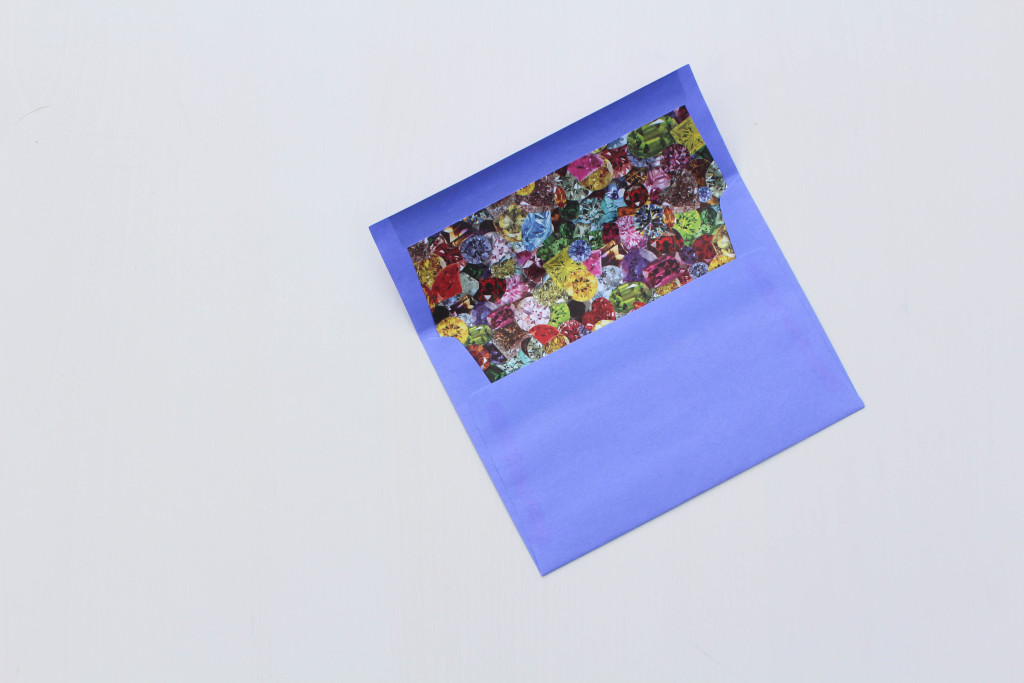
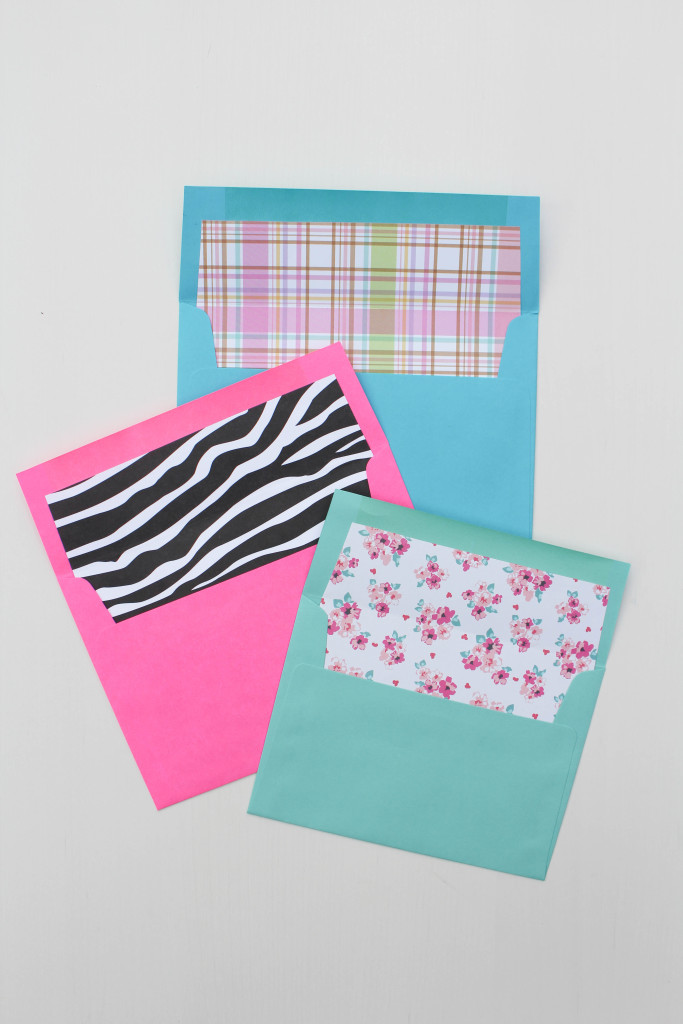 These DIY envelope liners add such a fun and unexpected touch to a regular envelope.
You can match the liners to fit the theme of your party, celebrate with balloon or confetti paper for a birthday, or just use a fun pattern to dress up a letter to a friend!
They are such a fun surprise for the recipient and so easy to pull off too!
And if you are loving these brightly colored envelopes as much as I do, Jam Paper has a HUGE selection of envelopes (and more!) to make your snail mail pop even more. I’d love getting one of these bright beauties in the mail, wouldn’t you?!
Special thanks to them for sending me all of the gorgeous envelopes to share with you guys in this post!


Template didn’t print out right for me. It was to big and running off the page. Even when I clicked on “fit to page” it still didn’t work.
But these are very cute. I could probably make it if I tried hard:)
Oh, bummer. The template works on my end. I do have my settings selected as “fit to page” as well. Make sure your page size is set to the typical paper size of 8.5 x 11 in your printer settings, which could cause a problem if that is different!
can’t print. i see the three templates (huge) but no print button anywhere. so i did a right click and saved to desktop and all i got
was tiny parts of the template. i would love to do this but i think
we need some printing instruction on how to get it to show up
as something that will actually print. sorry. ;o( going to see if
my husband can see anything that looks like templates that i
can actually print.
The downloadable file for the envelope liners is a PDF, so you’ll want to make sure that you have software installed on your computer that allows you to view PDF files (I use Adobe). The PDF is sized for 8.5″x 11″ paper (normal home printer sized paper), so you don’t need to re-size it. Just print as is. In regards to the print button, this will depend on the type of computer you are using and the software you have that allows you to view PDF documents. The print button automatically comes up as an option on my computer when the file is up. If you right click and save the file, I can’t guarantee that will ensure the sizing is acurate, since that also depends on your computer properties. Hope this helps!