DIY Ombre Bud Vases
 Despite what the weather channel is forecasting for Utah at the moment, I’m going to push it out of my mind and focus on the fact that the calendar says that it’s supposed to be Spring. Maybe if I believe hard enough, Mother Nature will get the hint and push some of those warmer temps and sunny days my way. But, until then, I’m going to grab some fresh tulips and display these gorgeous DIY ombre bud vases on my counter. They scream Spring and are oh, so easy to make!
I picked a variety of pink hues for my ombre, but any color will work, so have some fun with these guys!
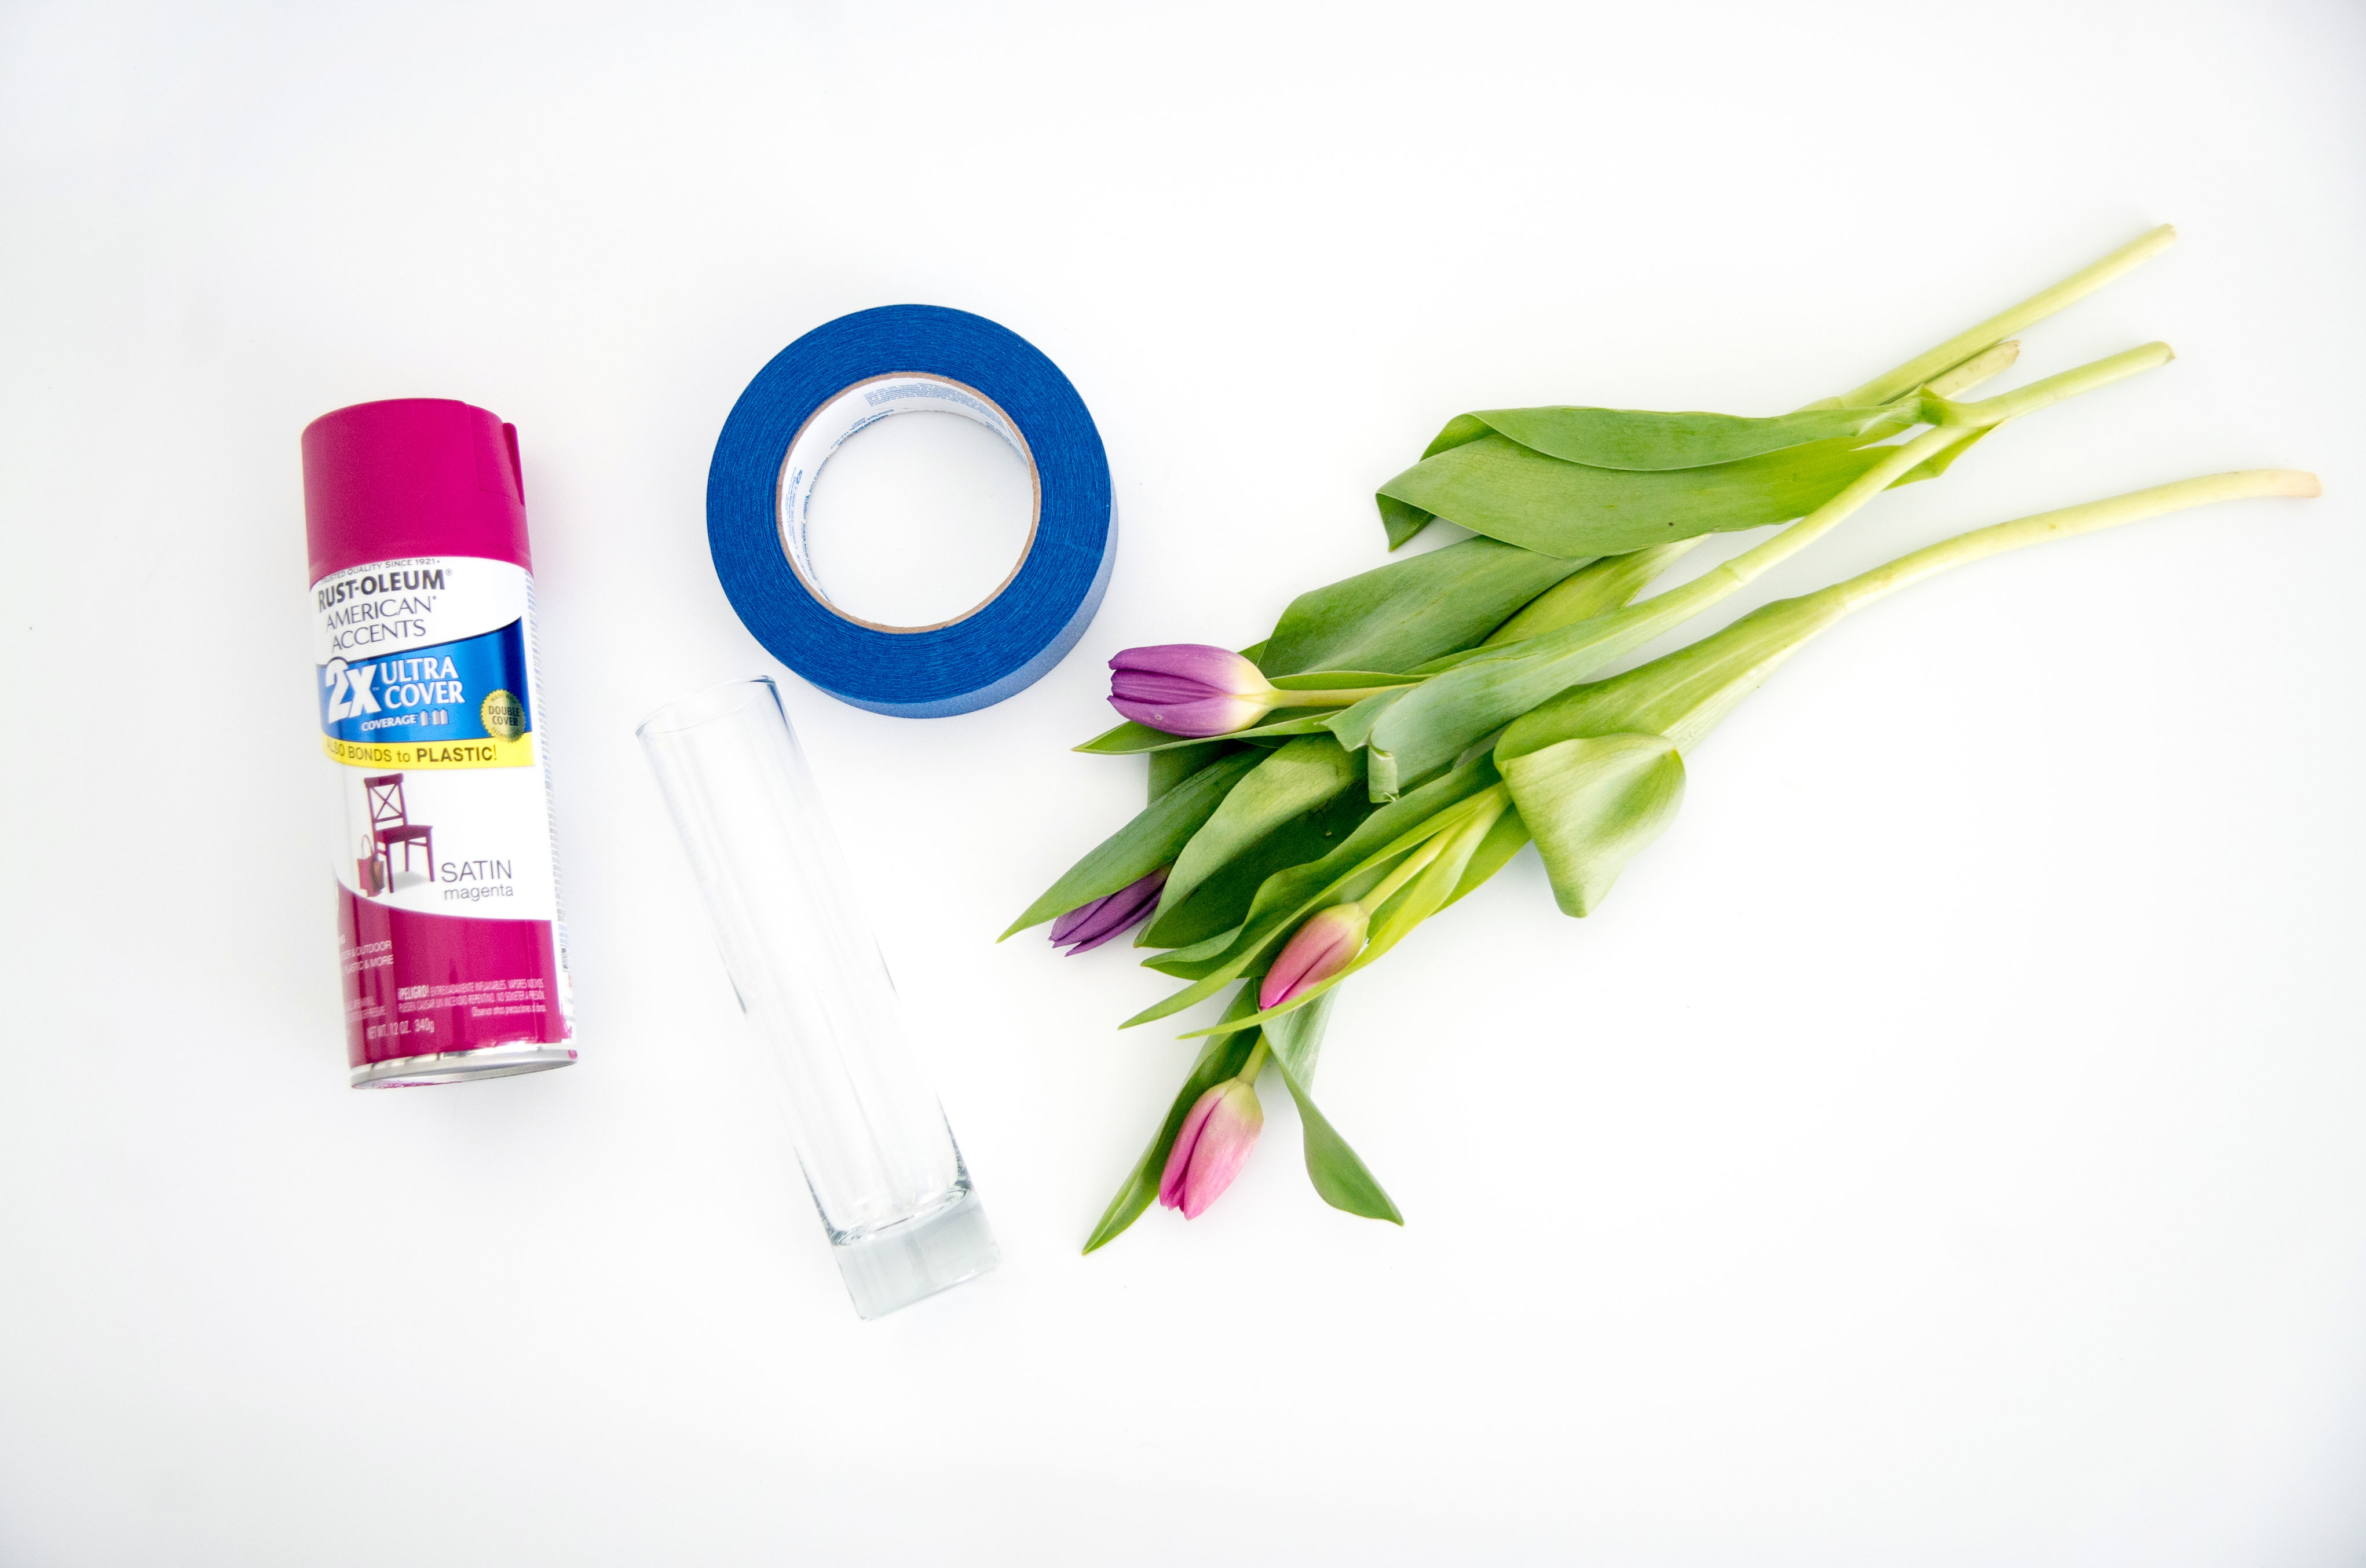 Here’s what you’ll need to make your own:
- Painters Tape
- 5 Glass Bud Vases
- Spray Paint, 5 Different Shades (I used Rust-oleum spray paint in Candy Pink, Berry Pink, Magenta, Cranberry, and Apple Red)
- Fresh Flowers
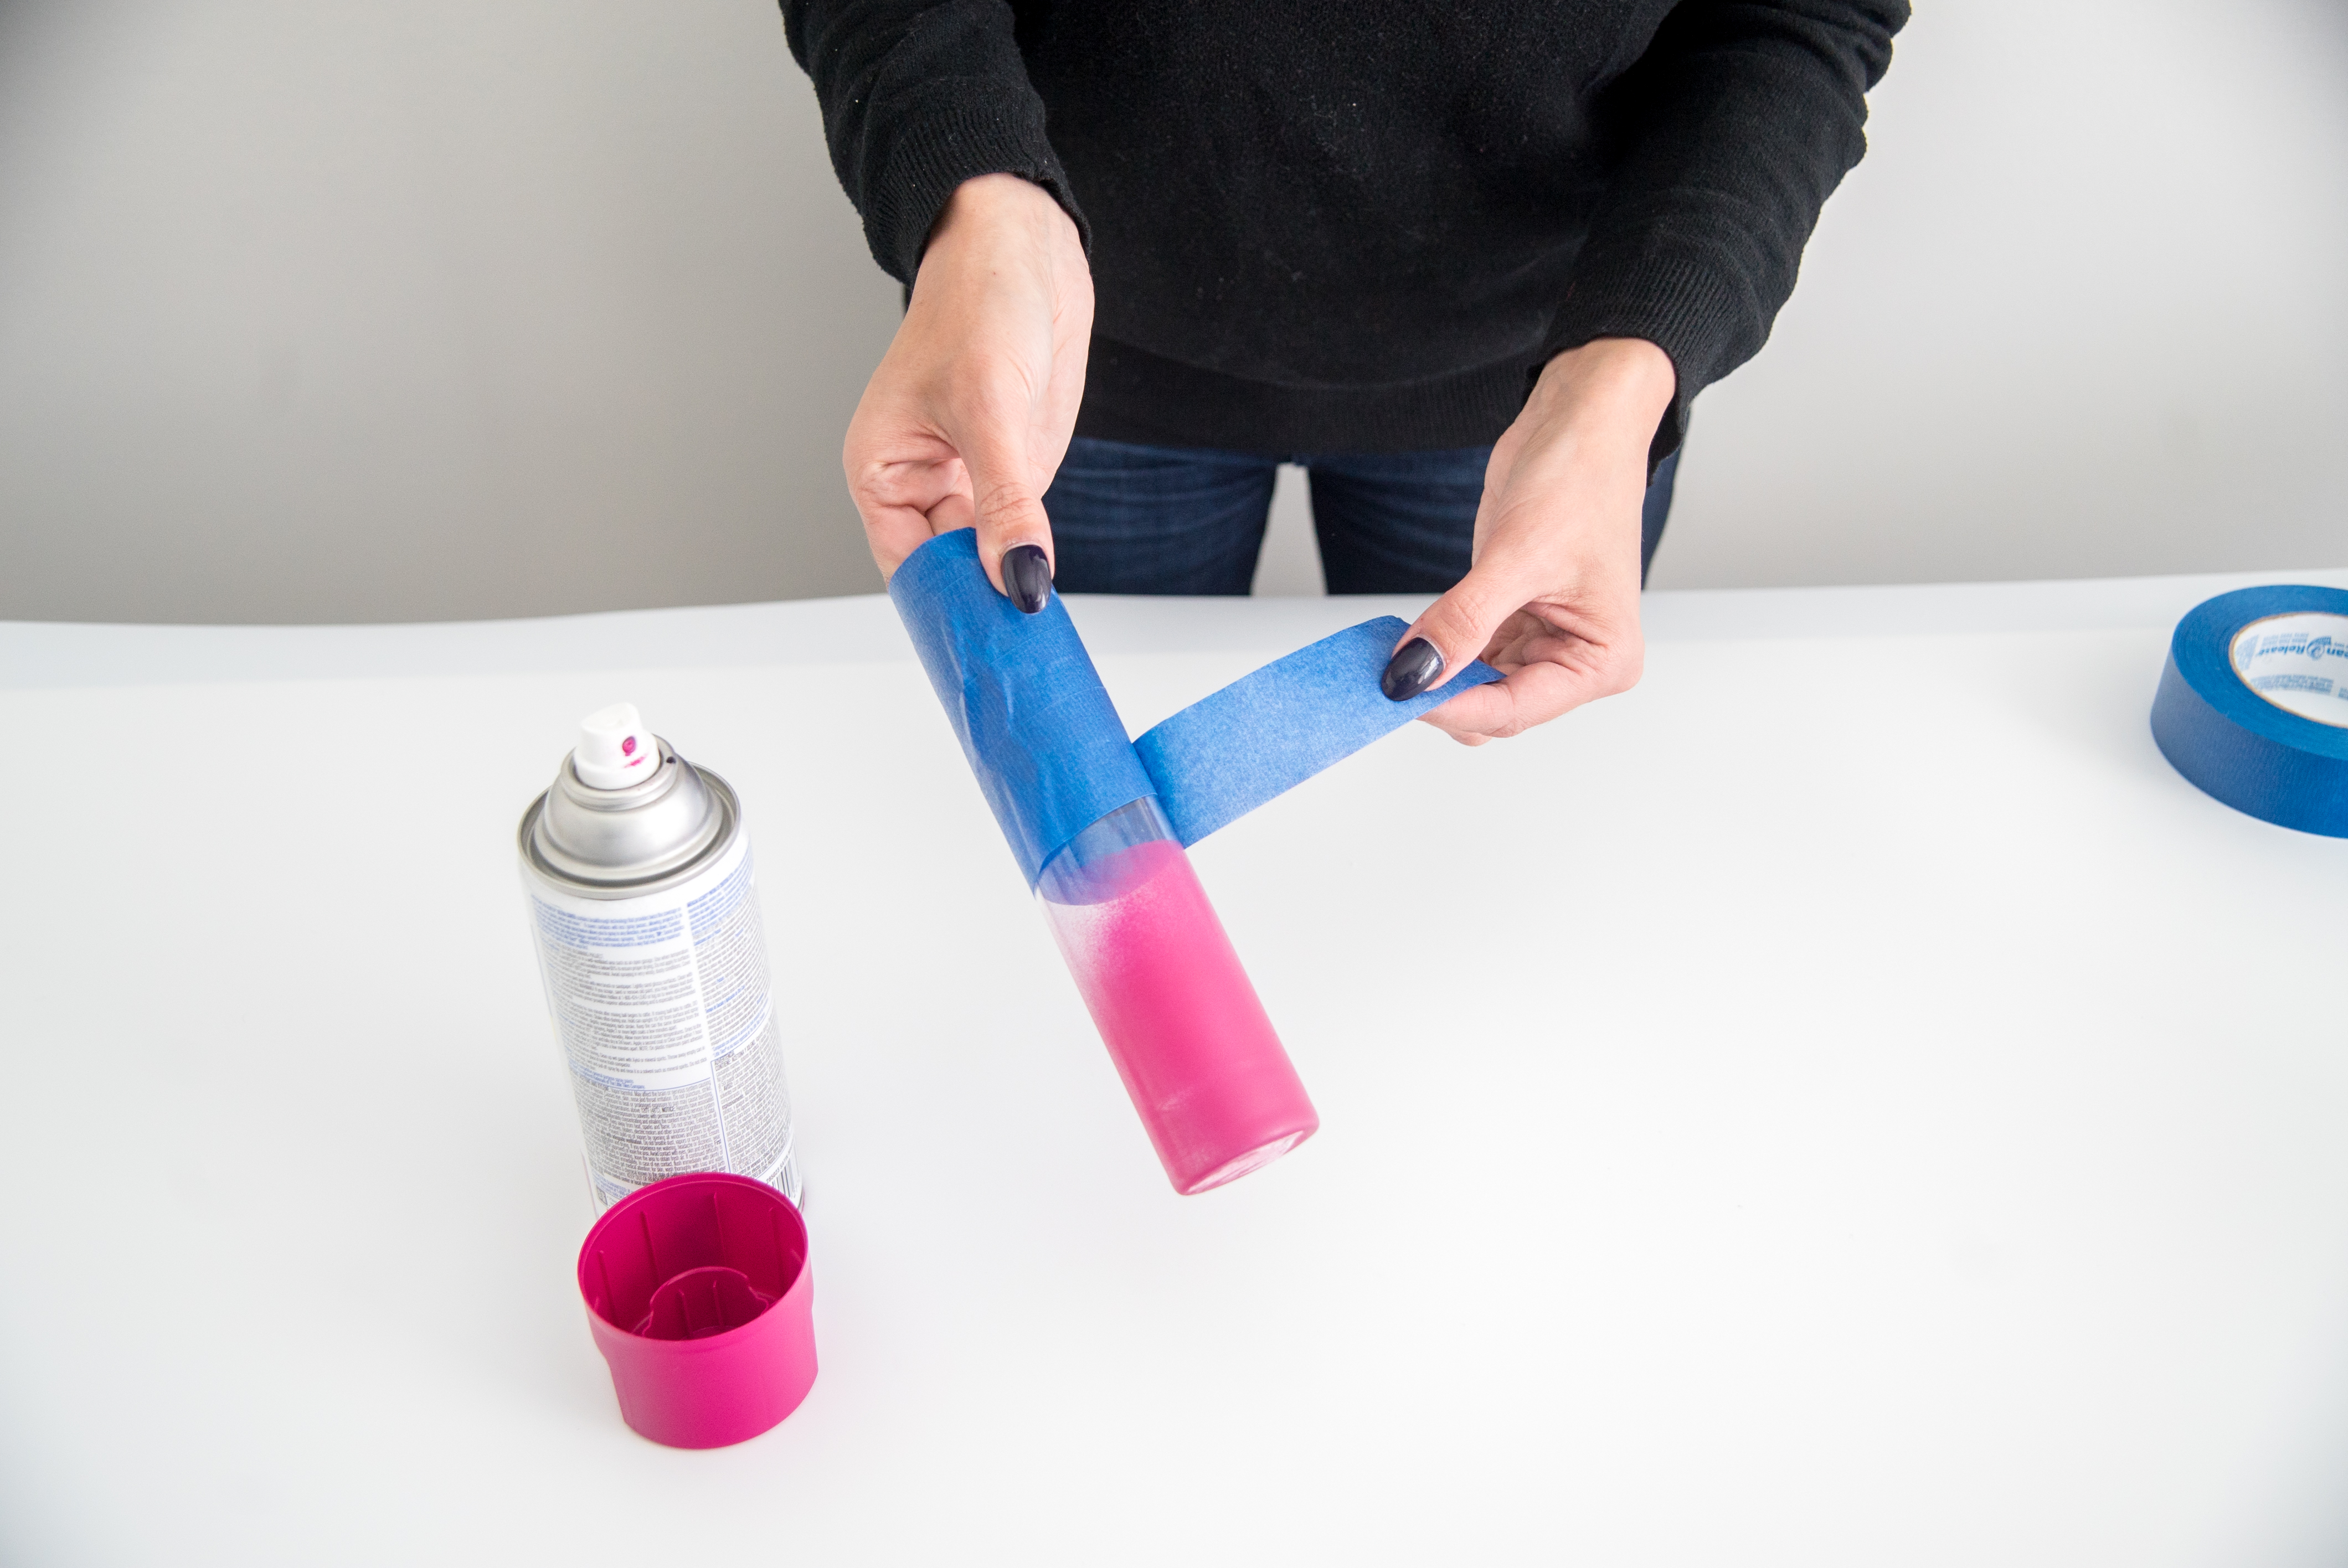
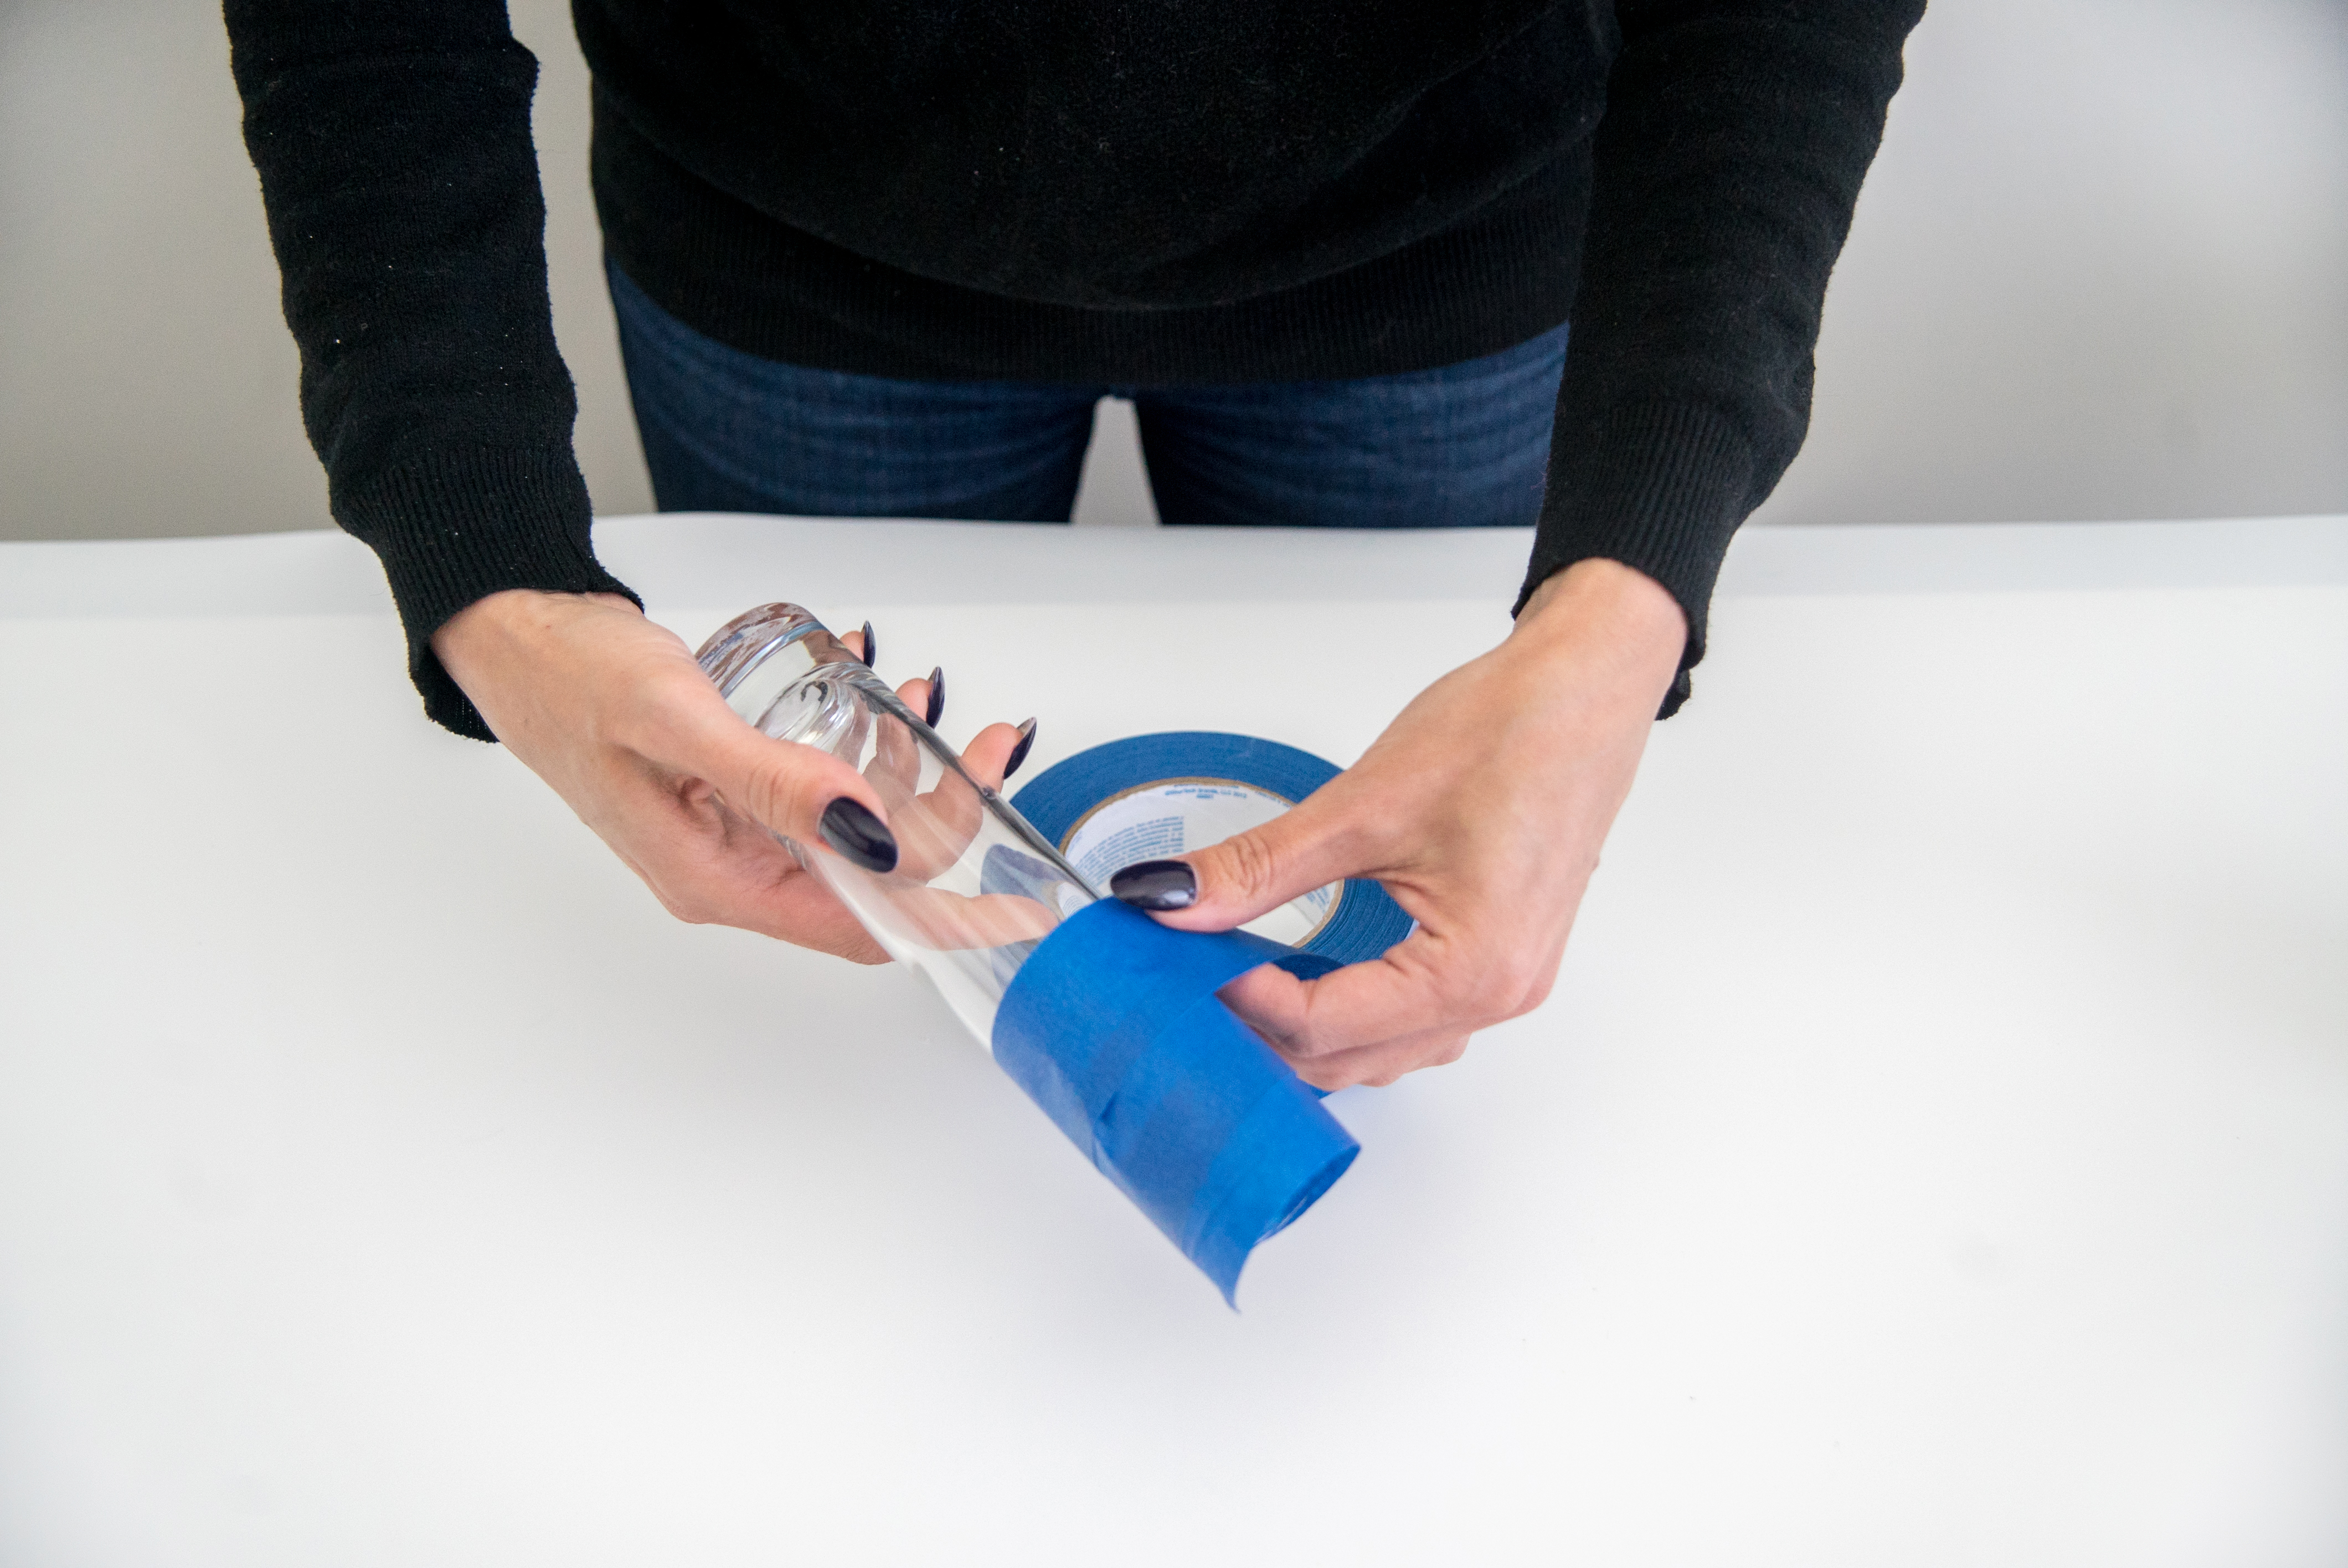 Using the painters tape, begin wrapping the top portion of your bud vase, ensuring to cover all of the glass areas.
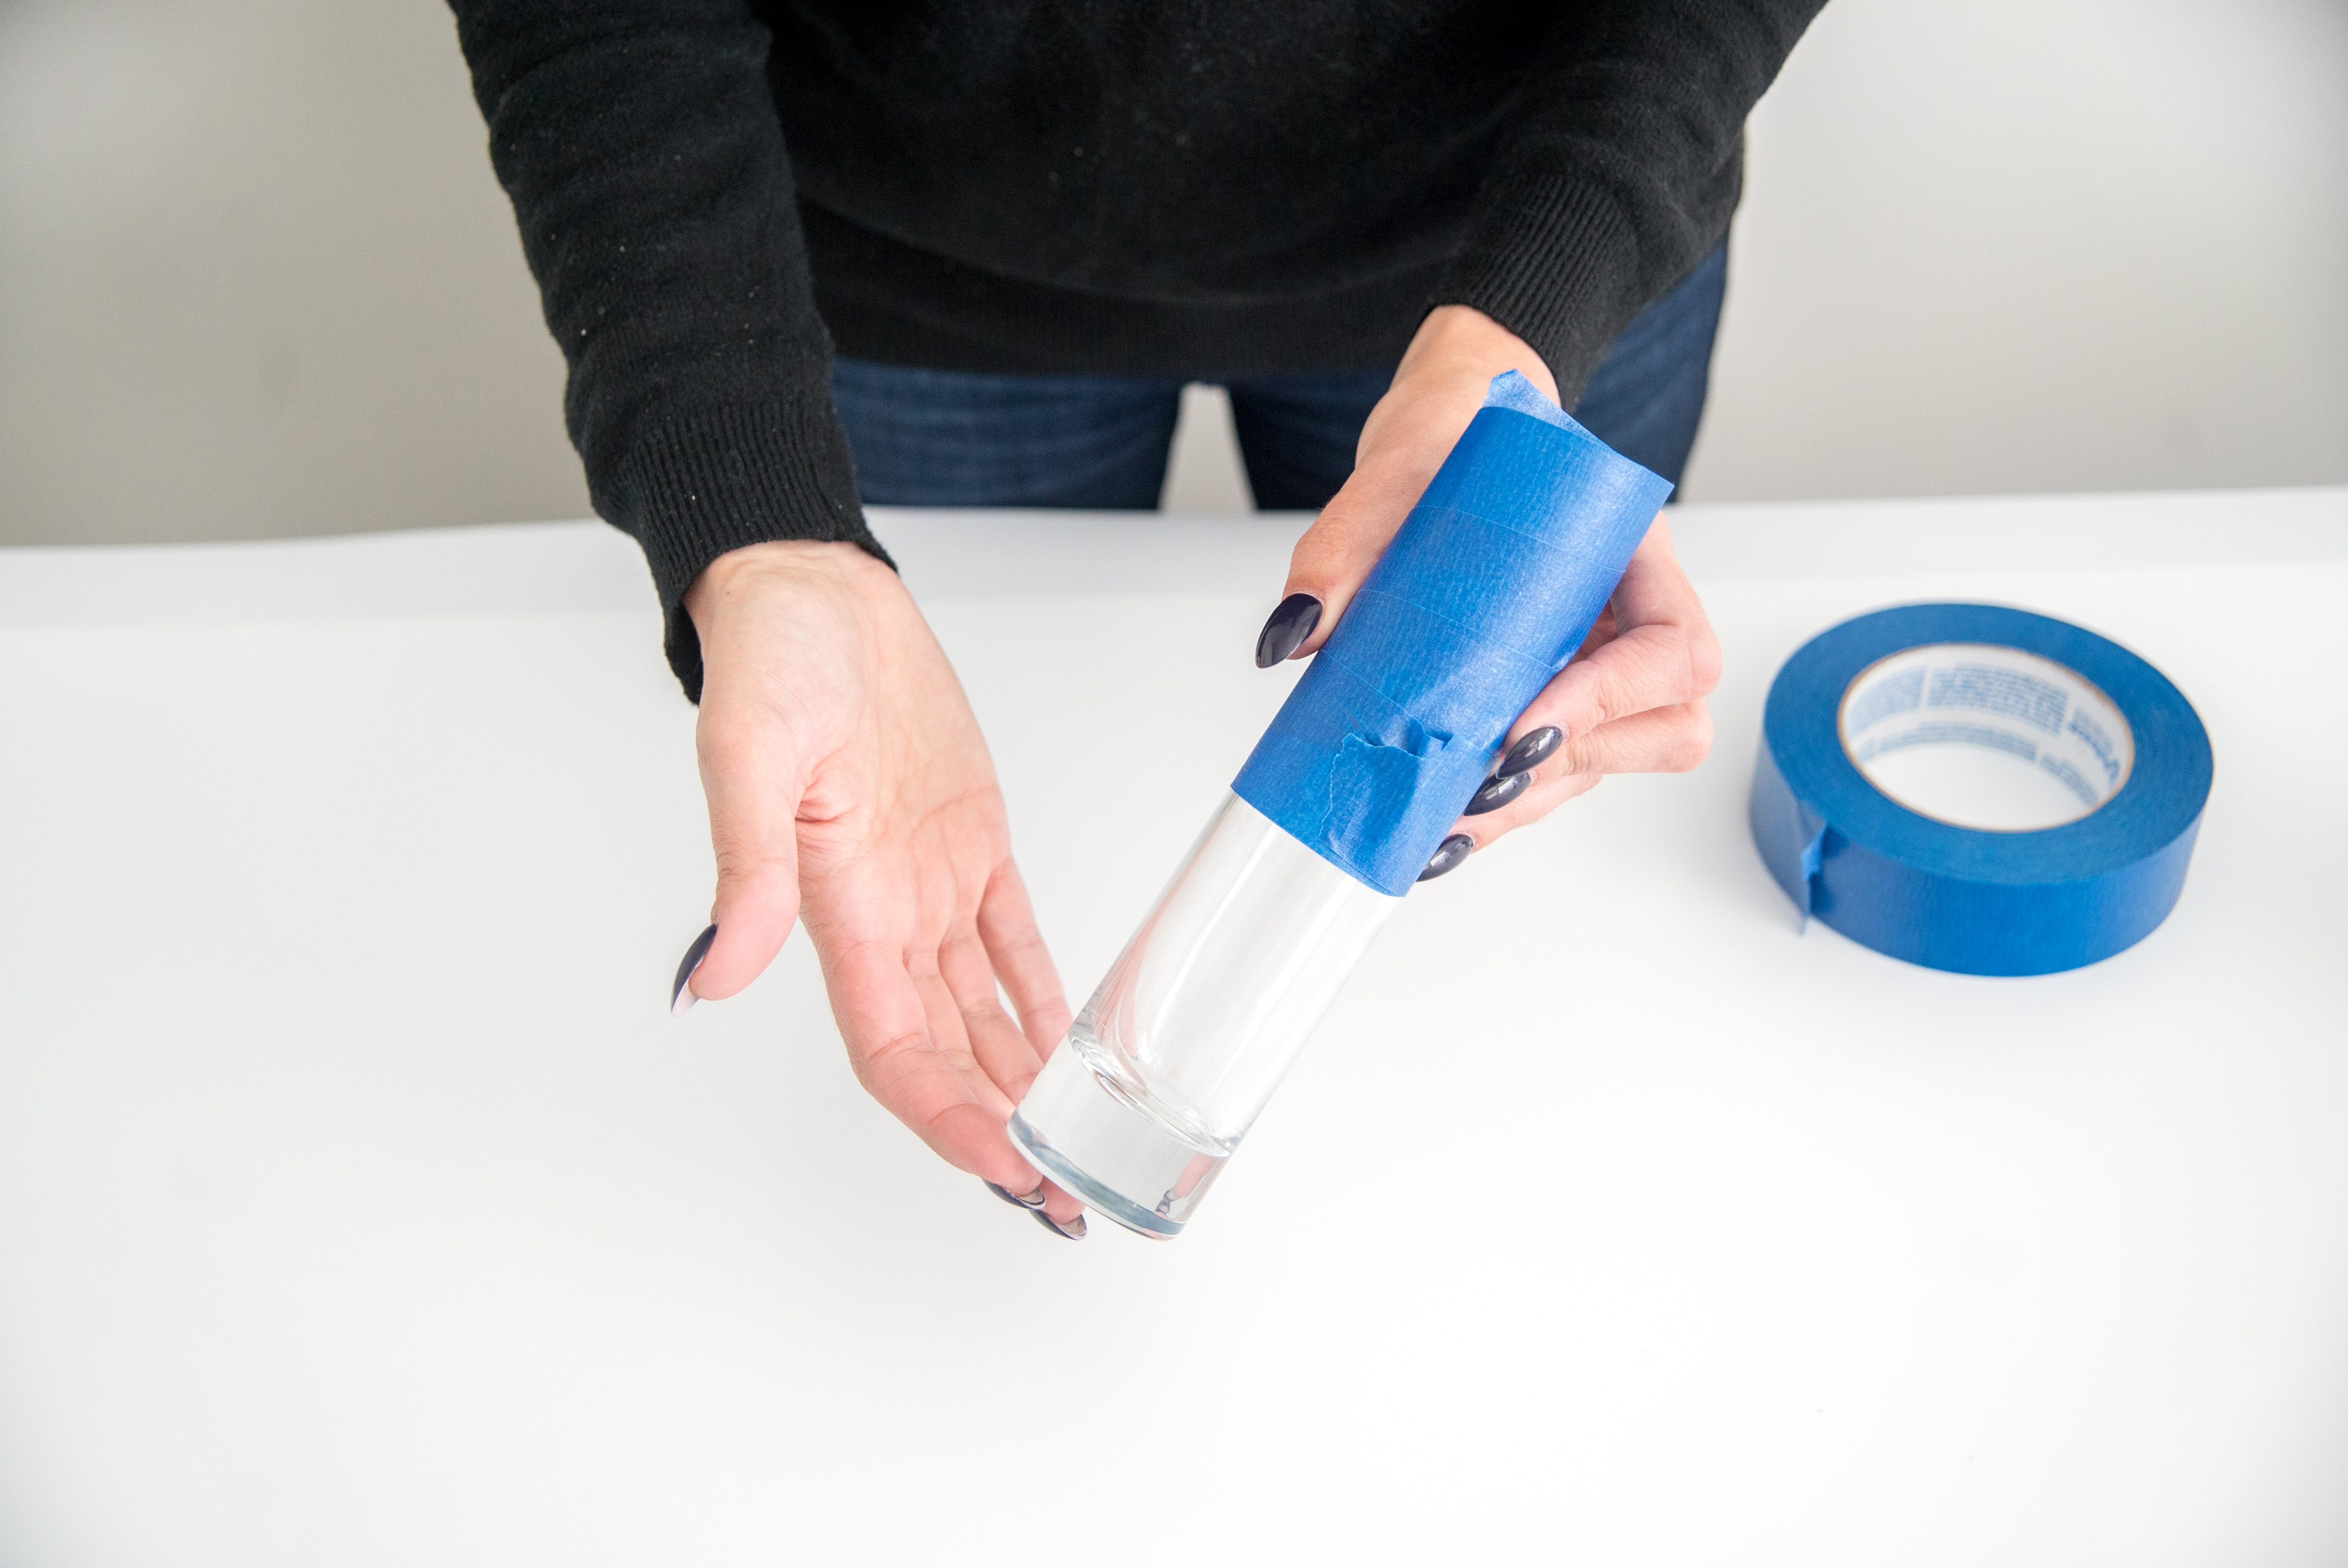 Continue covering the vase until you reach the point of where you want your ombre to begin. I covered my bud vases a little more than halfway, but the amount is up to you.
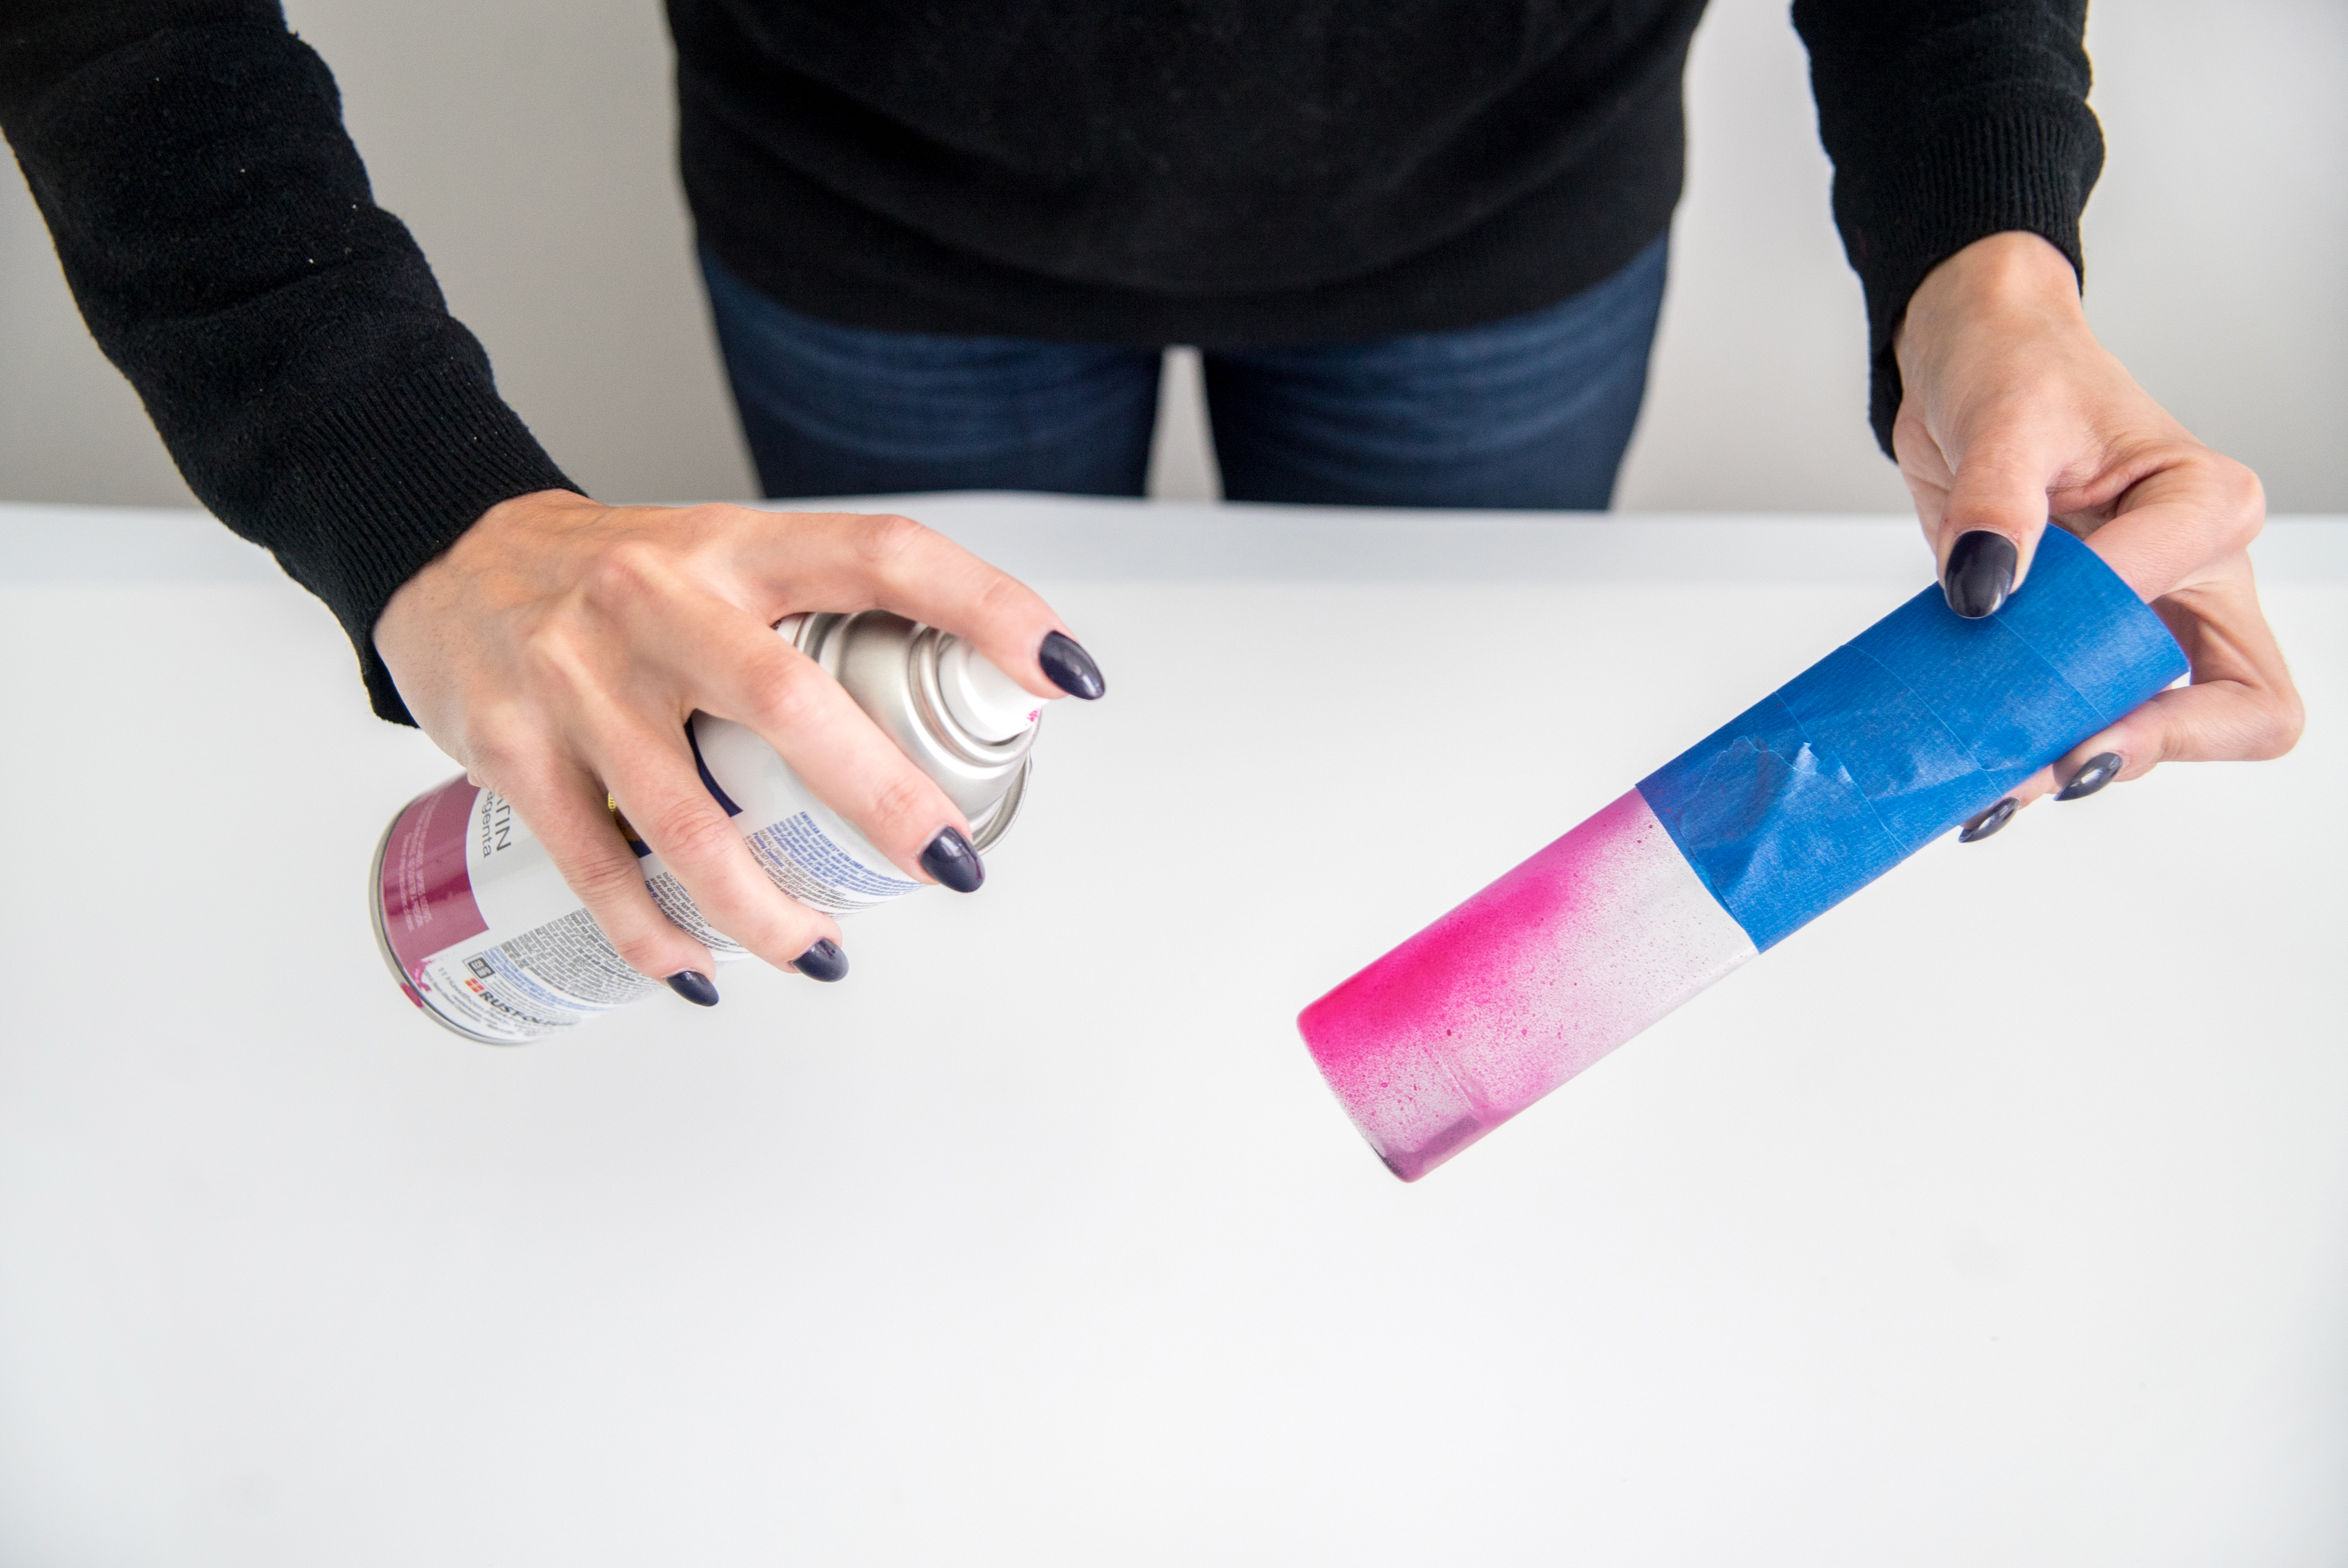 In a well ventilated area, and using a very light hand, begin spraying the exposed glass area of your vase slowly. Use small little bursts of the spray paint, creating light patches of the color. Unlike typical spray paint projects, don’t try to get solid coverage. The unfinished, splatter look is what’s going to help you achieve that ombre effect.
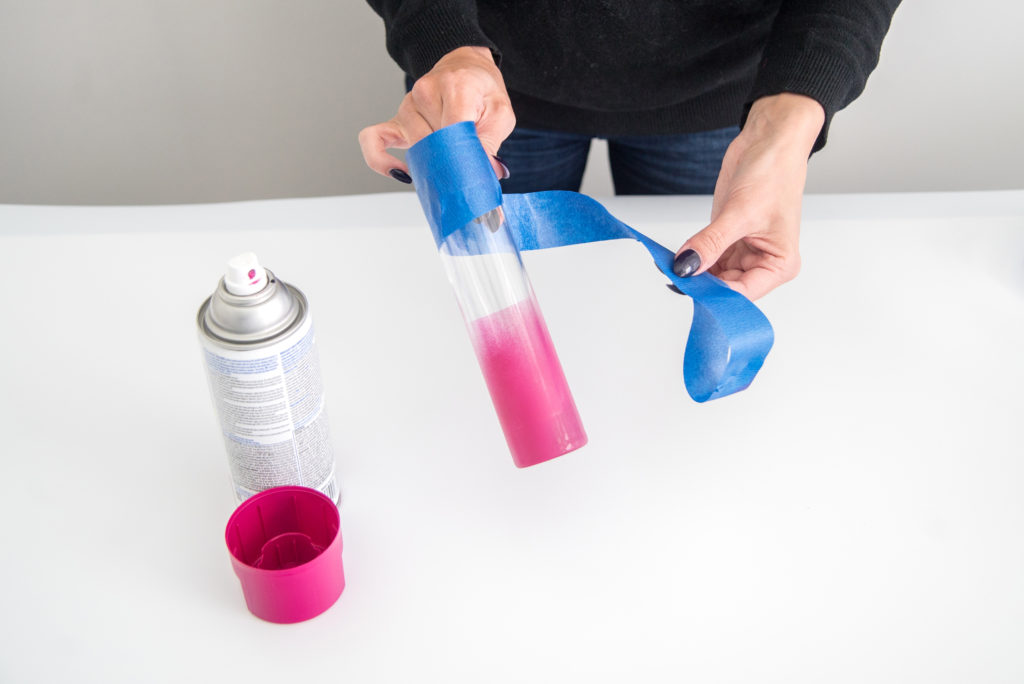 Once you’ve achieved the look you want, remove the painters tape from the top of the bud vase, being careful not to smudge the wet spray paint in the process.
Set the finished bud vase in a well ventilated area to dry completely.
Repeat the same process for the other 4 remaining vases, using a different color of spray paint each time.
Once they are all finished, allow them to dry overnight before using.
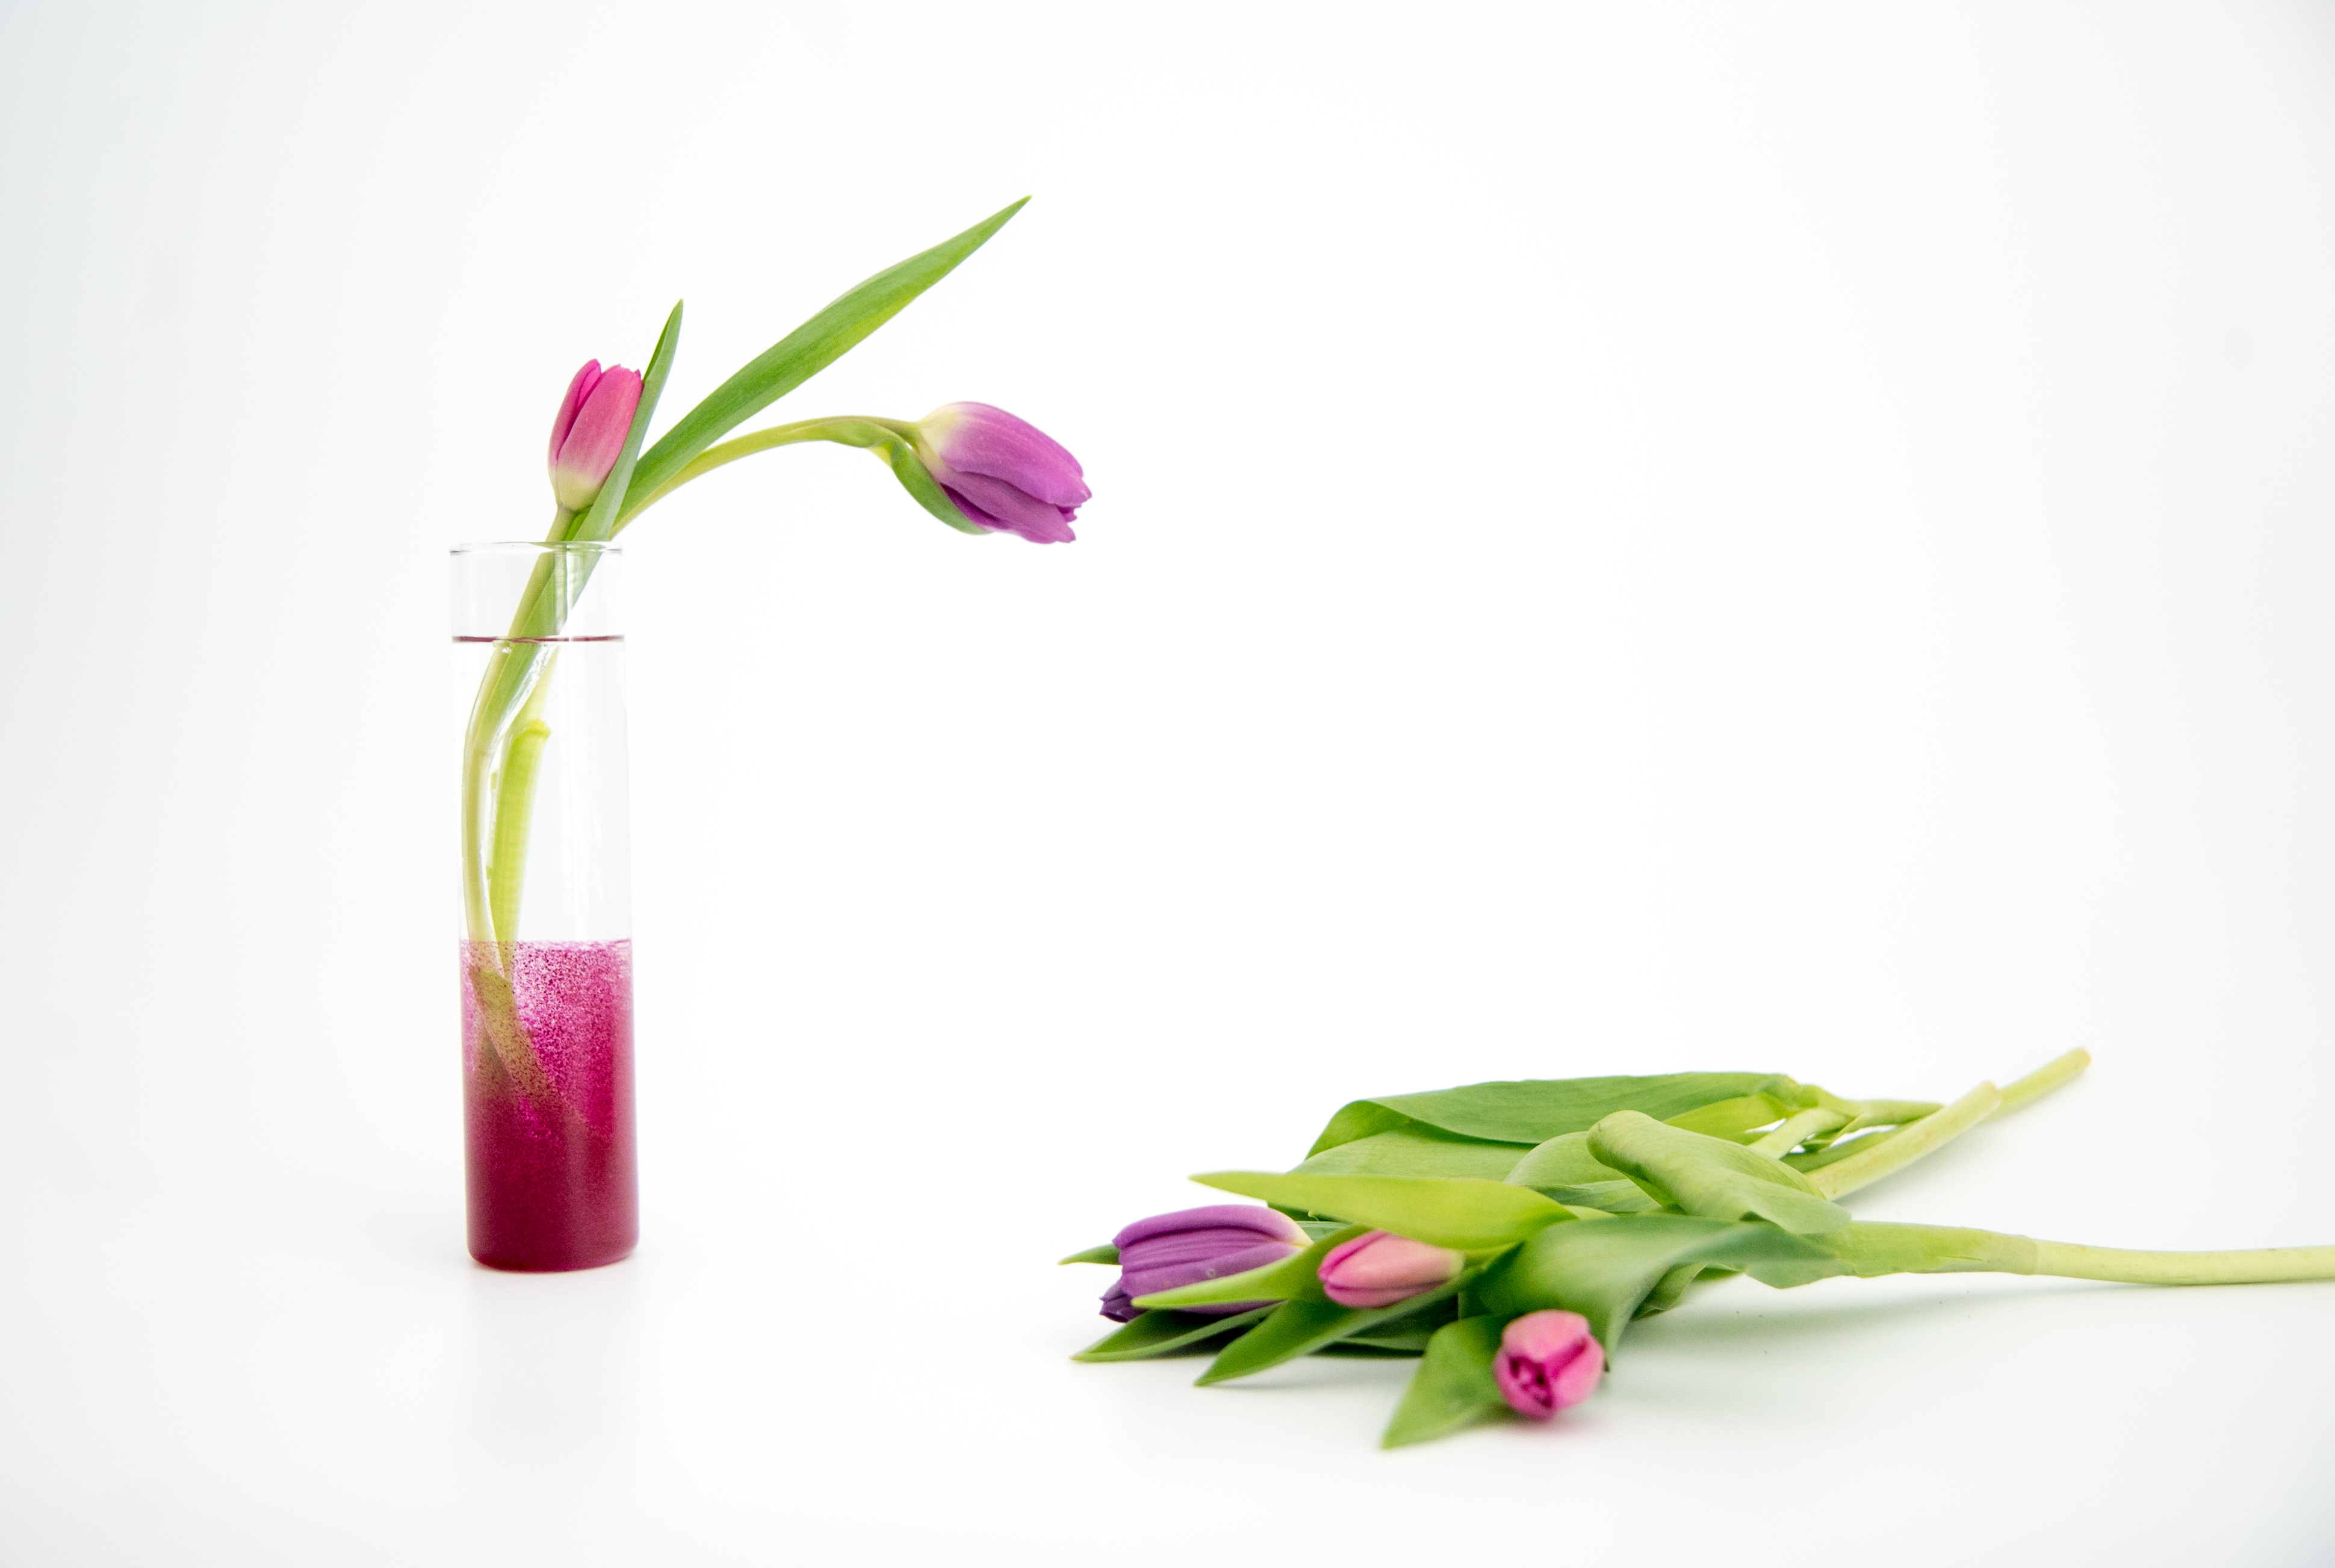
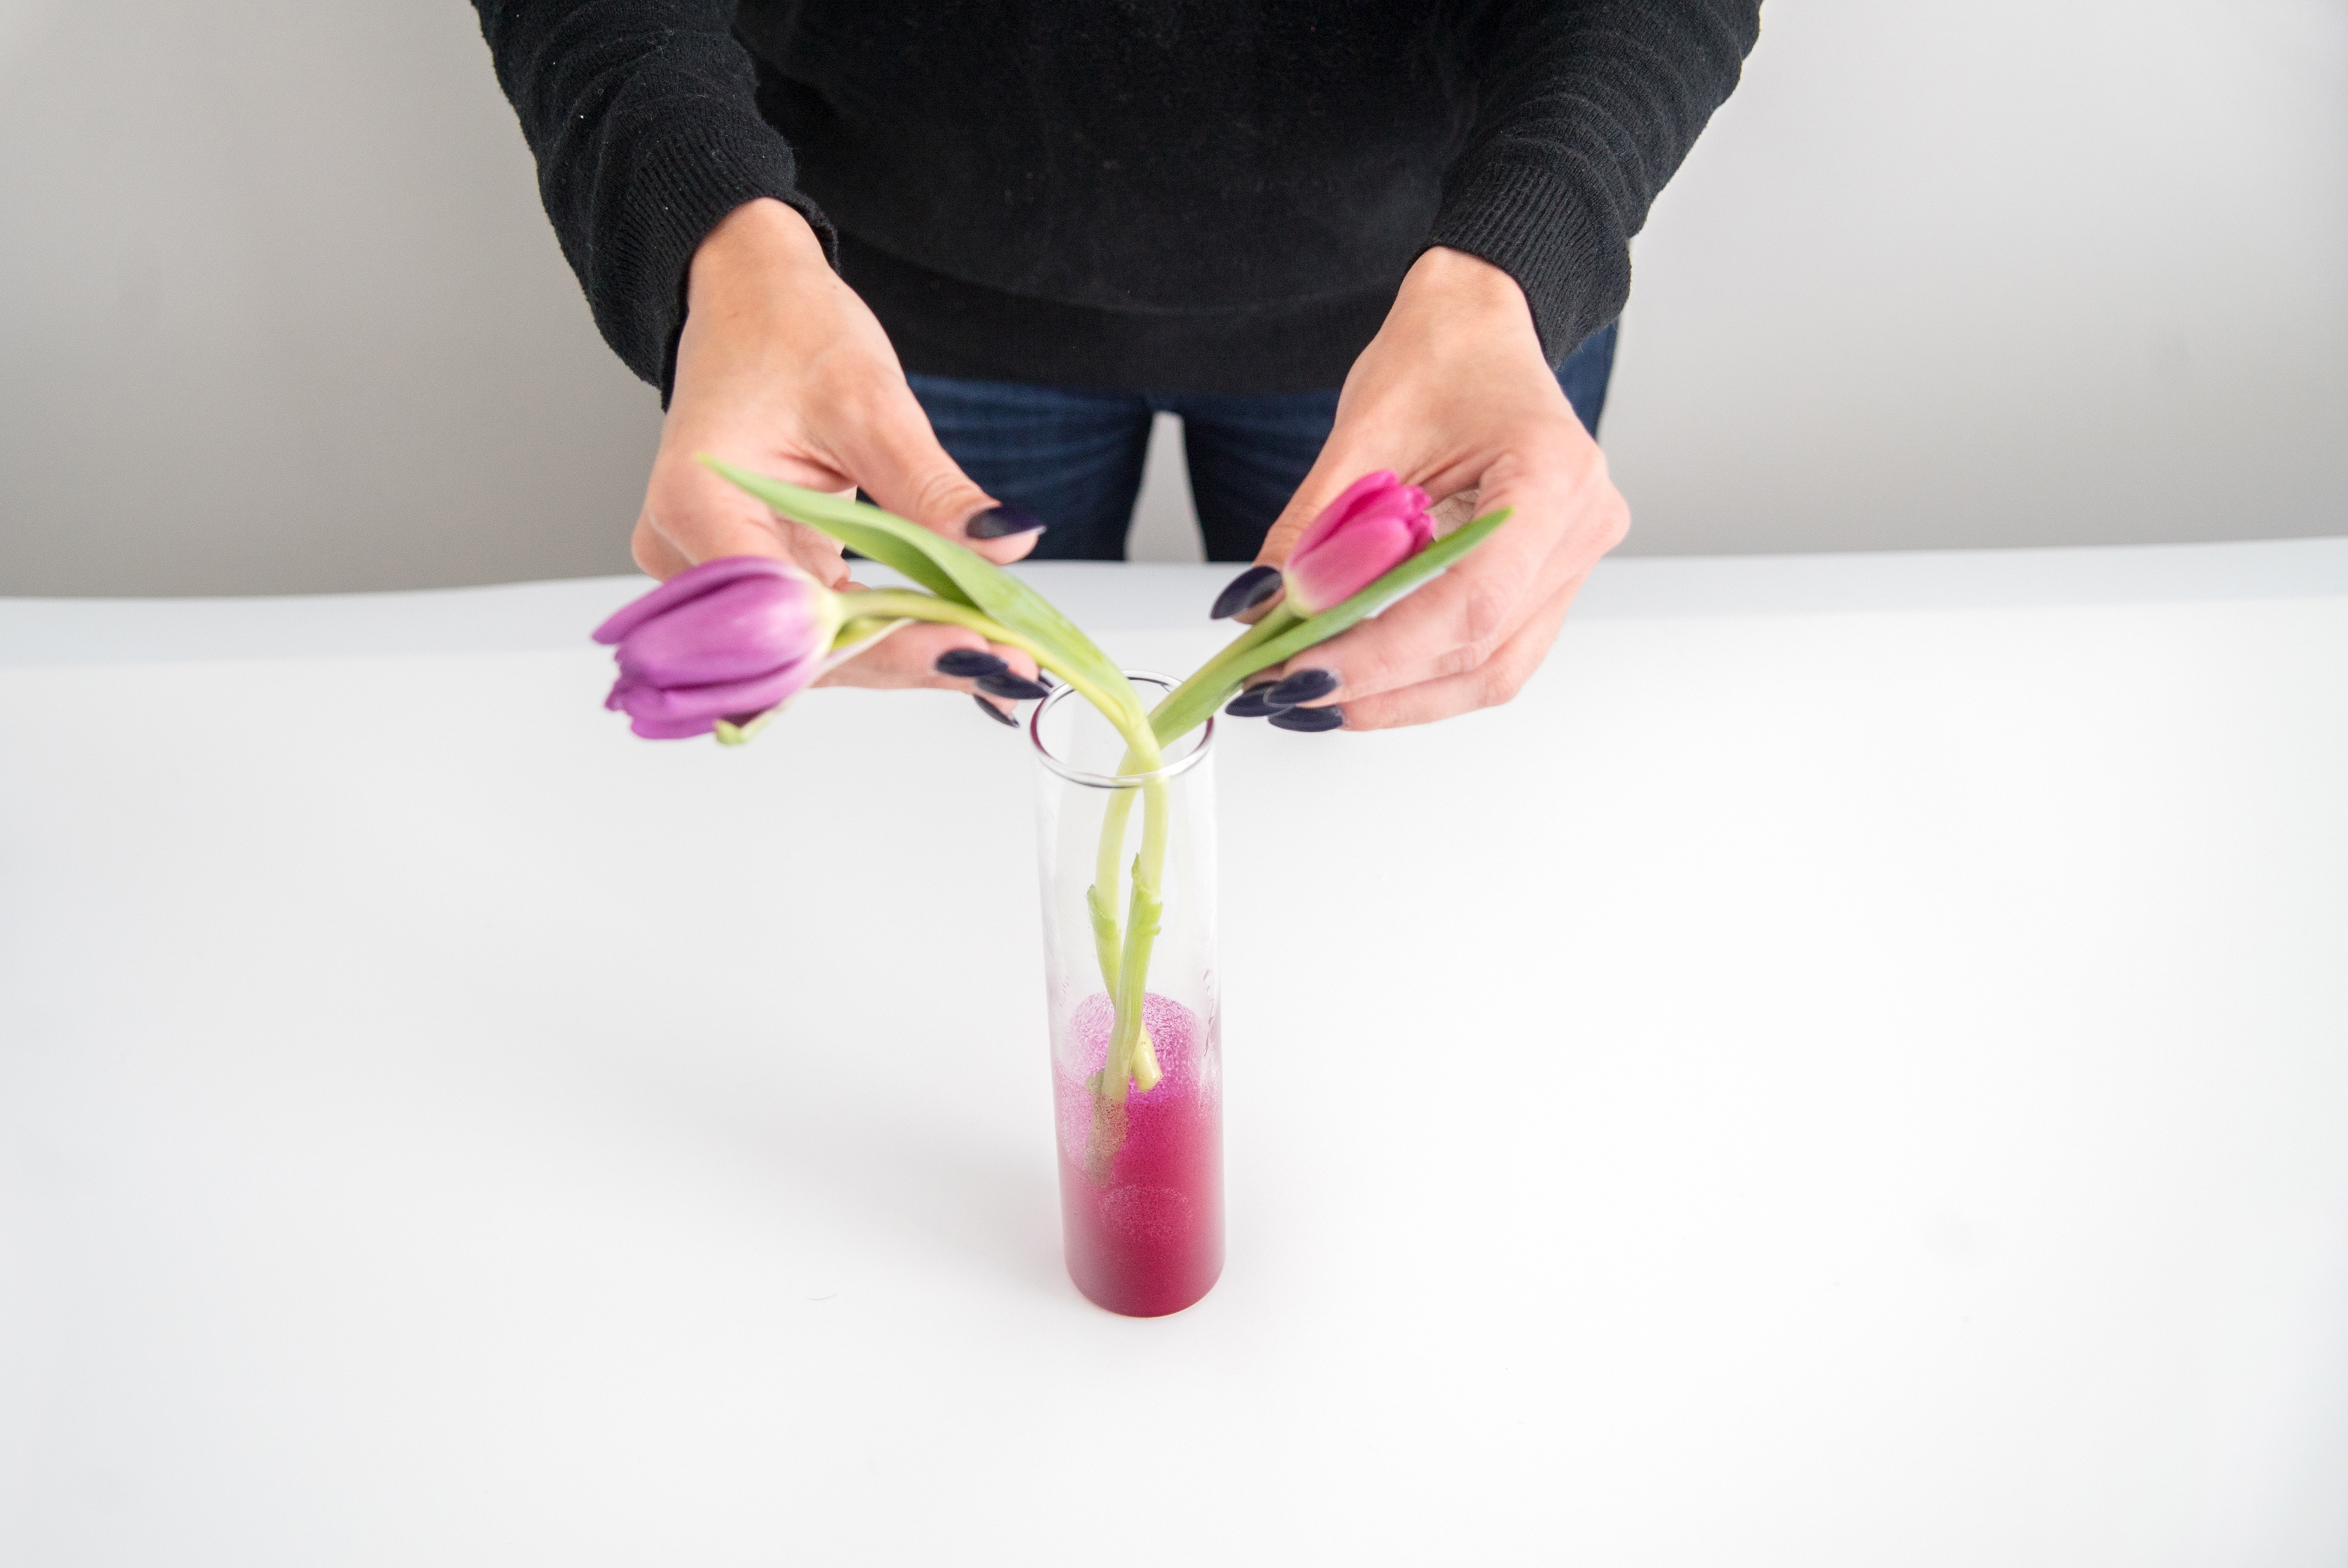 I love the look of these DIY ombre bud vases filled with fresh tulips, but any flower will do. Cut them on an angle to fit your vase, and arrange as needed.
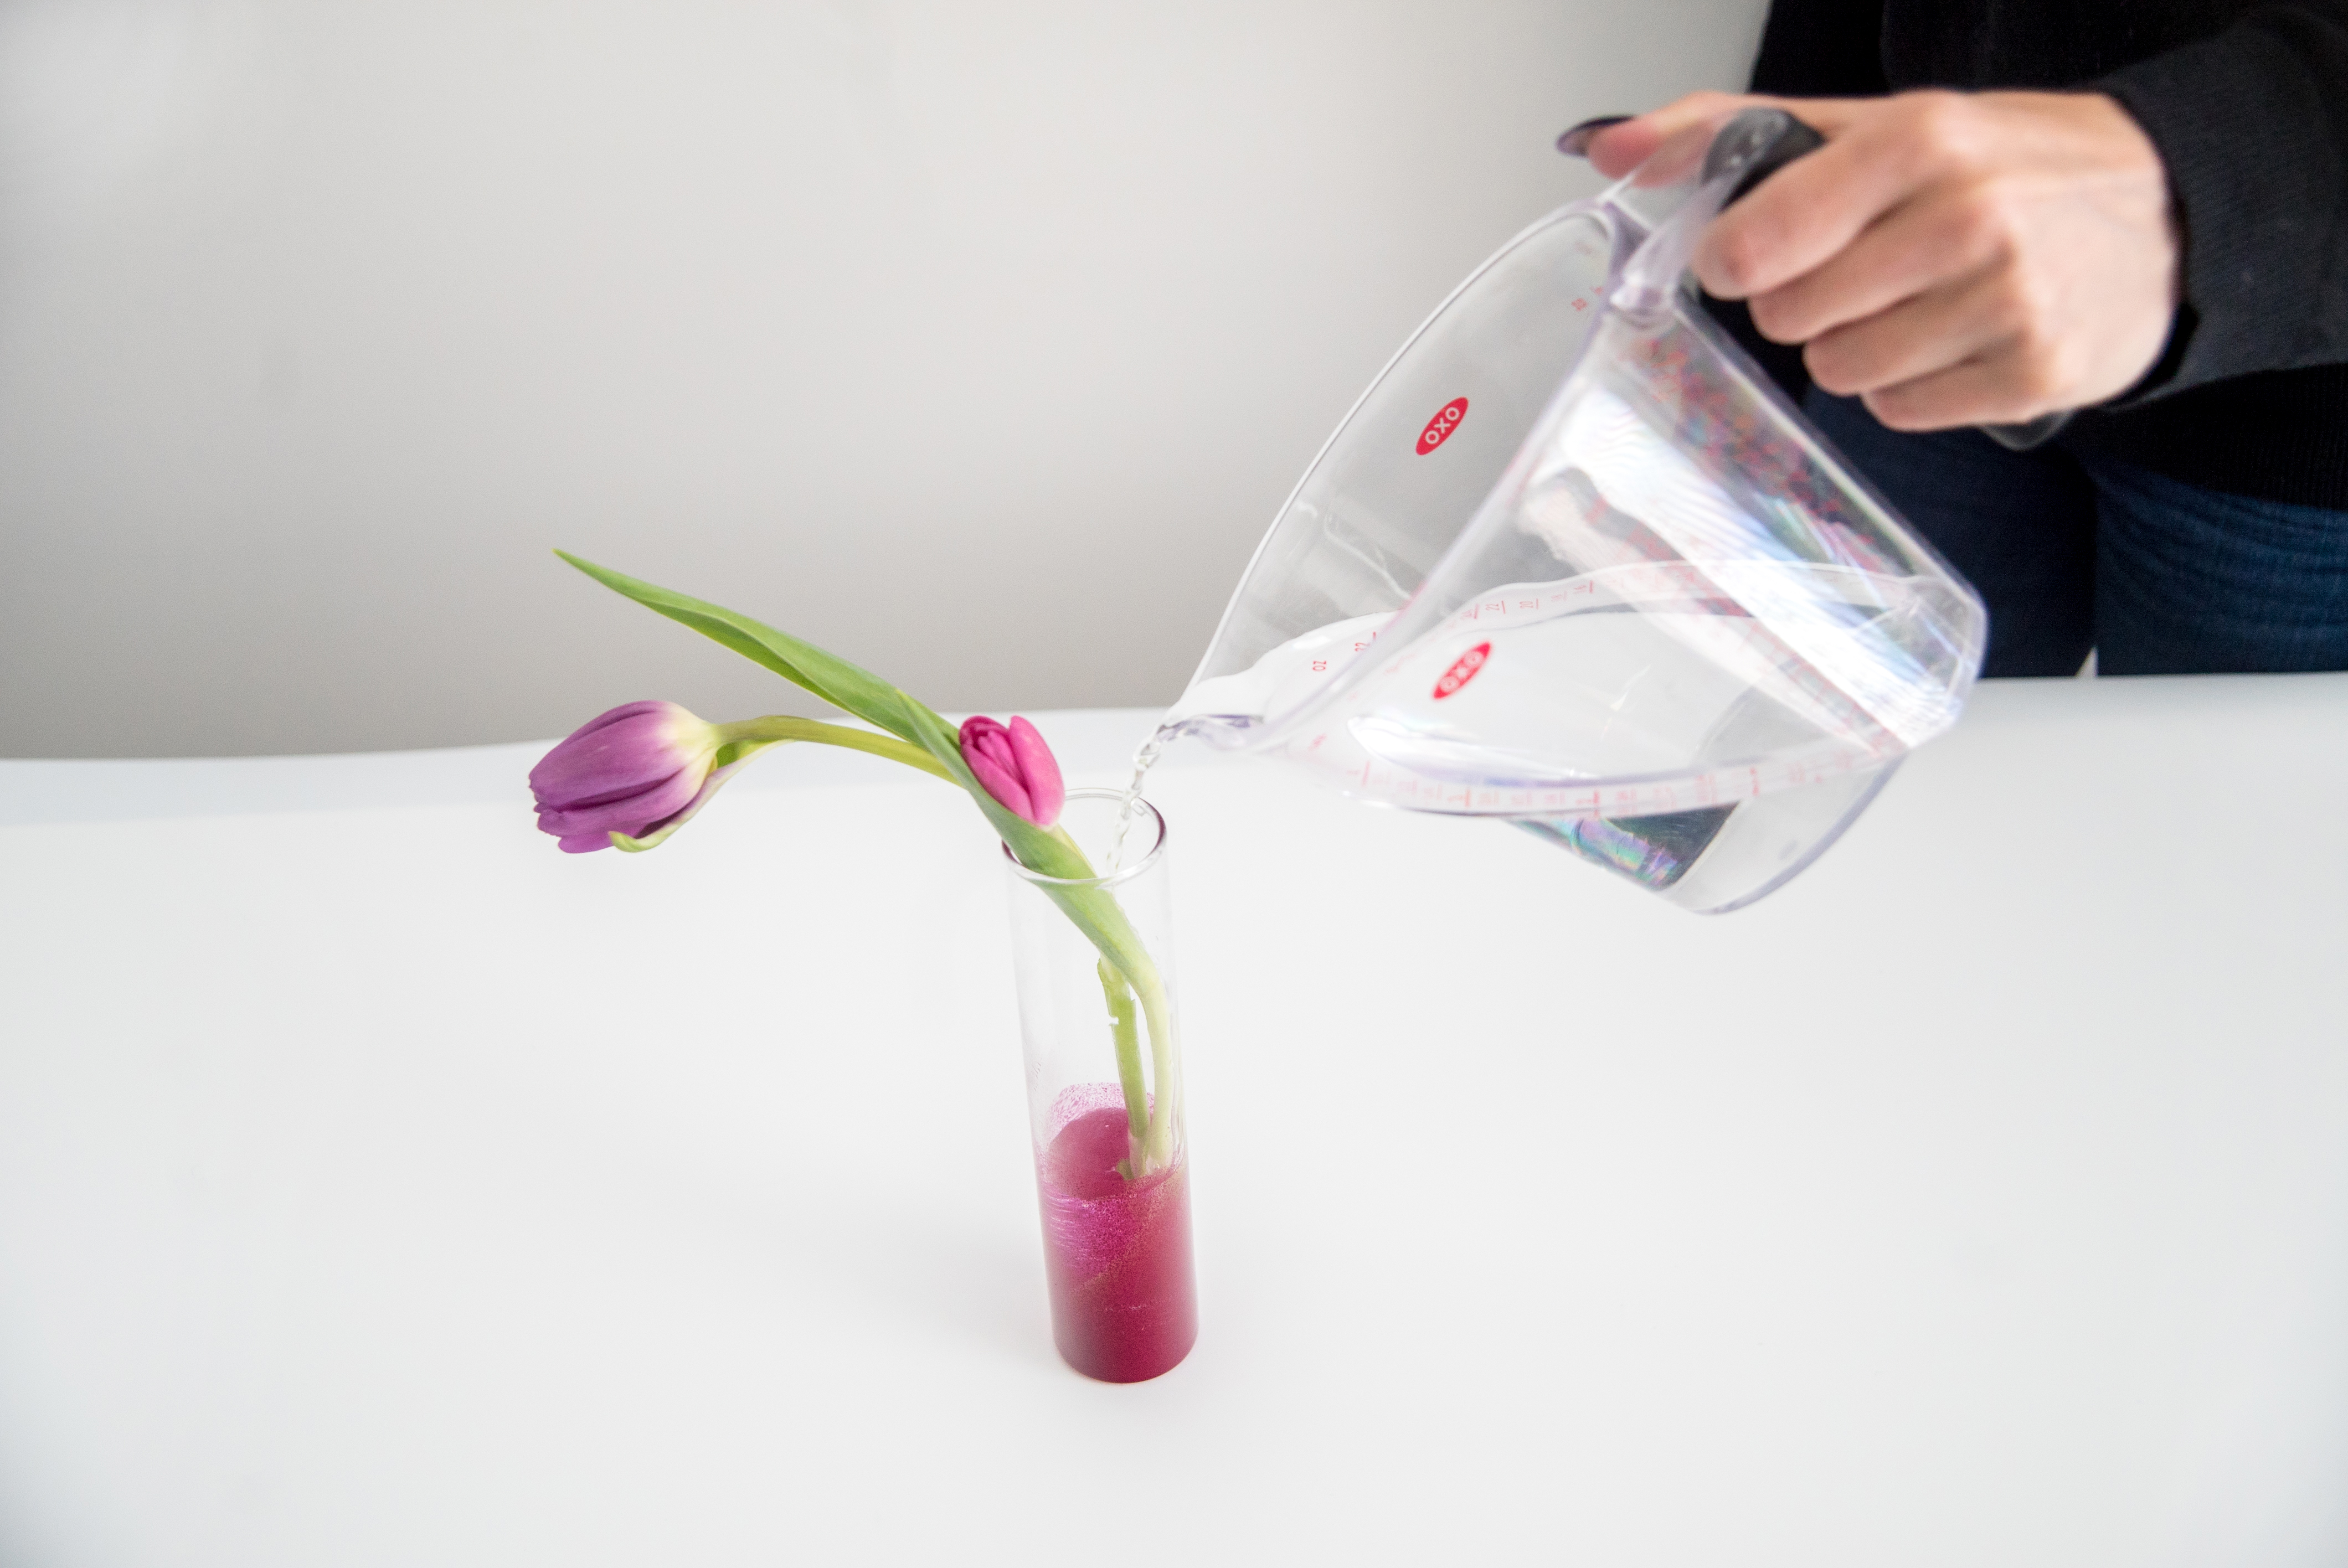 Fill each of them with water and place them in a single row for a pretty display!
These DIY ombre bud vases are fairly delicate, so wash them gently by hand. But, if any of the paint happens to come off, they are easy enough to replicate in an afternoon and too pretty not to make again!
Photography by Taylor Grayson
let's mingle

")
featured faves


watch the latest


fave collabs


")


