 October is here and I am so ready to deck out the blog with all things creepy, spooky, scary, and fun!
Halloween is my favorite month and I like to go big with everything and emerse myself in the horrer filled month.
It’s definitely not for everyone, but I hope that along the next few weeks, I can turn you into a fan with some of my halloween inspired ideas.
My husband and I throw a giant halloween party every other year and go all out with a new theme each time.
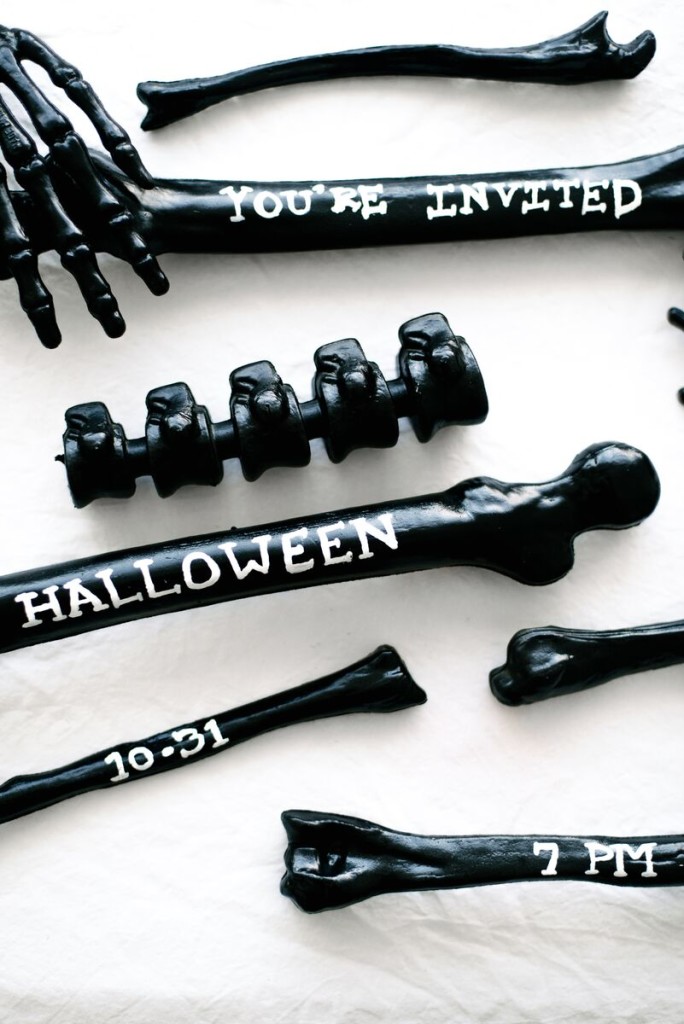
One of my very favorite parts of the party is the invitation. It’s the first impression guests have of what the new theme is and it’s a way to get everyone really pumped up about the event.
I love keeping people guessing and really try to think outside the box when it comes to the actual invite. I don’t usually mail a normal invitation. I like to get really creative and use other things that you’d never normally think of. I’ve also figured out that you can mail A LOT of really random shapes, sizes, and boxes with the Post Office! 😉
Have you seen the bag of bones in your local halloween or big box store? They store them in the halloween section and are that really gross brownish colors. The set usually comes with a few long bones, some feet, hands, and a skull.
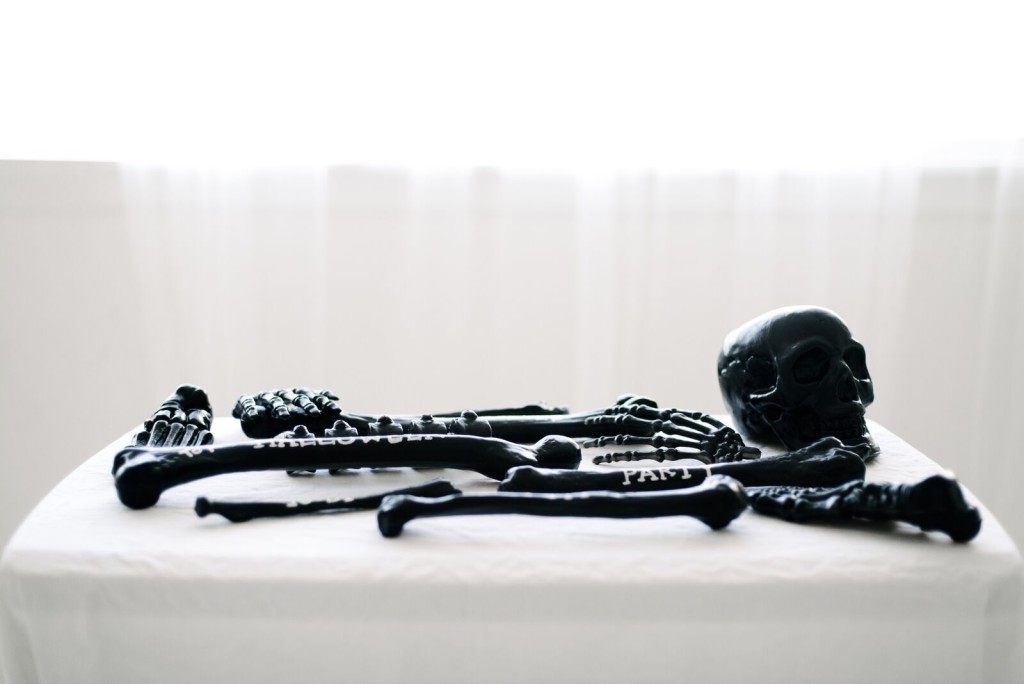
I saw them sitting in the aisle and decided they were perfect to dress up for a fantastically creepy hallween bone invitation!
This invite would definitely get your guests talking and really get them in the mood for the season!
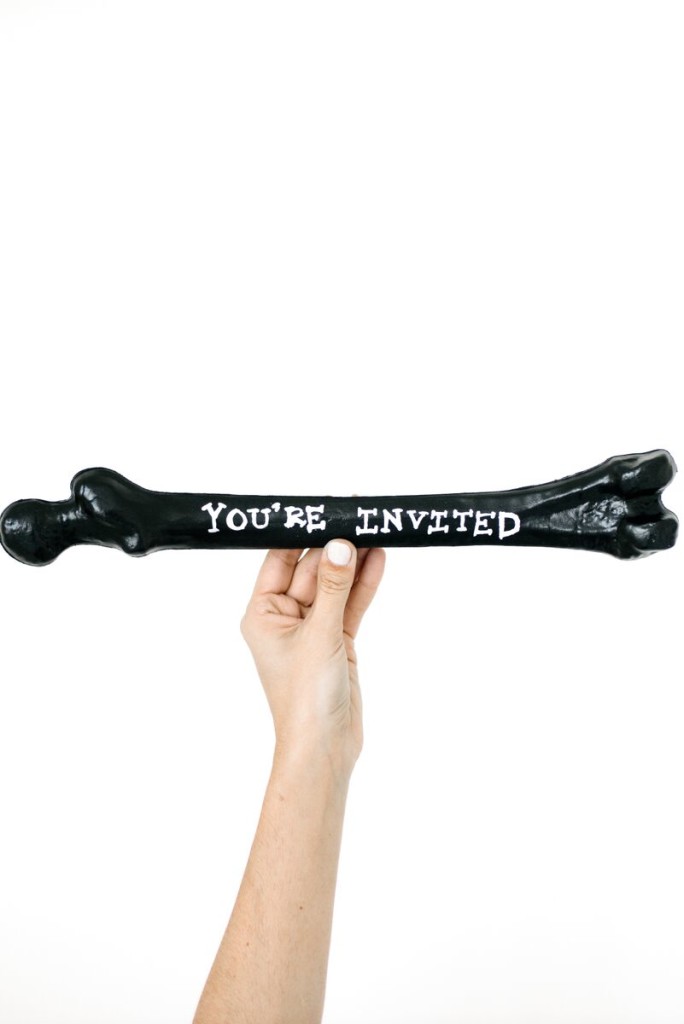
 They are really easy to make and only require a few supplies.
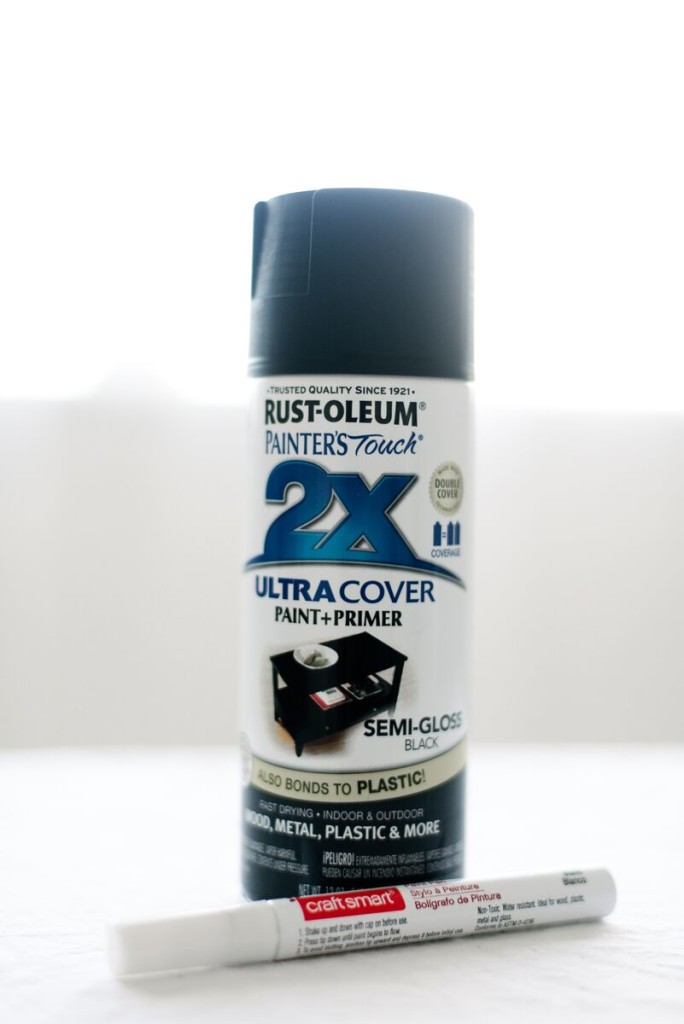 Here’s what you’ll need to make your own:
- Bag of Bones
- Black Spray Paint
- White Paint Pen
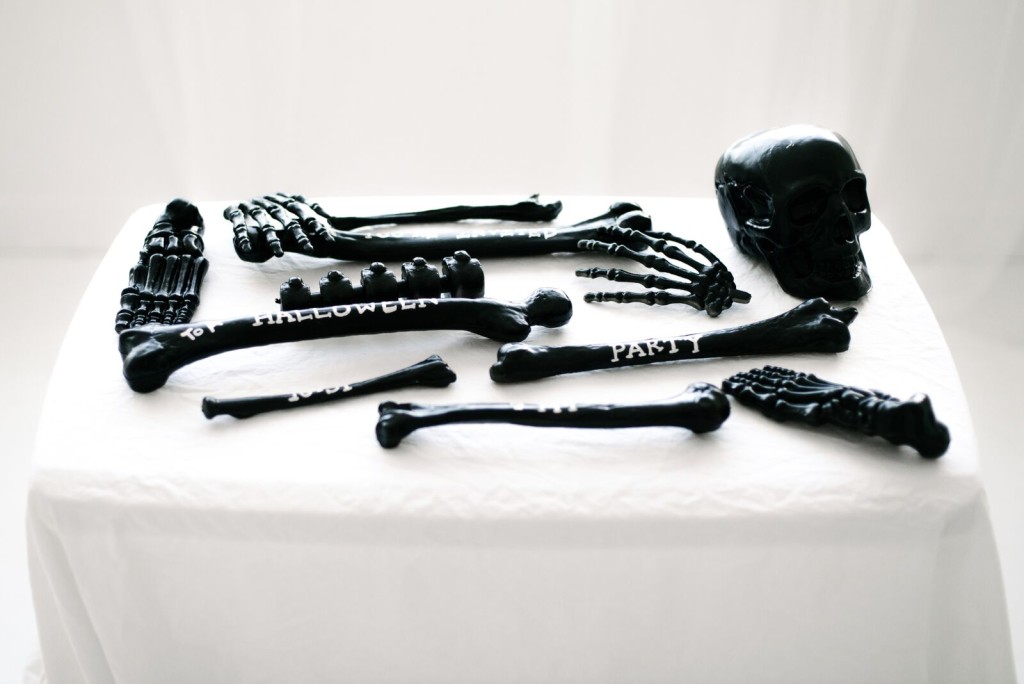
First, spray paint all of the bones that come in the set black. Although bones are not normally black, I really think it adds to the creepy factor and helps make the party details pop. The black also reminds me of a retro horror movie, but that pop of white really keeps things fresh.
Allow your bones to dry completely (about 24 hours) before moving onto the next step. Also, make sure you spray all sides of the bones, since your guests will be able to pick them up and see all of the details.
Once your spray paint has dried, lay out your bones and decide which ones you’ll be writing on. If you have a lot of party details, you can write on each of them, but keep in mind, some of the ridges will be a little tougher than others.
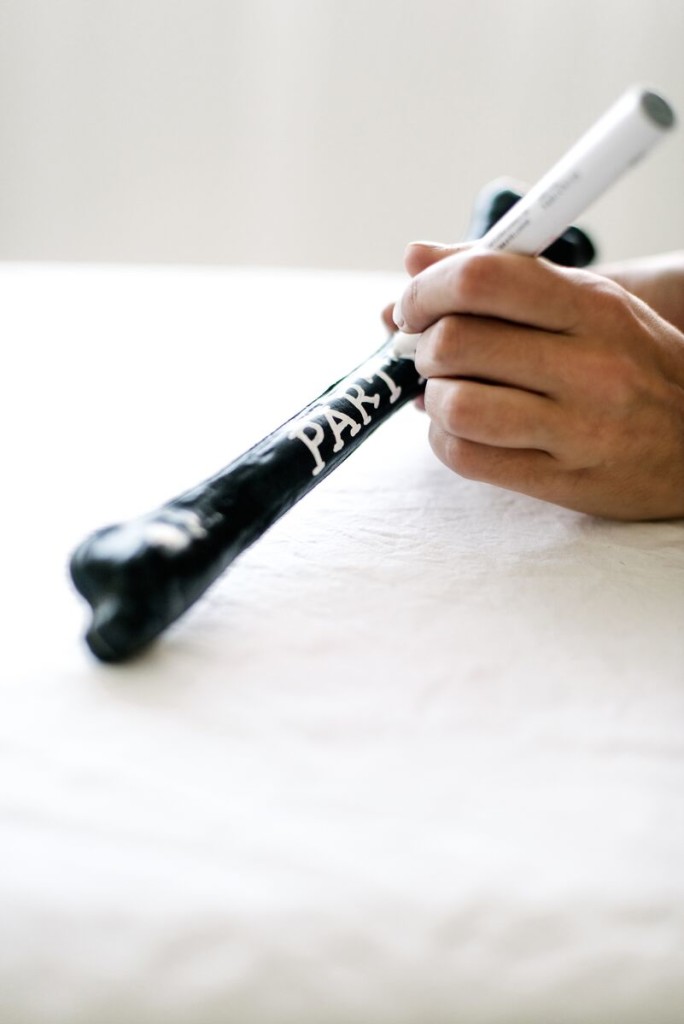 Using the white paint pen, begin writing all of the details onto each bone.
Allow each of the bones to dry for 24 hours to ensure that the paint has fully set.
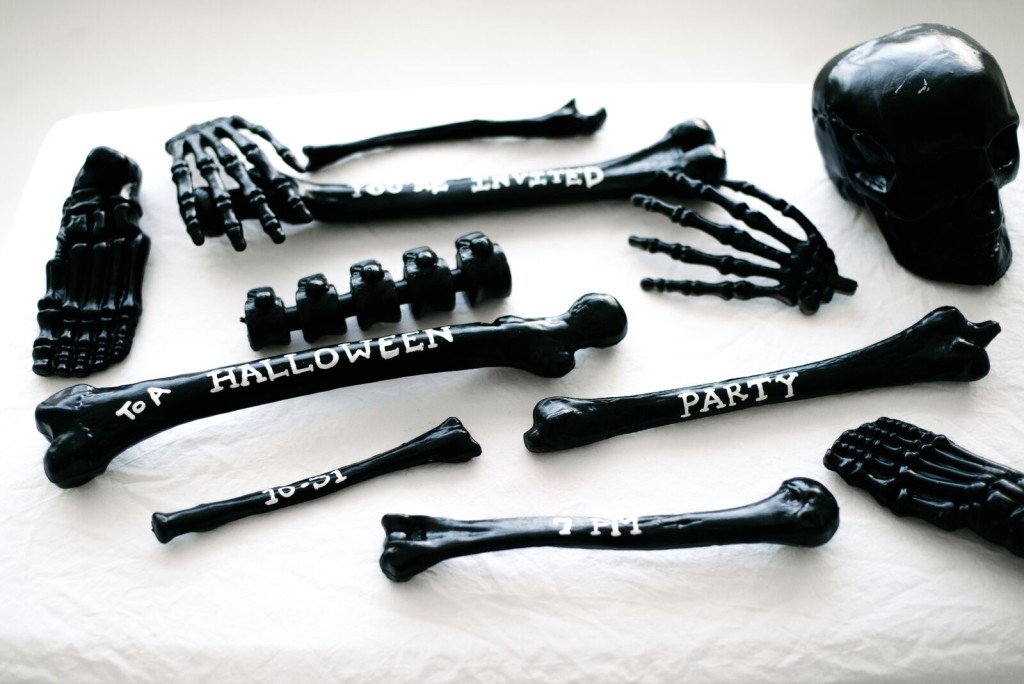 Once dry, pack them into a fun box and wrap with packing paper to keep them from moving around too much.
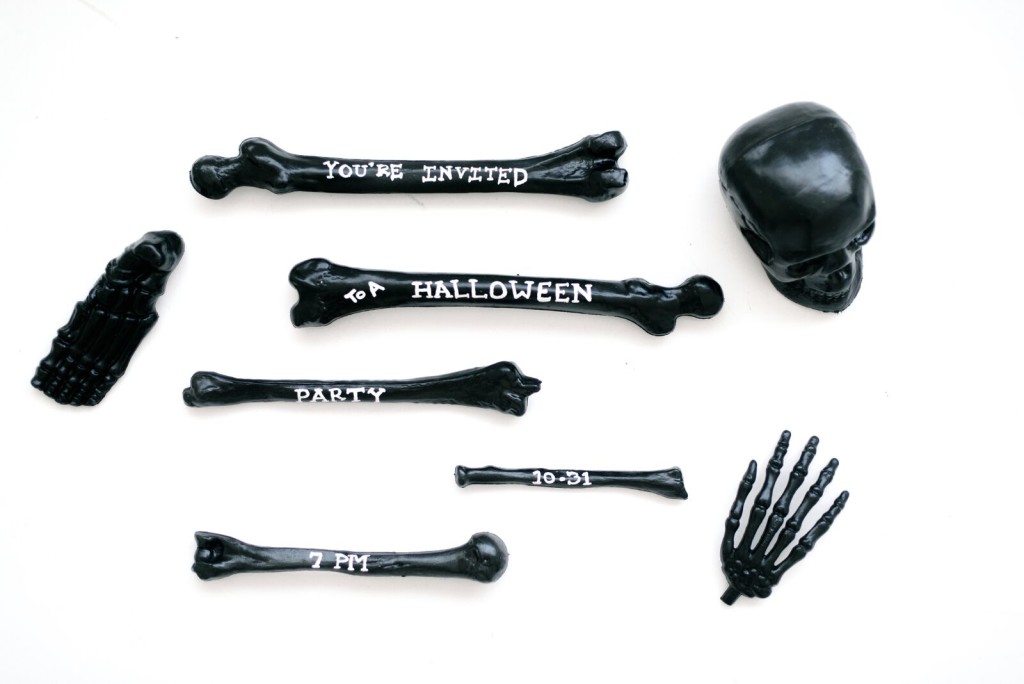 If you really want to up the creepy factor, place them inside a body bag or an evidence bag. Tie with a tag and ship!
This diy halloween bone invitation will definitely have your guests talking about your party and maybe even thinking twice about attending 😉
Photography by Haley Nord Photography

