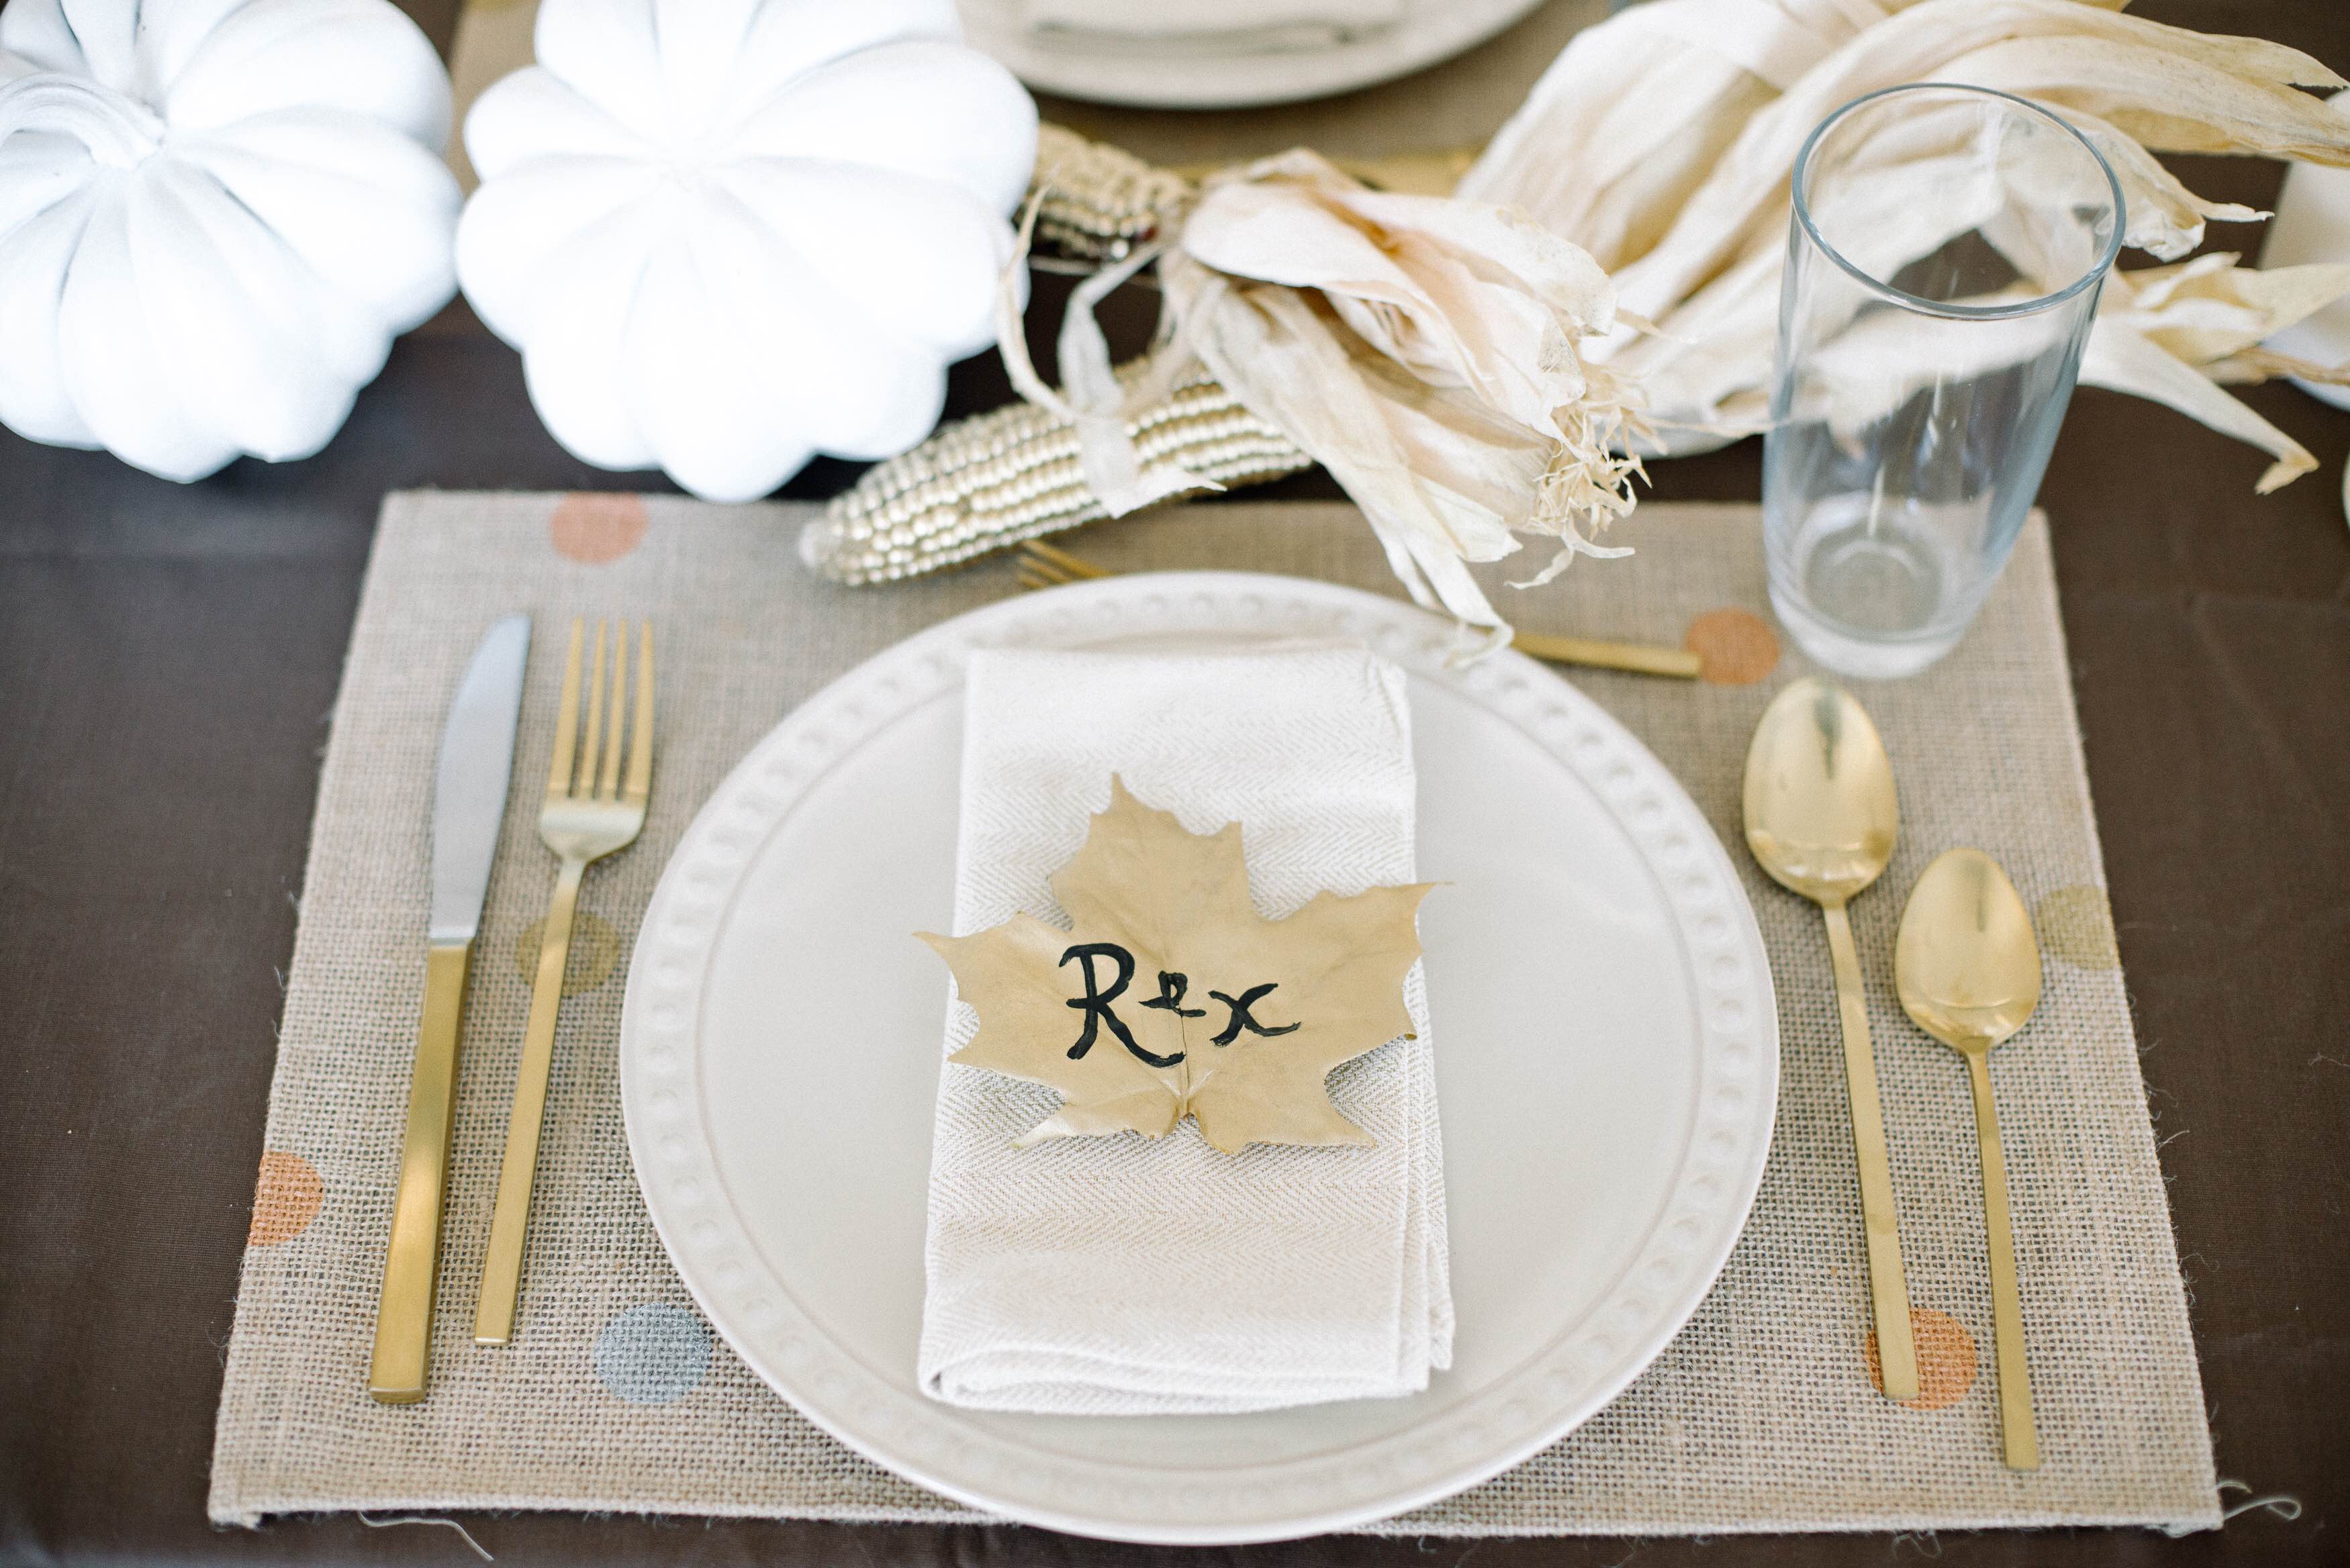
Metallic Polka Dot Placemats
 Today, I’m sharing the first DIY from the gold Thanksgiving table design I put together earlier on the blog. (If you missed it, you can find the post here).
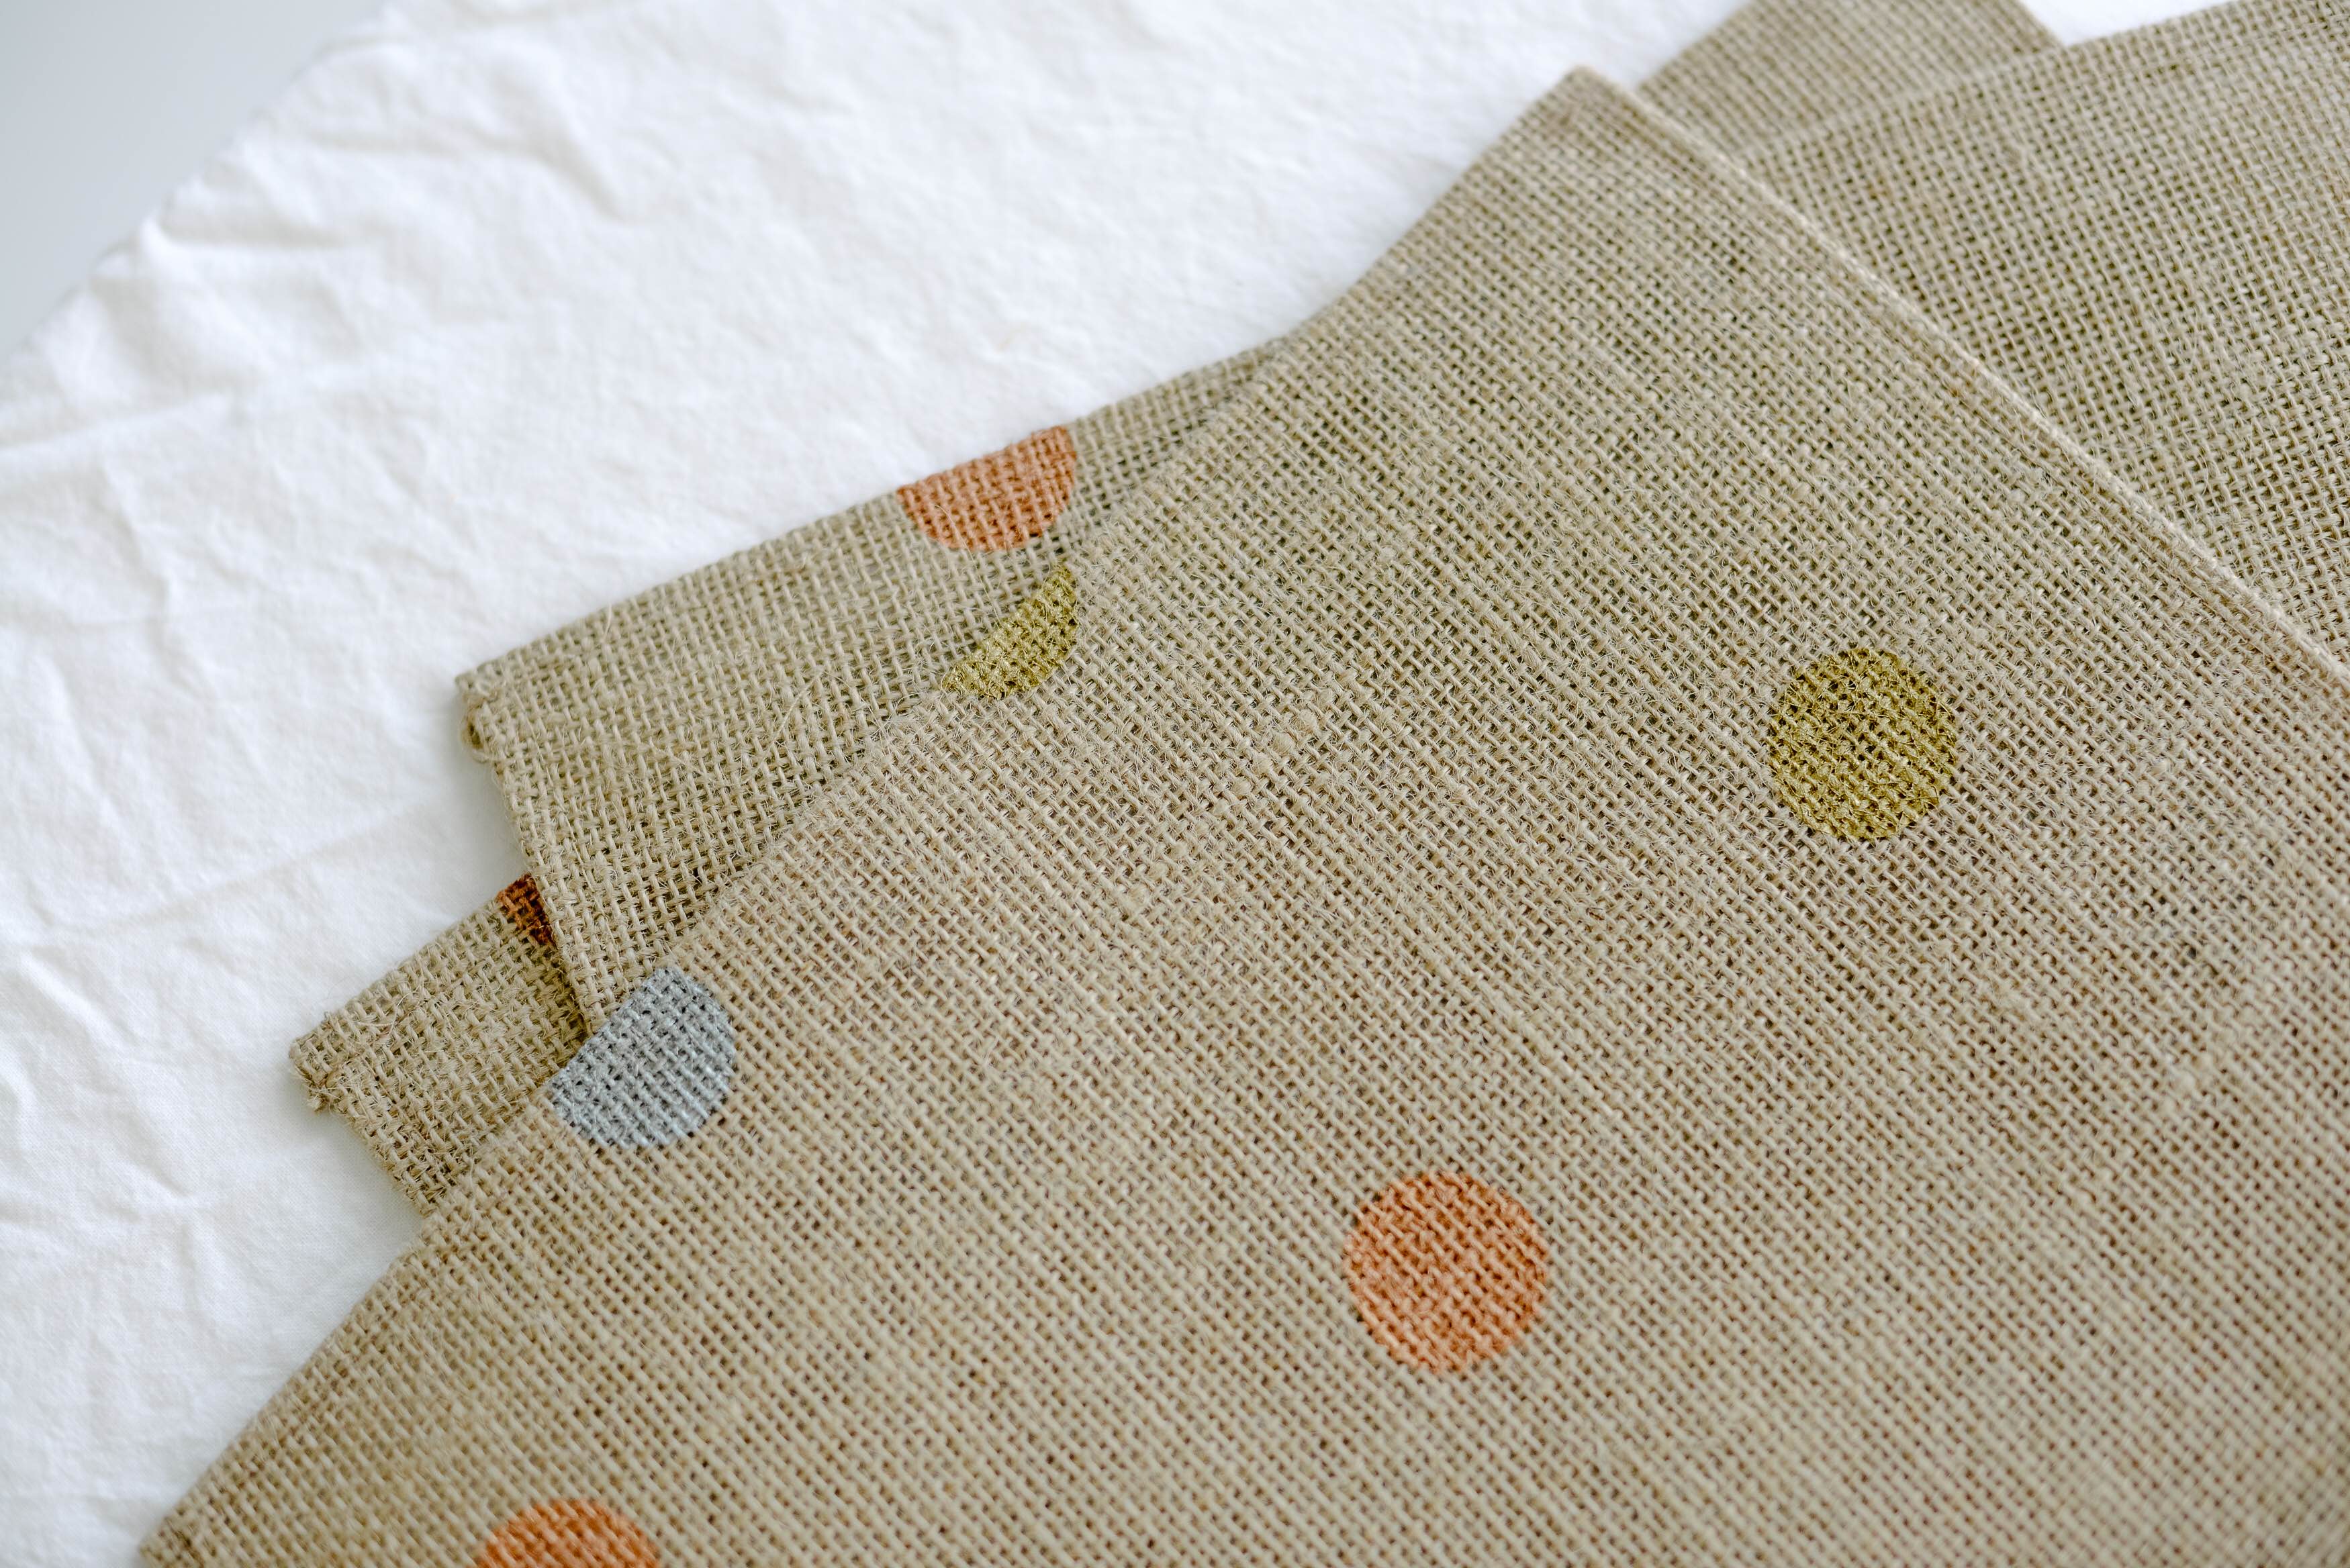
These mixed metallic polka dot placemats add a fun pop of color to an otherwise neutral table, are a cinch to make, and also allow you to mix and match your dinnerware, depending on what metals you have! I chose to go with gold accents for this design, but you could just as easily switch out the gold for silver or copper as well. Just another reason why I love incorporating mixed metals into my designs. Variety and options are never a bad thing!
The polka dots also add a little bit of whimsy to the table, while still keeping things classy and elegant.
They are definitely an easy way to add a little bit of fun to an otherwise stuffy Thanksgiving dinner table.
You also only need a few items to put these guys together and can easily create a bunch of them in less than 30 minutes, which means that they are also a great last minute project idea if you find yourself hosting Thanksgiving dinner this year!
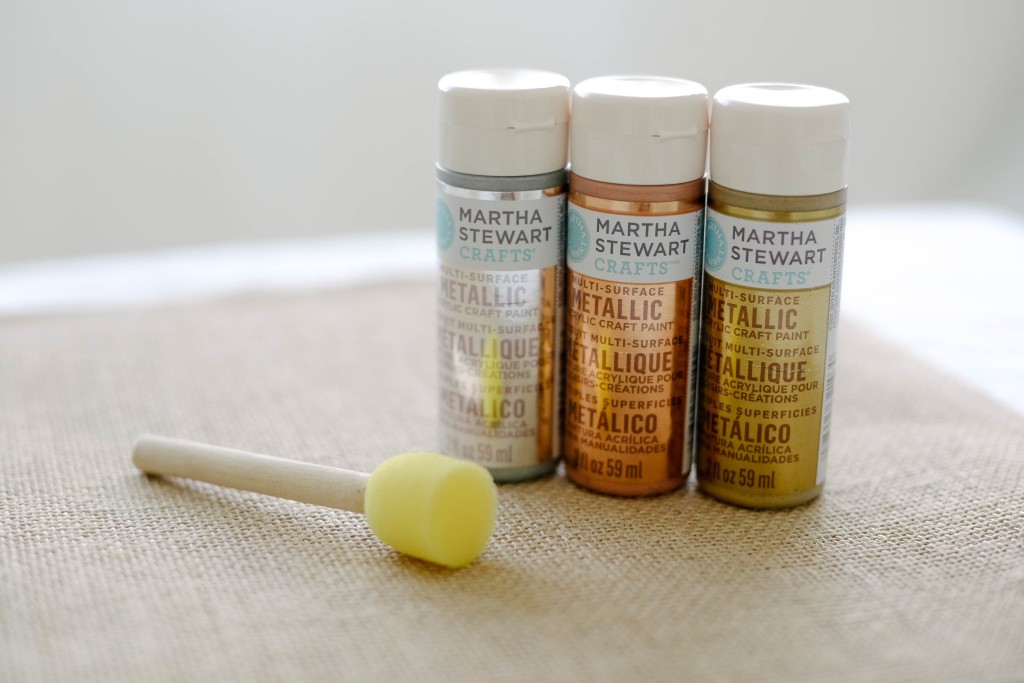 Here’s what you’ll need to make your own:
- Burlap Placemats – (I picked mine up from the Target dollar bins about a month ago)
- Foam Pouncer
- Metallic Craft Paint – (I used gold, silver, and copper)
If you can’t find burlap placemats to use, they would be really easy to make on your own. You can pick up a roll of burlap at your local craft or home improvement store. The ones that I am using also have a plastic backing on them, which you could also easily add by gluing a plastic sheet onto the back of your burlap. Wrap the edges of your burlap around the plastic backs to create a more polished and finished look.
If your placemats doesn’t have a plastic backing on them like the ones from Target do, place a paper towel underneath them before painting or paint on a surface that you don’t mind getting dirty. Without something underneath, the paint will press through the burlap and come through to the other side.
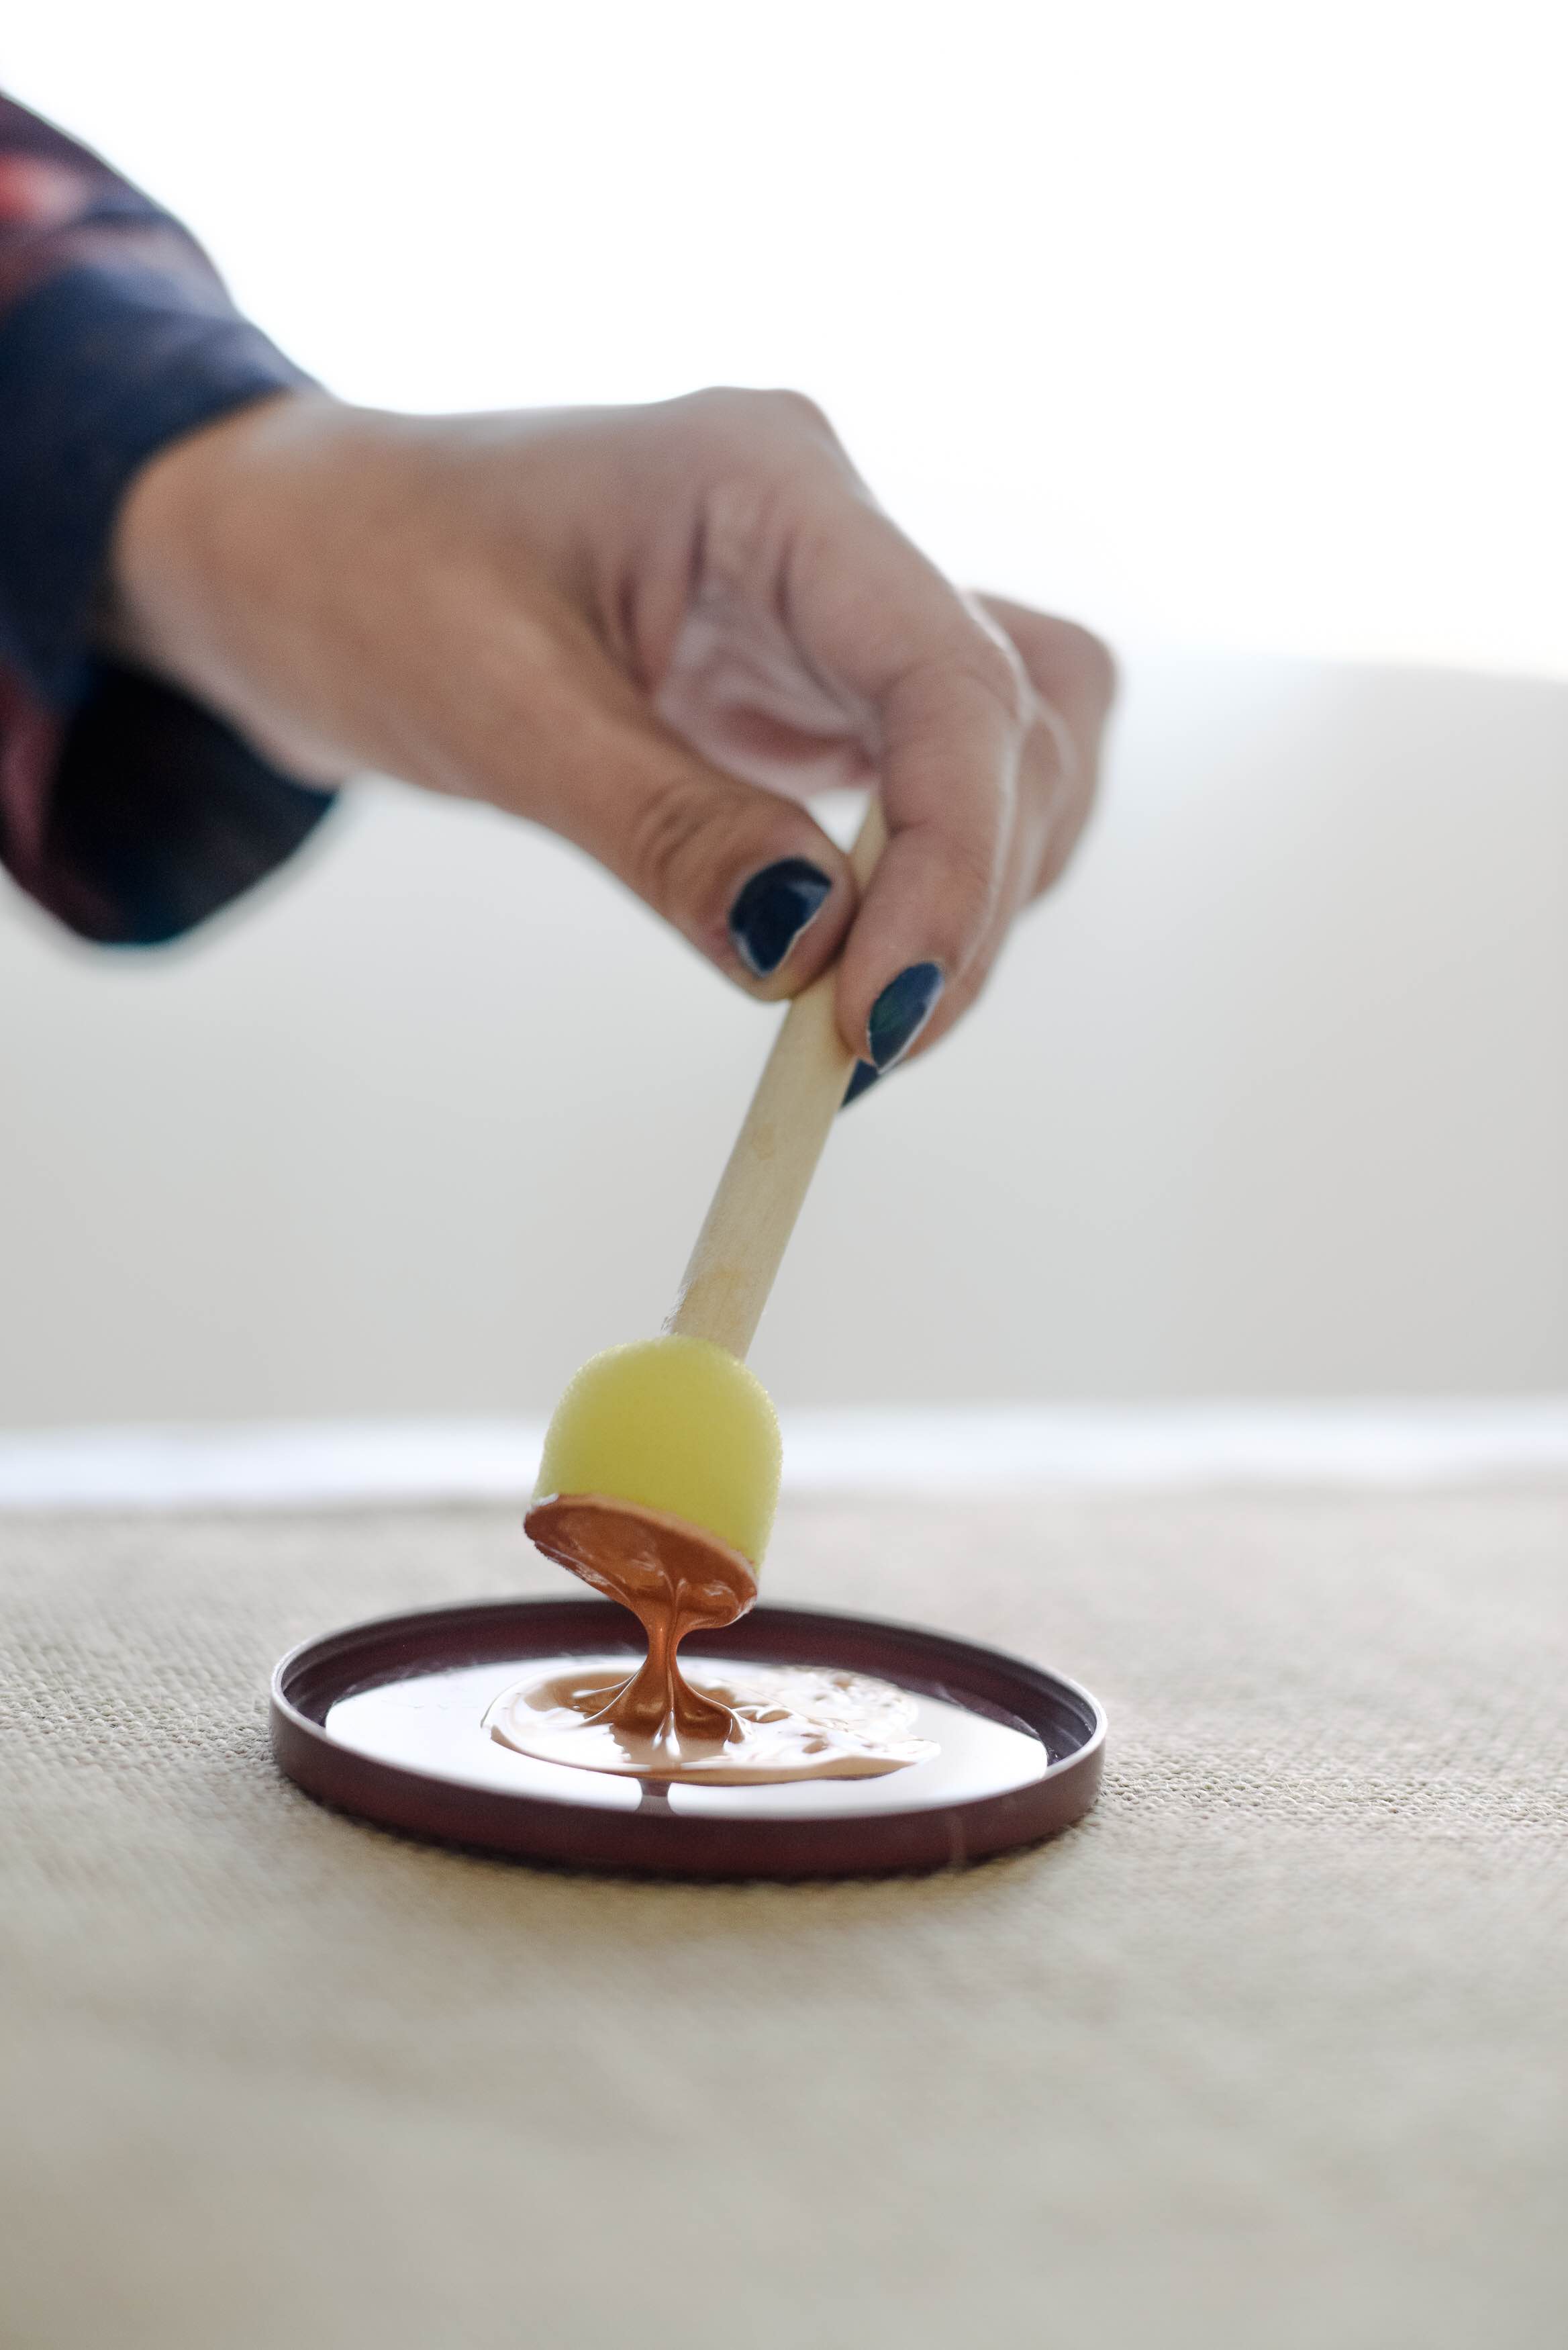 First, pour your paint out onto a washable tray (I like to use a lid from my tupperware sets because it washes off really easily) and dip your foam pouncer into the paint.
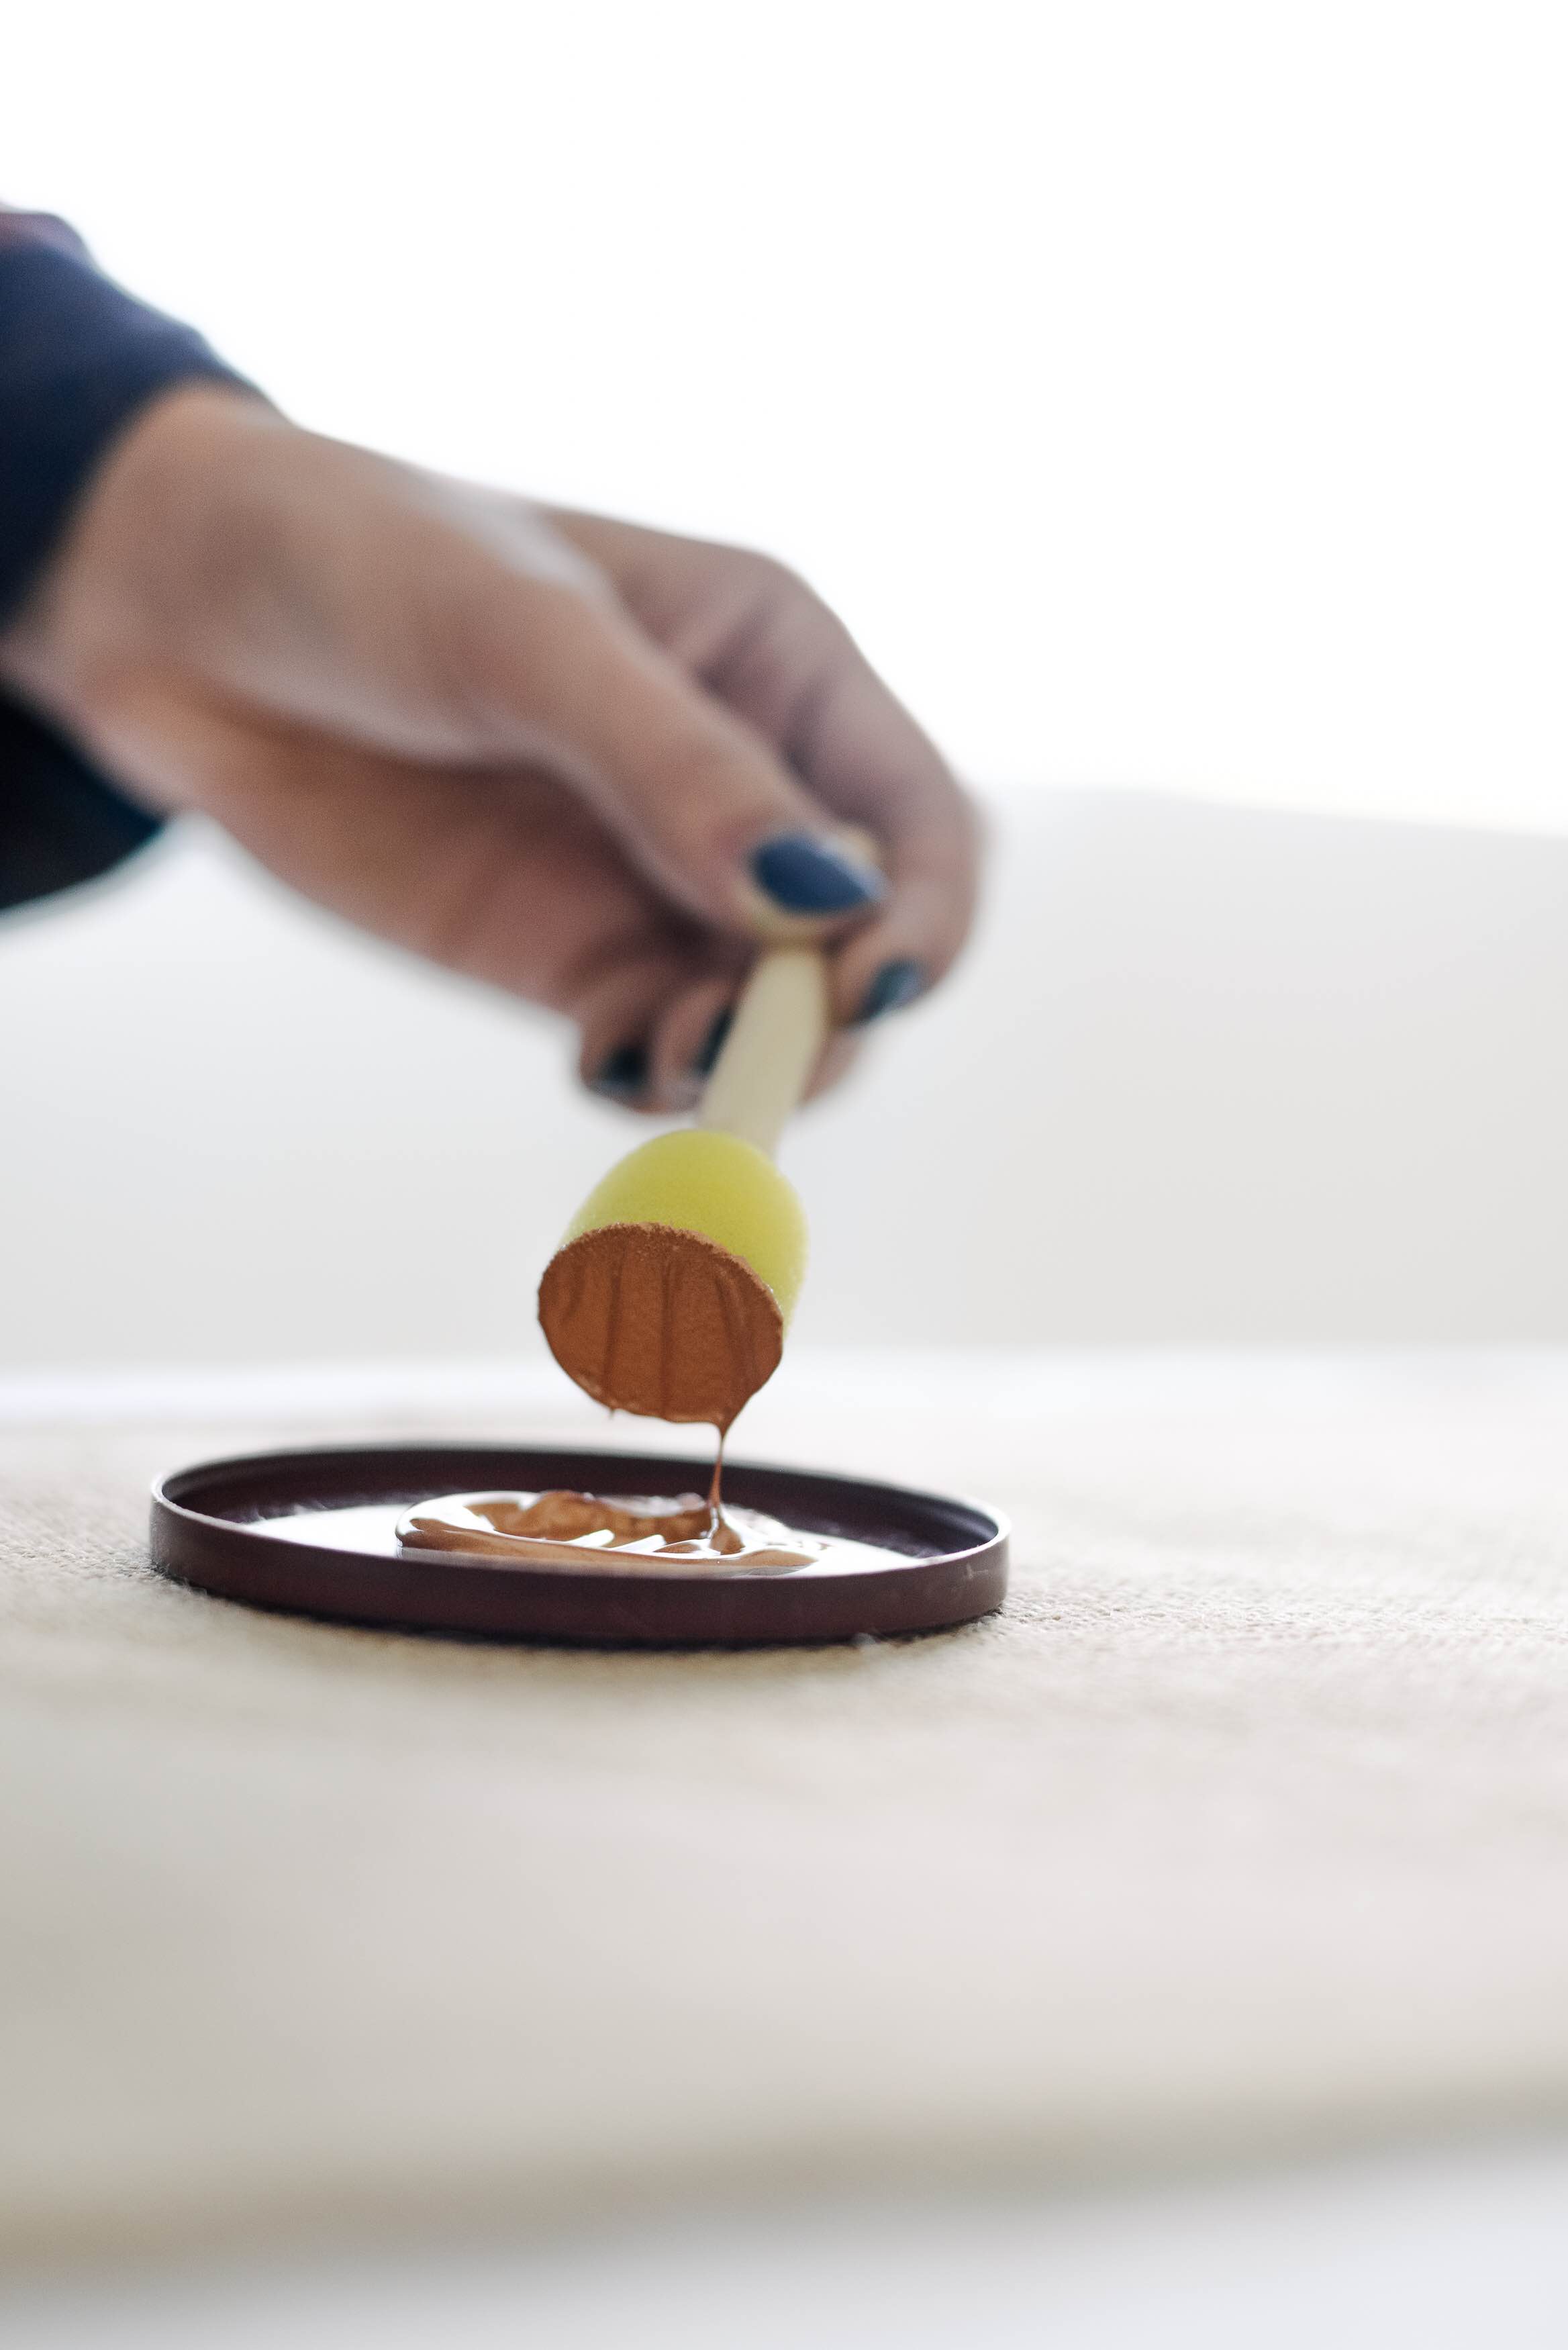 You’ll want to make sure that your pouncer is covered evenly and that you have plenty of paint across the surface. If not, your polka dots won’t be full and will look half finished.
 Pick a spot on your placemat, and press down firmly with your pouncer.
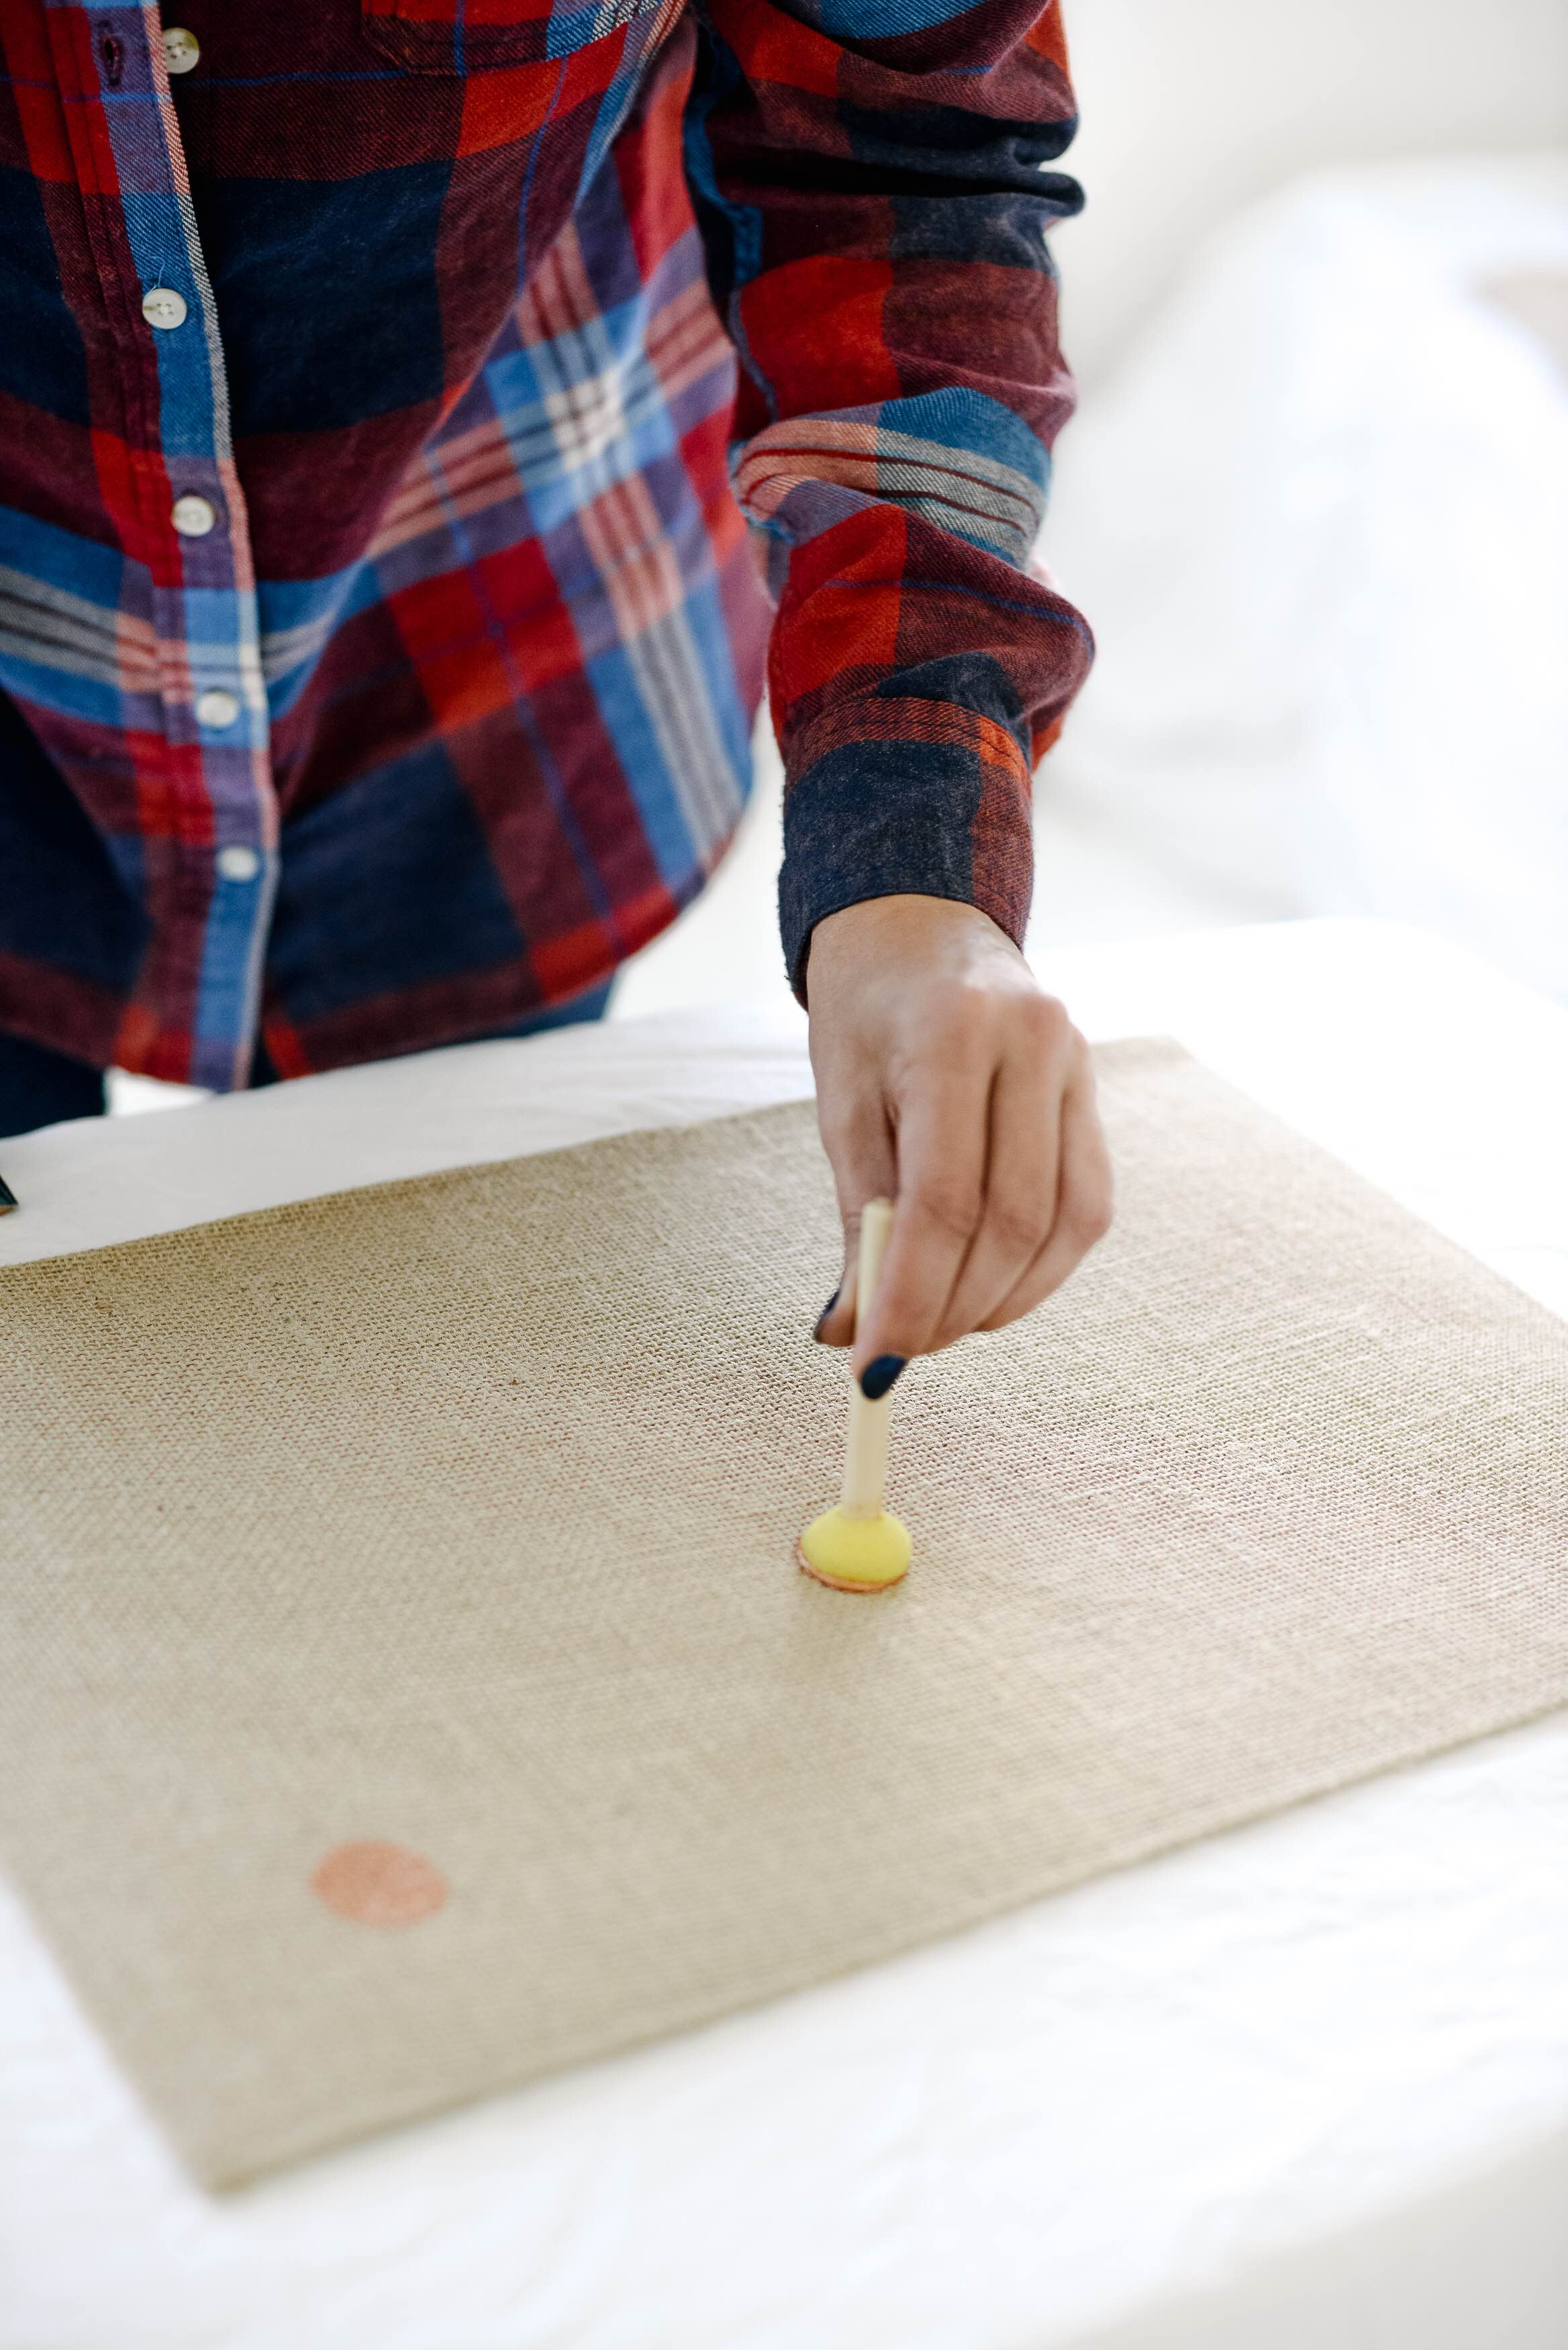 Repeat the process a few times in a variety of areas on your mat. When adding dots, remember that you’ll also be adding more polka dots in different colors, so don’t go too crazy with your first color. You can always fill more in later, but can’t remove them once they are painted!
Once you have enough polka dots places in your first color, repeat the same process with your other two colors, filling in your mat until it looks completed.
 Allow them to dry completely before use.
Besides being super easy to make, these guys are also perfectly imperfect. You don’t have to stress about having them all look similar or exact. Change up your polka dots locations on each one and have fun.
This project is also easy enough for the kids to do too! Such a fun way to personalize their spots at the Thanksgiving table this year!
Photos by Haley Nord Photography
4 Comments
let's mingle

")
featured faves


watch the latest


fave collabs


")


very pretty, and simple enough so that anyone can do it. Oh, and I love those golden spoons, so much nicer than the usual silver! Great idea!
I love burlap and I love polkadots….so I totally have to make this!
Iris♥
The Blue Birdhouse – DIY Blog
I absolutely love your gold setting and these tablemats. I am going to try this and going back now to peak at your other post you mentioned about the gold setting. So perfect for the holidays. Thank you so much for linking up to Share With Me and hope to see you again tomorrow for another great round. #sharewithme
What an easy way to add some glam. Thanks for posting. Hello from Inspire Me Wednesday.